
Warning: The air conditioning system is under high pressure. Do not loosen the couplings or remove components without first discharging the system when contacting an authorized or specialized service station. When disconnecting the air conditioning system couplings, wear protective glasses or a mask.
Note: If the compressor is damaged, the accumulator-dryer will also have to be replaced. In this case, it will be necessary to depressurize the system (see subsection 14).
1. Have the air conditioning system discharged at a service station of the appropriate profile. Drain the coolant (see chapter 1).
2. Disconnect the negative battery cable.
3. Disconnect the refrigerant circulation lines from the condenser (see illustration). Cap the condenser lines and connections to prevent clogging and moisture from entering the system.
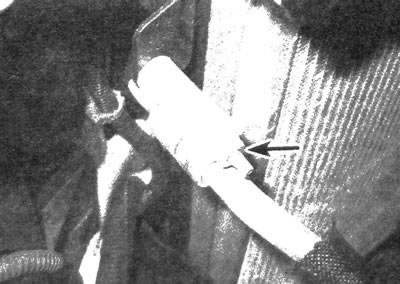
16.3a. Loosen the nut and disconnect the refrigerant line
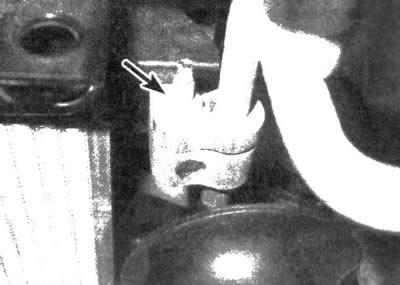
16.3b.. then disconnect the line located on the right
4. Remove the radiator (see subsection 6).
5. Unscrew the condenser mounting bolts.
6. Inspect the rubber cushions (on the lower lintel), on which the radiator rests. Replace these elements if necessary.
7. If an existing condenser is to be installed, store it with the line connectors facing up to prevent compressor oil from leaking. When replacing a condenser, it is necessary to pour approximately 30 g of R-134a oil into it before installing the new unit.
8. Install the components in the reverse order of removal. Make sure the rubber pads are under the condenser.
9. Fill the cooling system (see chapter 1).
10. Charge the air conditioning system at a specialized station.