


Lever
1. Disconnect the negative cable from the battery.
2. Remove the floor console (see chapter 11).
3. Place chocks under the wheels to prevent the vehicle from rolling and move the parking brake lever to the fully released position.
4. While working underneath the vehicle, pull the equalizer back to expose the cable core. Clamp the exposed cable strand with a clamp with a pad to fix it in an extended position, which will release the tension on the rear cables (see illustration).
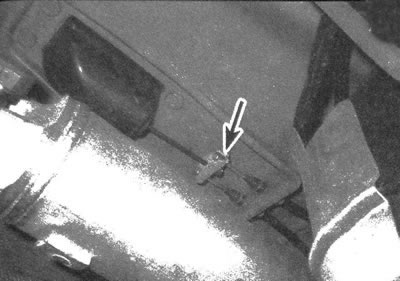
12.4 Place the cover on the clamp to secure the cable, then clamp the cable in the extended position
Caution: Avoid scratching or cutting the anti-corrosion coating on the cable.
5. When performing the procedure in the cabin, use a screwdriver to turn the clamp of the self-adjusting mechanism to the locking position (see illustration).
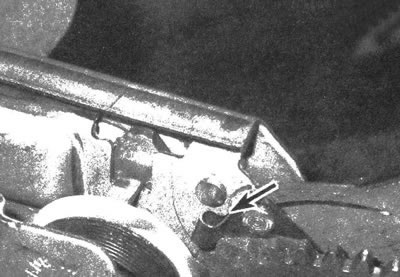
12.5. Using a screwdriver, move the clamp of the self-adjusting mechanism to the locking position
6. While performing the procedure under the vehicle, remove the clamp from the cable.
7. When performing the procedure in the passenger compartment, lift the parking brake lever part way through its travel and stop it before the self-adjusting mechanism clamp contacts the bracket protrusion. Lift the latch, then fully raise the parking brake lever.
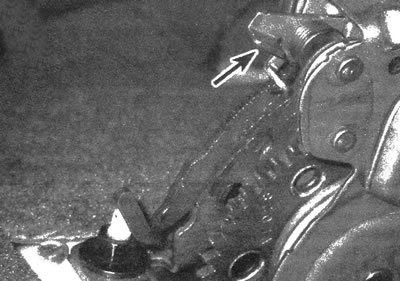
12.7. Lift the latch, then fully raise the parking lever
8. When performing the procedure in the passenger compartment, disconnect the electrical connector from the parking brake indicator switch.
9. Working underneath the vehicle, disconnect the parking brake cables from the equalizer.
10. Unscrew the mounting nuts and remove the lever from its studs (see illustration).
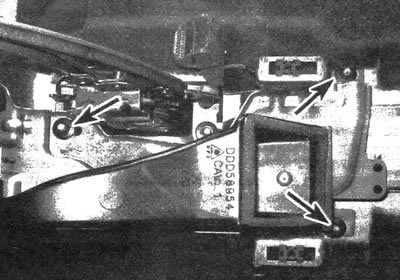
12.10. Parking brake lever mounting nuts
11. Install the parking brake lever inside the vehicle and tighten the mounting nuts securely. Connect the electrical connector to the parking brake indicator switch.
12. Connect the cables to the equalizer.
13. When performing the procedure in the passenger compartment, fully lower the parking brake lever, then lift it. Pull the parking brake lever boot upward to expose the splined lever located at the front, then raise and lower the parking brake lever three times. This will turn on the automatic regulator.
14. Raise and lower the parking brake lever three times to allow the mechanism to automatically adjust, then install the boot.
15. Before operating the vehicle, make sure the parking brake is in good working order.
Cables
16. Disconnect the negative battery cable. Release the parking brake.
17. To disconnect the automatic cable adjuster, follow the instructions given in paragraph. 2-7.
18. Remove the rear propeller shaft (see chapter 8).
19. Disconnect the cables from the equalizer and from the bracket.
20. Place a jack under the fuel tank to support it. A wooden block must be placed between the jack and the tank. Remove the fuel tank plate and rear support bracket (see chapter 4). Lower the tank by approximately 10 cm (sufficiently to expose the cable mounting nut and the stud located in the floor of the car, above the tank).
21. Unscrew the nuts and pull the cables off the studs located in the floor of the car (see illustration).
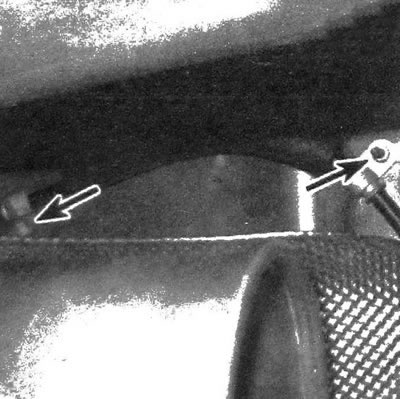
12.21. Unscrew the nuts located on the cable studs
22. Unscrew the bolts and disconnect the cables from the brackets located on the frame (see illustration).
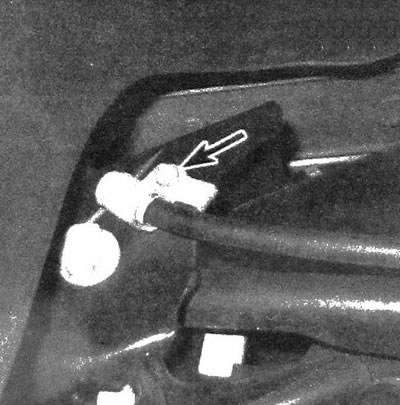
12.22. Unscrew the nuts that secure the cable to the frame bracket
23. Squeeze the locking tabs that secure each cable to its bracket on the rear wheel. Pull the cable sheath out of the bracket, compress the spring and pull the cable through the slot in the bracket (see illustration).
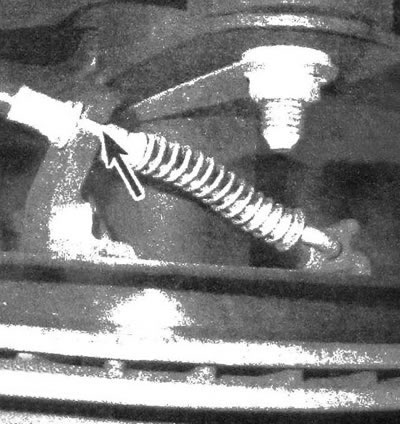
12.23. Press the teeth together, pull the cable out of the bracket and pass it through the slot
24. Disconnect the cable from the drive mechanism located on the rear wheel.
25. Pass the cable through the frame towards the center of the vehicle, then remove it from the vehicle.
26. Begin the installation by running the cable over the fuel tank and then through the frame from the center of the car out. The rest of the installation is carried out in the reverse order of removal.
27. Turn on the automatic regulator and adjust the cable as described in paragraph. 13-15.
[The source of the article is available on the website: ChevyMan.ru]