
Warning: When bleeding the system, it is necessary to protect your eyes with special glasses or a mask. If brake fluid gets into your eyes, rinse with water and seek medical attention.
Note: bleeding is necessary to remove air from the brake system that got into it during removal and installation of the brake hose, metal tube, caliper, and master cylinder.
1. If air has entered the system as a result of a disconnected master cylinder line or an abnormal drop in brake fluid level, you will probably need to bleed all four brakes.
2. If the brake line was disconnected only from the wheel side, the caliper should be bled.
3. If the brake line was disconnected from the nipple located on the section of the system between the master cylinder and any of the brakes, only the circuit to which this line belongs should be bled.
4. Release the residual vacuum in the brake booster by pressing the pedal several times with the engine off.
5. Remove the cap and fill the master cylinder reservoir with brake fluid. Replace the cover.
Note: When bleeding the system, it is necessary to monitor the fluid level in the tank, not allowing it to fall to the lower mark, as this may cause air to be sucked into the master cylinder. Add liquid as needed.
6. Have an assistant assist you in this procedure and have a supply of new brake fluid, a clean clear plastic container, a length of plastic or rubber hose that can be connected to the bleed nipple, and a wrench to open and close the nipple.
7. Starting the procedure on the right rear wheel, open the bleed nipple valve slightly, then close it so that it can be opened quickly and easily.
8. Place one end of the hose on the bleed nipple and immerse the other end in the brake fluid contained in a transparent container (see illustration).
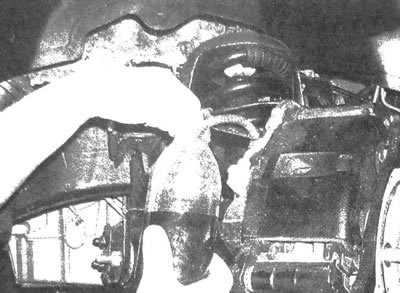
8.8. When bleeding the brake system, one end of the hose is connected to the bleed nipple of the caliper and the other is immersed in brake fluid, which is contained in a transparent container. Air is detected as bubbles coming out of a hose immersed in liquid (before moving on to the next brake unit, all air must be removed)
9. Ask your assistant to press the brake pedal and hold it in this position.
10. With the pedal locked in the depressed position, open the nipple so that a small flow of fluid can pass through the valve. Observe for air bubbles coming out of the end of the hose immersed in brake fluid. After the fluid flow has decreased, after a few seconds, tighten the nipple and ask the assistant to release the brake pedal.
11. Perform the operations described in points 9 and 10 until the fluid coming out of the hose is free of air bubbles, then tighten the union and continue bleeding the system on the left rear, right front and left front brakes in the specified order and in accordance with the above procedure. Do not forget to periodically check the fluid level in the brake master cylinder reservoir
12. Do not pour old brake fluid into the system, as it, due to its hygroscopicity, becomes saturated with moisture from the air, which can lead to its boiling and, as a result, to the loss of functionality of the brake system.
13. After completing the procedure, fill the master cylinder reservoir with fluid.
14. Check the operation of the braking system. The brake pedal should move elastically, going through the entire length of the stroke without any dips. If necessary, repeat the brake system bleeding procedure.
15. Before driving onto the roadway, you must do the following while in the driver's seat.
- a) Remove your foot from the brake pedal.
- b) Start the engine and keep it running for at least 10 seconds. Observe the ABS warning light located on the instrument panel.
- c) If the indicator does not turn off within 10 seconds after switching on, have the vehicle towed to an authorized or specially qualified station. To diagnose the ABS system, you need to use a scanner.
- d) If the indicator goes out after approximately 3 seconds, turn off the ignition.
- e) Follow the recommendations given in paragraph again. a-d. If the amber-colored ABS indicator is turned off, perform a test run outside the roadway, and only then start normal operation of the vehicle.
Warning: Do not operate a vehicle with a brake system that is in questionable technical condition.