


Warning: Replace brake pads in pairs on both wheels of the same axle. Do not replace the brake pads on only one wheel. Please remember that dust generated by wear of the pads is hazardous to your health. Do not blow it off with compressed air or inhale dust. When servicing the brake system, it is recommended to wear a protective mask or respirator. Do not use gasoline or solvents to remove dust from the pads. Use only a special product for cleaning brake system components.
Note: This procedure applies to both front and rear brake pads.
1. Remove the master cylinder reservoir cap. Pump out about 2/3 of the liquid and replace the lid.
Caution: Brake fluid can damage your vehicle's paintwork. If liquid gets on the body surface, it must be washed off immediately with clean cold water.
2. Loosen the nuts of the front or rear wheels, lift the front of the car with a jack and install special supports. Place wedges under the wheels of the opposite axle.
3. Remove the wheels. Work on only one brake at a time, using the second brake for visual comparison if necessary.
4. Carefully inspect the brake disc as described in subsection 5. If mechanical treatment is necessary, remove the disc as described later in this subsection.
5. Replace the pads using the accompanying illustrations (see illustrations). Do not violate the recommended sequence of performing the procedure, and strictly follow the instructions given in the comments under the illustrations.
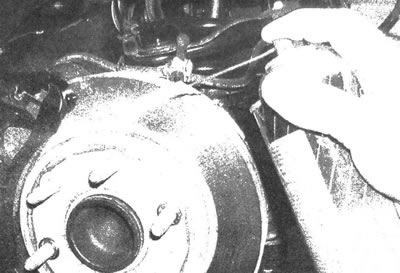
3.5a. Before disassembling the brake, clean its parts using a special agent and wait until the elements are completely dry; to catch the draining cleaner, place a container under the brake; DO NOT blow off brake pad dust with compressed air
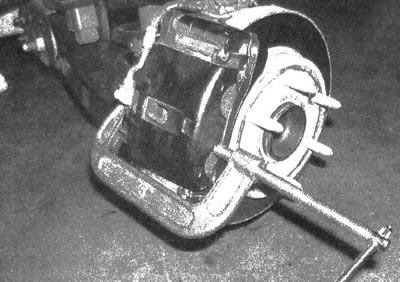
3.5b. Press the piston into the caliper to create the clearance required when installing new pads. To do this, use a C-clamp before removing the caliper and pads. When the piston is depressed, the brake fluid level in the master cylinder reservoir will rise. Do not allow liquid to spill from the tank. Press in gradually, in small increments, and constantly monitor the level in the master cylinder reservoir
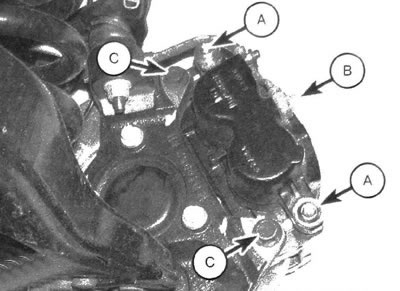
3.5s. Front brake caliper parts: A. Fastening bolts; B. Bolt of the brake supply hose nipple; C. Caliper Bracket Bolts
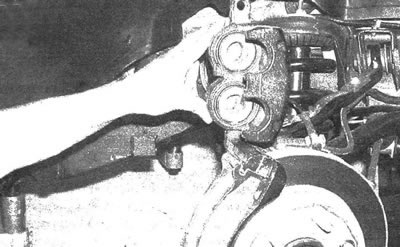
3.5d. When replacing the front brake pads, it is necessary to unscrew the lower mounting bolt and, turning it upwards, secure the caliper in this position. When replacing the rear brake pads, it is necessary to secure the caliper guide pin with an open-end wrench, unscrew the upper mounting bolt with another wrench and turn the caliper down to open access to the pads
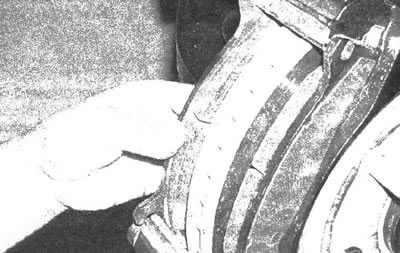
3.5e. Remove the inner brake shoe
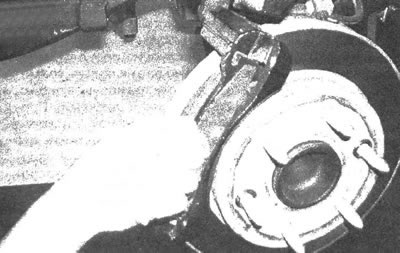
3.5f. Remove the outer brake shoe
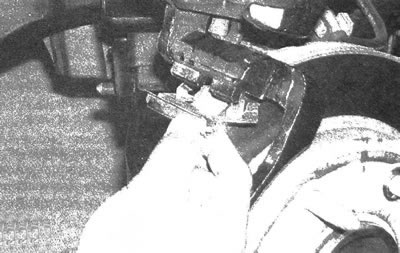
3.5g. Remove the upper and lower brake pad holders located on the caliper bracket. If the holders or brackets have cracks or signs of deformation, replace them
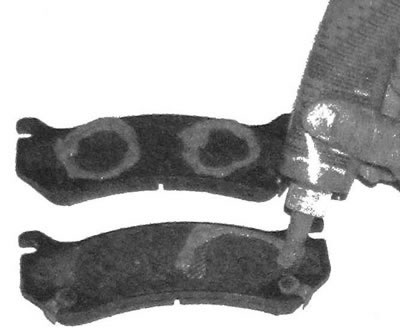
3.5h. Apply brake squeal preventer to the back of both pads (wait for the product to harden for a few minutes, then install the pads)
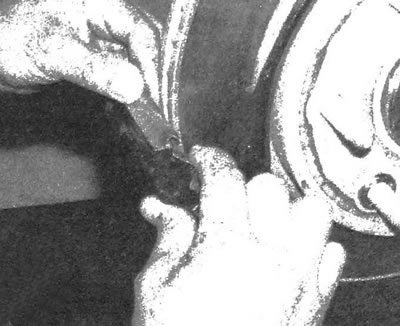
3.5i. Install the upper and lower pad holders onto the caliper bracket
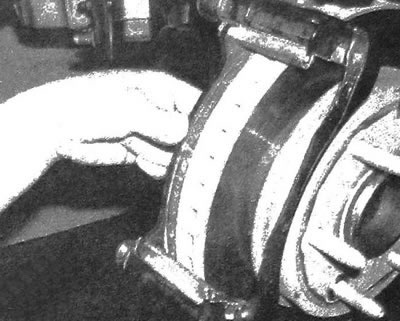
3.5j. Install the internal...
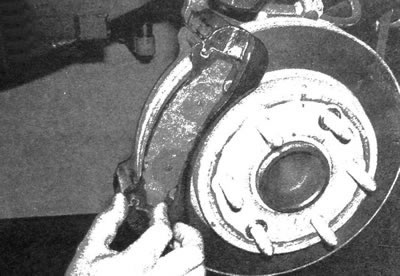
3.5k....and the outer shoe
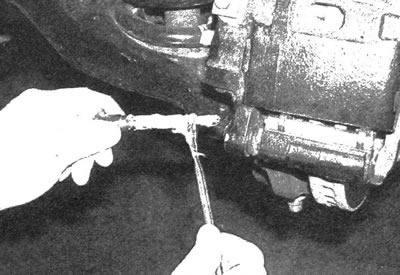
3.5l. When replacing the front pads, it is necessary to inspect the caliper mounting bolt for signs of material wear and corrosion, after which it is necessary to lubricate the fasteners with heat-resistant grease for brake system components (if the bolt was not coated with grease, turn the caliper up again, pull the upper mounting bolt out of the bracket and lubricate it as well). When replacing the rear pads, it is necessary to inspect the guide pin and rubber boot, and then lubricate the pin with heat-resistant grease for brake system components (if the upper finger is not coated with grease, perform the described operation on the guide finger)
6. When installing the caliper, tighten its mounting bolts to the required torque. Tighten the wheel nuts to the torque value given in specifications of chapter 1.
7. After completing the procedure, press the brake pedal several times to bring the brake pads into contact with the discs. Check the brake fluid level and top it up if necessary (see chapter 1). Before driving on the road, make sure that the braking system is working properly and is efficient.
Original version of the article on the website ChevyMan