


Contents: Removal ↧ Installation ↧
Warning: The vehicles described in this manual are equipped with a Supplemental Restraint System (SRS), also known as an air bag system. Before carrying out work in the area where the elements of this system are located, its power supply must be disconnected (see chapter 12), as accidental deployment of the airbags could result in serious injury.
Removal
1. Turn the steering wheel so that the wheels are pointing straight ahead. Disconnect the negative battery cable.
2. Disable the SRS system as described in chapter 12.
3. Insert a screwdriver into the hole of the air bag spring clip (see illustrations) and push the spring to the side to disconnect the pin. Using the same technique, disconnect the pin located on the other side of the steering wheel.
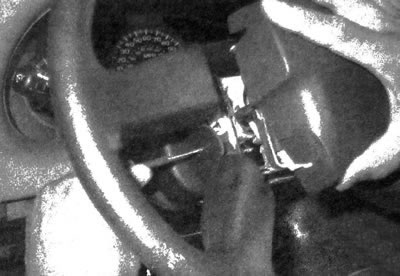
16.3a. To disconnect the pins that secure the SRS airbag to the steering wheel, insert a screwdriver into the holes located on the sides of the steering wheel...
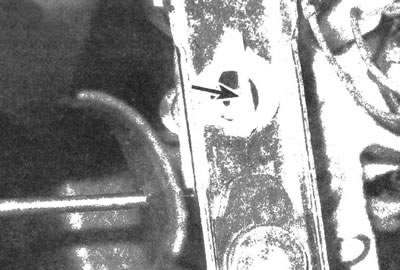
16.3b....and push each spring clip to the side to release the pin (there is one pin on each side of the steering wheel); for clarity, shown with the steering wheel removed
4. Pry up the connector retainer and disconnect the yellow plug from the air spring (see illustration). Place the pillow in a safe, isolated place with the front side facing up.
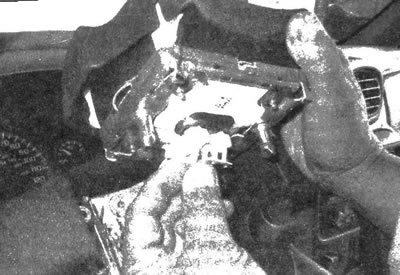
16.4. Pry up the connector retainer, then disconnect the connector from the SRS airbag
Warning: When carrying the air spring unit, do not turn the side with the cover towards you. Store the block in a safe place with the facing facing up.
5. Set the steering wheel to the center position.
6. Press the horn stem all the way in, then turn it a quarter turn and remove it from the steering wheel (see illustration). Disconnect the electrical connector from the steering wheel.
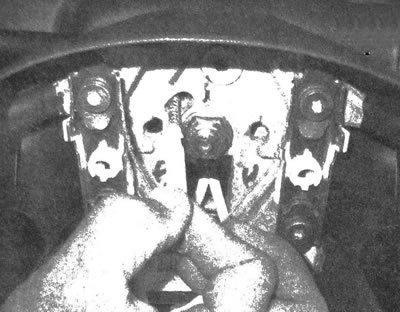
16.6. Remove the horn rod and disconnect the steering wheel electrical connector
7. Unscrew the mounting nut and, if necessary, mark the original relative position of the steering wheel and shaft (see illustration).
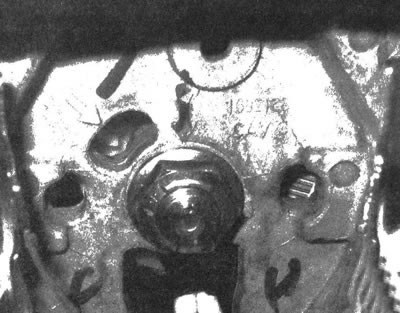
16.7. Inspect the steering wheel and shaft for alignment marks; if they are missing, apply them yourself
8. Using a special puller, disconnect the steering wheel from the shaft.
Warning: Do not strike the steering wheel or puller with a hammer when removing.
9. Remove the steering wheel from the column shaft.
Warning: Do not allow the shaft to turn with the steering wheel removed. When the shaft is turned, the spring contact of the air cushion will become displaced, which may cause the internal wire to break during subsequent operation of the vehicle.
Installation
Warning: The spring contact is a band mechanism that provides continuous power to the air bag regardless of steering wheel rotation. If the spring contact is not centered correctly, it may fail during subsequent operation.
Note: If you are not replacing the steering column, do not remove the spring contact. The spring contact does not require centering if the central hub was kept immobile when the steering wheel was removed, or the spring was not removed from the column. If the spring contact has been removed and the marks are out of alignment, perform the following alignment procedure.
10. Before installing the steering wheel, make sure the spring contact is centered.
Note: The models described use two designs of air spring contact. One type has a centering window at the front; this design does not provide for the presence of a fixing pin on the back side. The other type of contacts does not have a window. but there is a pin on the back side (see illustrations).
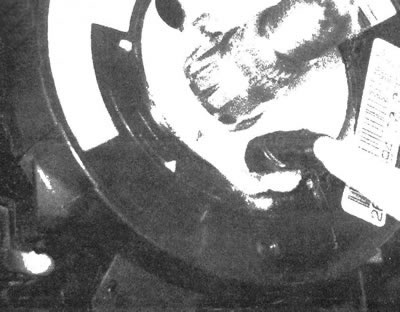
16.10a. If on models with a locking protrusion, with the spring contact centered, the arrow on the housing aligns with the arrow on the hub
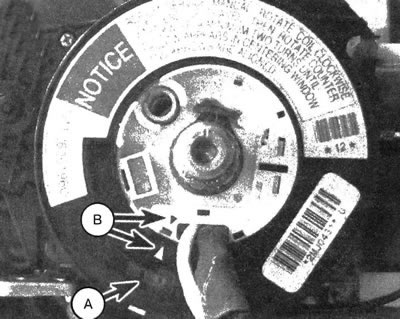
16.10b. On the spring contact with the centering window, the centering is confirmed by the fact that the window (A) is yellow, and the idea of the arrows (B) are aligned
11. If the air bag spring contact is not centered, remove the steering column covers (see chapter 11). Remove the retaining ring (see illustration), then remove the spring contact from the column. You can cut the plastic clamp that secures the spring contact wiring harness to the steering column.
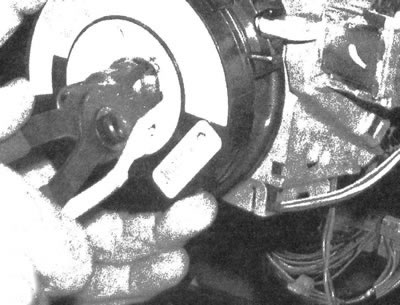
16.11. The spring contact is secured to the steering column shaft with a retaining ring
12. If the spring contact has a window on the front and does not have a pin on the back, turn it so that the front side is facing up and turn the hub clockwise until it stops (do not apply excessive force). After this, slowly turn the hub counterclockwise at least two turns until the window turns yellow and the arrows on the housing and hub align (see illustration 16.10b). Proceed to the procedure sp. 14.
13. If the spring contact does not have a window on the front, turn it over and press the spring retainer located on the back side, then turn the hub in the direction of the arrow on the housing until it stops(don't put in too much effort). After this, turn the hub in the opposite direction by 2.5 turns and disconnect the locking lug (see illustration). Proceed to the next step to complete the procedure.
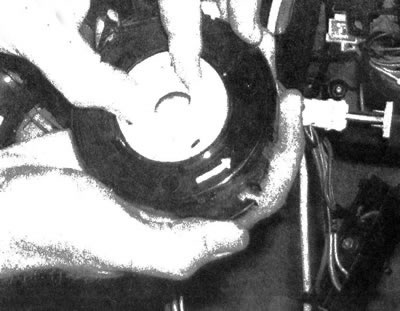
6.13. If the spring contact has a locking protrusion, turn it over and press the spring retainer located on the back side, then turn the hub in the direction of the arrow until it stops. After this, turn the hub in the opposite direction by 2.5 turns
14. Install the spring contact and retaining ring. Secure the wiring harness with a new clamp so that the wire does not twist on the steering column. Also install the steering column covers.
15. After aligning the relative position marks, install the steering wheel on the shaft.
16. Install and tighten the steering wheel mounting nut to the required torque.
17. Connect the signal wire, push the plunger in and turn counterclockwise to lock.
18. Connect the connector to the socket located on the back of the air bag unit. Make sure the connector is securely fastened.
19. Place the air bag into the steering wheel and press it in until the pins engage in the spring clips.
20. Activate the SRS system as described in chapter 12.
The text of the article was obtained from the website: ChevyMan.ru