
Warning: Do not turn the steering shaft with the gearbox removed, otherwise damage to the SRS system components may occur. To secure the shaft, it is recommended to wrap the steering wheel with a seat belt and fasten it.
1. Loosen the wheel nuts, jack up the front of the car and install supports. Apply the parking brake. Remove the wheels.
2. Remove the protective panel located on the bottom side. Also, if necessary, unscrew the bolts and remove the reflector. Remove the steering gear carrier bridge (see chapter 11).
3. Mark the initial relative position of the intermediate steering shaft tie rod and the primary steering gear shaft, then unscrew the tie rod bolt (see illustration).
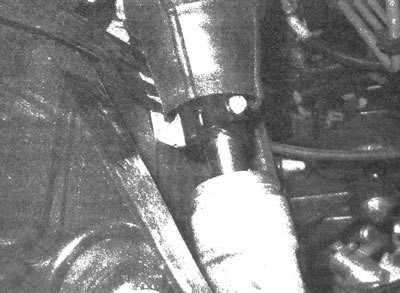
21.3. Unscrew the tightening bolt located at the lower end of the intermediate shaft
4. Disconnect the steering rod ends from the steering knuckles (see subsection 19).
5. Place a drain pan under the gearbox. Remove the bolt that secures the supply and return lines to the steering gearbox and pull the lines out (see illustrations). Cap the lines to prevent fluid spillage.
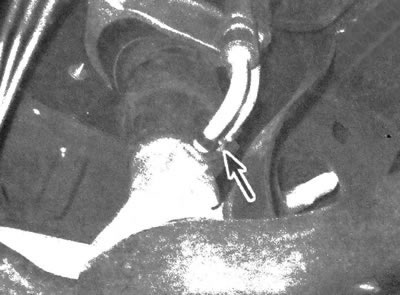
21.5. Unscrew the bolt and remove the fittings of the underwater and outlet lines of the steering gearbox
6. Unscrew the mounting nuts, remove the washers and pull out the bolts. Lower the steering gear onto the vehicle's supporting surface (see illustration).
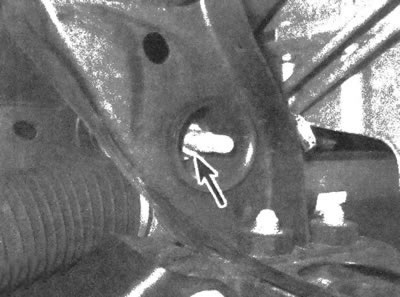
21.6. Rack and pinion steering gear mounting nut/bolt (shown on the right side)
7. Installation is carried out in the reverse order of removal. Tighten all fasteners to the torque values given in specifications of this chapter, as well as chapters 11. Tighten the wheel nuts to the torque value specified in specifications of chapter 1. Check the power steering fluid level and add more if necessary (see chapter 1). Bleed the power steering as described in subsection 24.