


The compression is checked with a special device - a compression meter, which can be purchased at auto parts stores.
Note: This is what the compression tester used to illustrate this book looks like. There are versions of compression testers that have a rubber tip instead of a spark plug instead of a threaded fitting for screwing in. When checking compression, such compression testers are simply pressed hard against the spark plug hole.
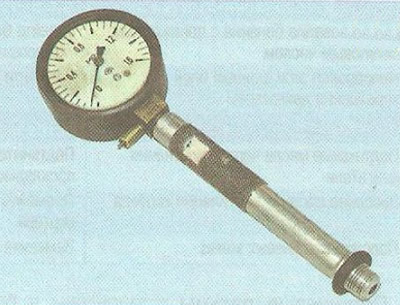
Warning: An important condition for correct readings when checking compression is the serviceability of the starter and its electrical circuits, as well as a fully charged battery.
1. Start the engine and warm it up to operating temperature.
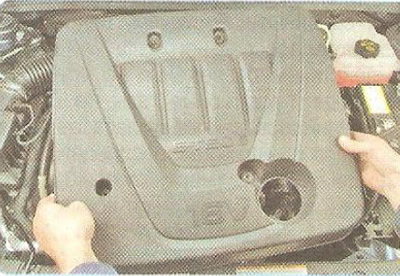
2. Remove the decorative engine cover (see "Removal and installation the decorative engine cover").
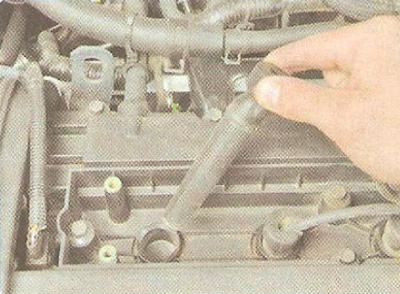
3. Stop the engine, remove the spark plug wires and remove all spark plugs (see "Replacement and maintenance of spark plugs").
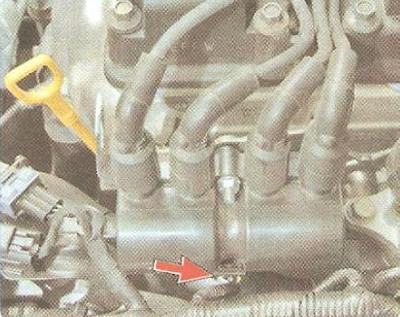
4. Disconnect the low-voltage wire harness connector from the ignition coil terminals, thereby disabling the ignition system.
Warning: Cranking the engine with the starter motor with the high-voltage wire ends disconnected and the ignition coil not disconnected may cause a breakdown of its high-voltage circuit.
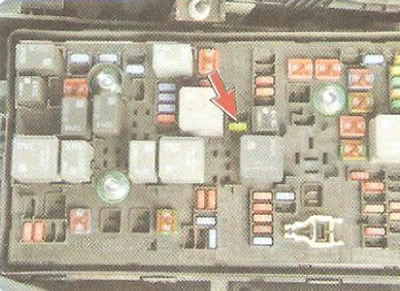
5. Disconnect the fuel pump by removing fuse No.20...
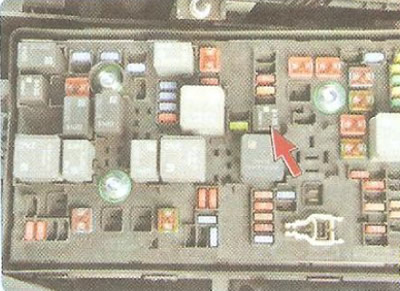
6. ...or fuel pump relay No.8 (see "Location of fuses, fuse links and relays and their replacement") in the mounting block.
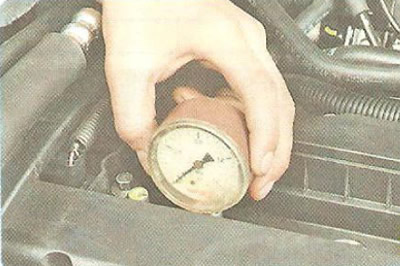
7. Screw the compression gauge into the spark plug hole of the cylinder being tested.
8. Press the accelerator pedal all the way down to fully open the throttle valve.
9. Turn on the starter and turn the engine crankshaft until the pressure in the cylinder stops increasing. This corresponds to approximately four compression strokes.
Note: To obtain correct compression tester readings, the crankshaft must rotate at 180-200 min⁻¹ or higher, but not more than 350 min⁻¹.
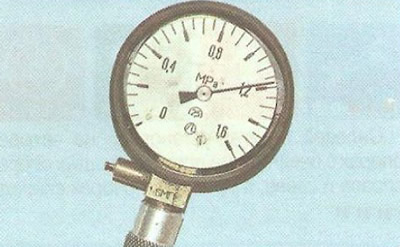
10. Having recorded the compression meter readings...
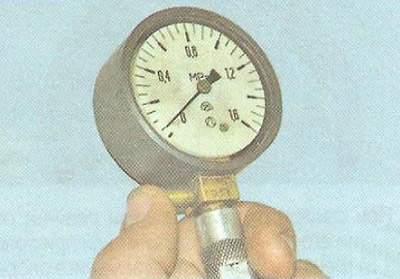
11. ...set its arrow to zero by pressing the air release valve.
Note: For compression gauges of a different design, readings may be reset in other ways (in accordance with the instructions for the device).
12. Repeat steps 7-11 for the remaining cylinders. The pressure should be no lower than 1.0 MPa and should not differ by more than 0.1 MPa in different cylinders. Low compression in individual cylinders may result from loose valve seats, damaged cylinder head gaskets, broken or burnt piston rings. Low compression in all cylinders indicates worn piston rings.
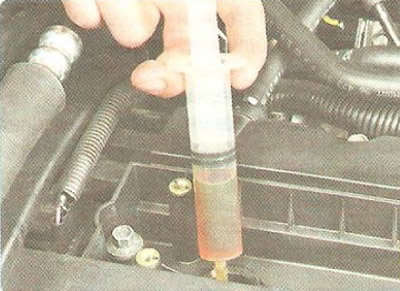
13. To determine the causes of insufficient compression, pour about 20 ml of clean motor oil into the cylinder with low compression and measure the compression again. If the compression meter readings have increased, the piston rings are most likely faulty. If the compression remains unchanged, the valve plates are not tightly seated on their seats or the cylinder head gasket is damaged.
Helpful Hint: The cause of insufficient compression can also be determined by feeding compressed air into the cylinder, in which the piston is preliminarily set to TDC of the compression stroke. To do this, remove the tip from the compression tester and attach the compressor hose to it. Insert the tip into the spark plug hole and feed air into the cylinder under a pressure of 0.2-0.3 MPa. To prevent the engine crankshaft from turning, engage the highest gear and brake the car with the parking brake. Air escaping (leaking) through the throttle assembly indicates a leak in the intake valve, and through the muffler - a leak in the exhaust valve. If the cylinder head gasket is damaged, air will escape through the neck of the expansion tank in the form of bubbles or into the adjacent cylinder, which is detected by a characteristic hissing sound.
The original article can be found on the resource chevyman.ru