


We remove the intake manifold assembly with the throttle assembly.
Disconnect the wire terminal from the negative terminal of the battery.
Drain the coolant from the engine cooling system (see Replacing the coolant).
Disconnect the air supply hose from the throttle body pipe (see Removal the throttle assembly).
Disconnect the throttle cable end from the throttle assembly sector (see Replacing the throttle cable).
Remove the fuel rail with injectors (see Removal the fuel rail and injectors).
We disconnect the engine management system wiring harness connectors from the throttle position sensor, idle speed controller, phase sensor, and exhaust gas recirculation valve.
Remove the wire tip from the coolant temperature gauge sensor (see Removal the coolant temperature gauge sensor).
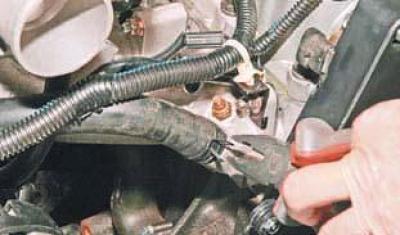
Using pliers, squeeze the clamp securing the coolant drain hose from the intake manifold channel..
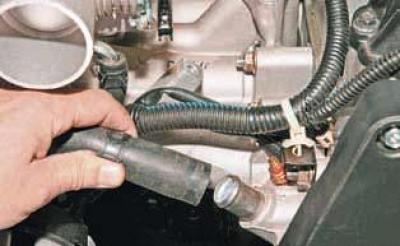
…and remove the hose from the manifold pipe.
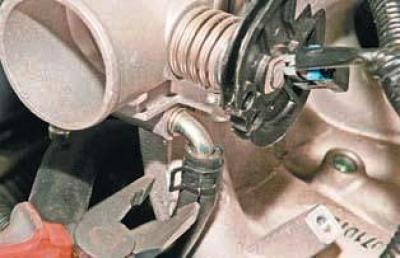
Using pliers, squeeze the clamp securing the coolant supply hose to the throttle assembly heating unit..
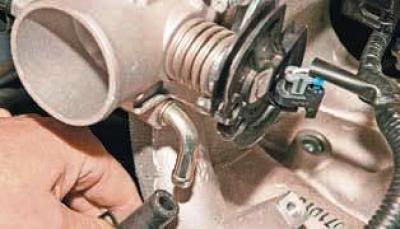
…and remove the hose from the block fitting.
Similarly, we remove the coolant drain hose from the other fitting of the throttle assembly heating unit.
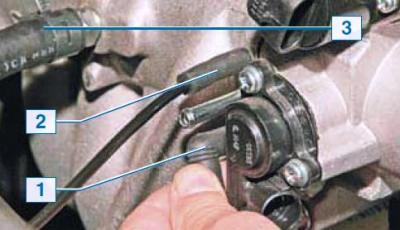
We disconnect the tips of the pipes of the purge valve of the adsorber 1 and the absolute air pressure sensor 2 from the fittings of the intake manifold, and also, having squeezed the clamp of the vacuum brake booster hose 3 with pliers.
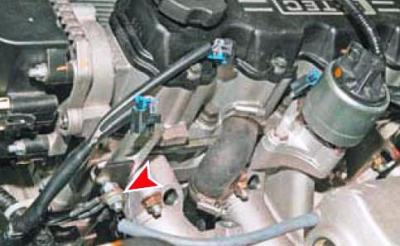
Using a 12 mm wrench or head, unscrew the nut securing the ends of the ground wires of the engine control system harness.
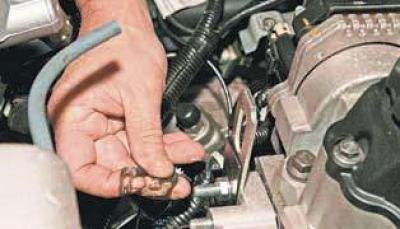
We remove the tips of the "ground" wires from the stud.
Using the same tool, unscrew the nut of the left intake manifold mount, which also secures the engine control system wiring harness bracket and the eye.
When loosening the intake manifold mounting nuts, the studs may come loose (see photo below).
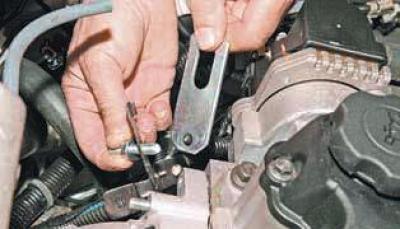
We remove the wire harness bracket and eye from the stud.
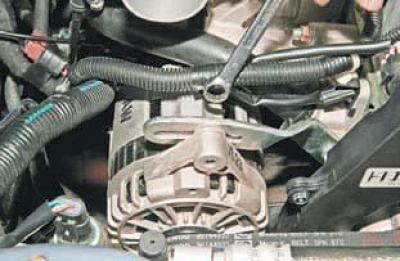
Using a 12 mm spanner, unscrew the adjusting bolt of the generator tension bar.
Remove the generator drive belt (see Replacing the alternator drive belt).
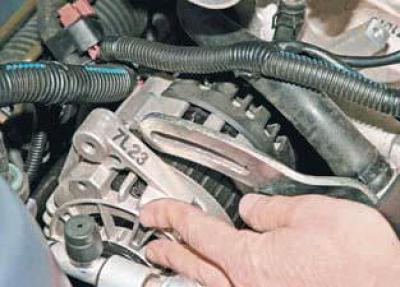
We move the generator towards the front panel.
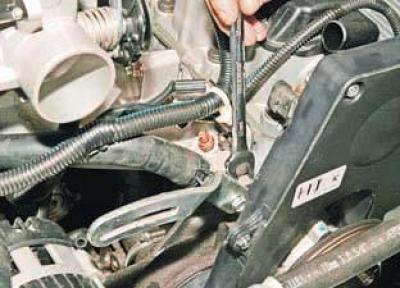
Using a 12 mm spanner, unscrew the generator tension bar mounting bolt…
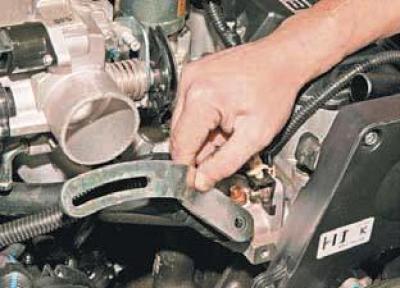
…and we take it off.
Using a 12 mm wrench or head, unscrew the nut on the right side of the intake manifold, which also secures the engine management system wiring harness.
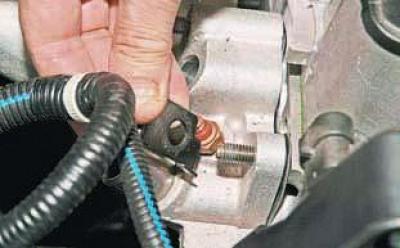
We remove the wiring harness bracket from the stud and move the wiring harness away from the intake manifold.
To make it easier to dismantle the intake manifold support bracket, remove the purge valve from the bottom of the car (see Removal the purge solenoid valve of the adsorber).
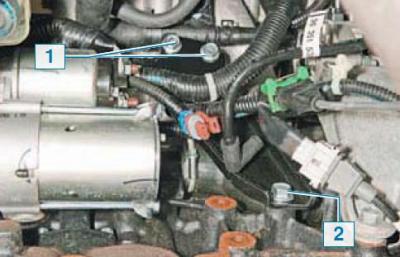
Using a 12 mm wrench, unscrew the two bolts 1 of the upper intake manifold support bracket, and using a 14 mm wrench, unscrew the bolt 2 of the lower bracket.
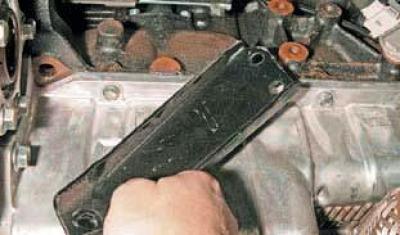
Remove the intake manifold support bracket.
Using a 12 mm wrench or head, unscrew 4 more nuts securing the intake manifold at the top and bottom.
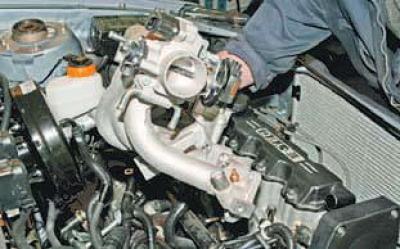
We move the intake manifold back and remove it from the studs.
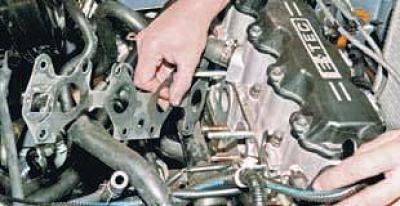
Remove the intake manifold sealing gasket.
We cover the holes in the cylinder head with rags to prevent dirt and any objects from getting into the engine.
We clean the mating surfaces of the intake manifold and cylinder head from carbon deposits and dirt.
We install a new sealing gasket.
We install the intake manifold in the reverse order.
We tighten the nuts of its fastening to the prescribed torque (Applications)…
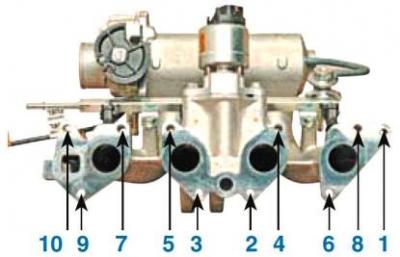
…in the sequence shown in the photo (for clarity, the mounting points are shown on the removed intake manifold).