


1500 Series, Early Models
1. Raise the vehicle and place safety posts under the frame.
2. Disconnect all tubes and hoses from the vapor accumulator.
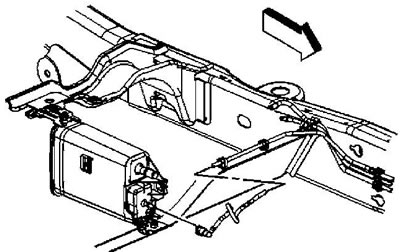
3. Plug all open holes.
4. Loosen the vapor accumulator mounting bolts. Tightening torque 25 Nm.
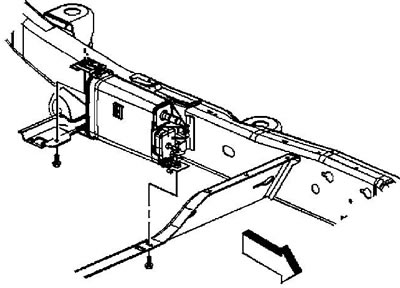
5. Remove the vapor battery.
6. Installation is carried out in reverse order.
1500 Series, Late Models
1. Raise the vehicle and place safety posts under the frame.
2. Loosen the fuel vapor canister bracket mounting bolts and lower the canister. Tightening torque 25 Nm.
3. Disconnect the fuel vapor accumulator pipe connector (1) from the fuel tank.
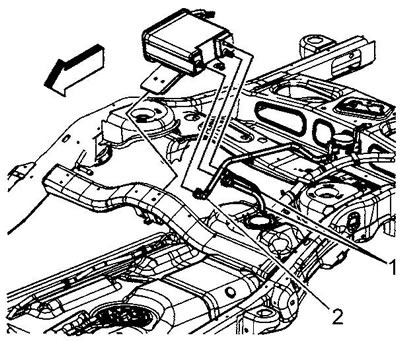
4. Disconnect the fuel vapor accumulator purge valve tube connector (1) from the accumulator.
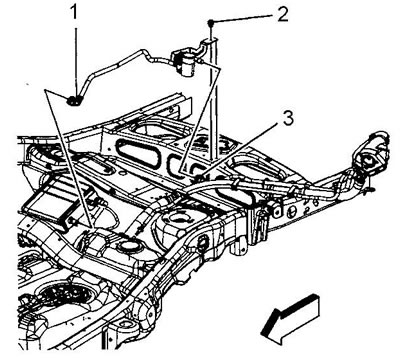
5. Remove the fuel vapor canister.
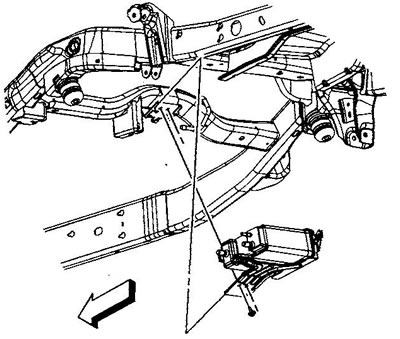
6. If necessary, loosen the mounting bolt and remove the battery from the bracket. Tightening torque 25 N·m.
7. Installation is carried out in reverse order.
2500 Series, Late Models
1. Remove the rear bumper footrest on the right side.
2. Raise the vehicle and place safety posts under the frame.
3. Disconnect the chassis wiring connector (1) of the fuel vapor canister purge valve.
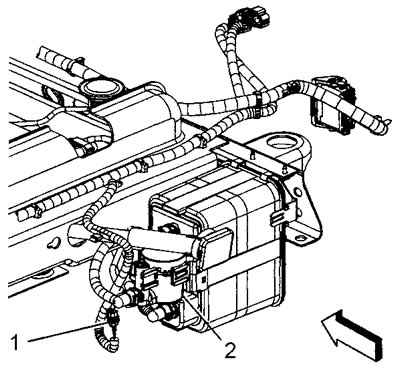
4. Disconnect the rear fuel tank pipe from the fuel vapor collector.
5. Loosen the fuel vapor accumulator mounting bolt.
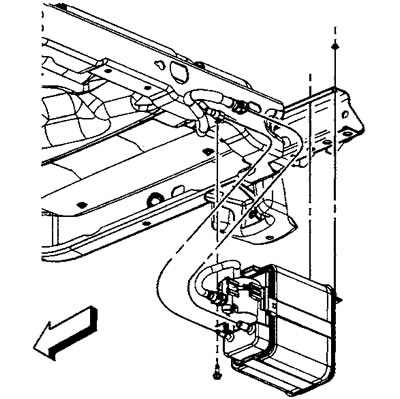
Tightening torque 25 Nm.
6. Lower the car halfway.
7. Loosen the nuts (1) securing the battery bracket.
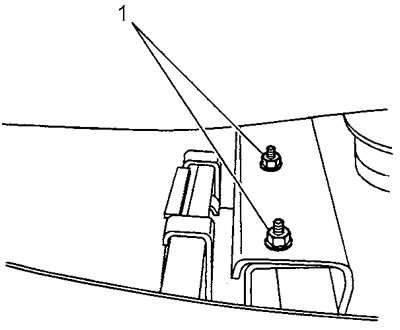
Tightening torque 25 Nm.
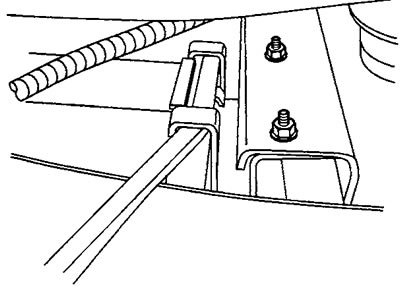
8. Using a flat-head screwdriver, release the front bracket clip.
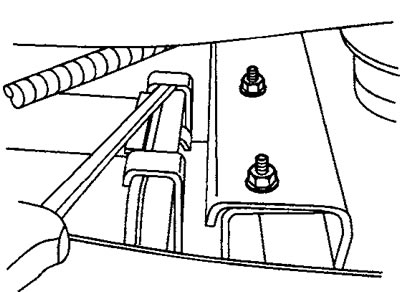
9. Using a flat-head screwdriver, release the rear bracket clip.
10. Remove the fuel vapor canister.
11. Plug any open holes to protect the system from dirt.
12. Disconnect the purge valve tube from the battery.
13. Installation is carried out in reverse order.
[Information taken from the official website ChevyMan]