
Contents: Removal ↧ Installation and adjustment ↧
Removal
1. Disconnect the negative battery cable.
2. Move the selector to the Park position and apply the parking brake.
3. Place chocks under the rear wheels to prevent the vehicle from accidentally rolling in either direction.
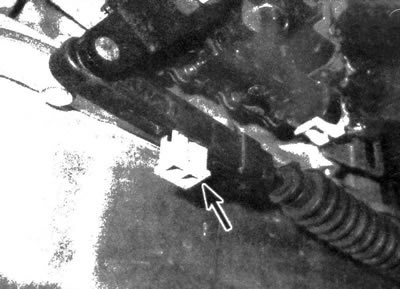
4. Carefully pry and disconnect the selector cable from the ball stud located on the gearbox lever (see illustration).
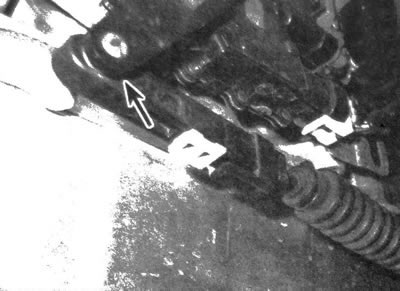
3.4. Disconnect the selector cable from the gearbox lever
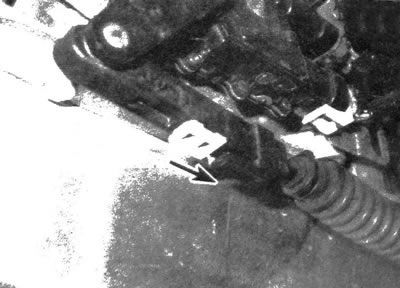
5. Remove the clamp and disconnect the selector cable from the bracket located on the gearbox (see illustration). Disconnect the cable from the holder located on the bottom side. When performing the procedure on a four-wheel drive model, it is necessary to disconnect the cable from the holder located on the transfer case.
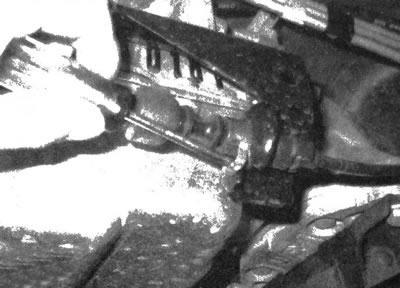
3.5. Remove the clamp and disconnect the selector cable from the bracket
6. Follow the direction of the cable to the rubber ring (to the point where the cable enters the floor). Pull and remove the ring from the hole (see illustration).
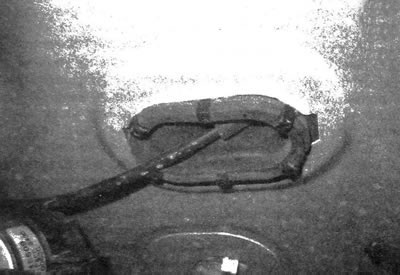
3.6 Pull and remove the ring from the hole
7. Remove the console (see chapter 11). Remove the rubber mat and carpet in the driver's niche.
8. Pry and remove the socket from the lever pivot ball and disconnect the selector cable from the gearbox lever (see illustration).
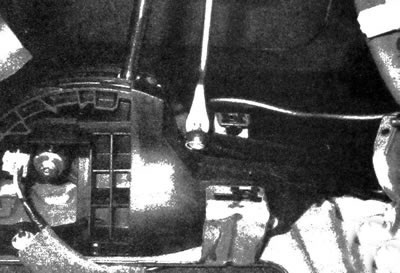
3.8. When performing the procedure in the cabin, carefully pry and disconnect the cable from the gearshift lever
9. Follow the direction of the cable to the rubber ring. Pull the cable through the floor hole and remove it.
Installation and adjustment
10. The cable is installed in the reverse order of removal, with the following steps.
11. Make sure that the selector lever and the gearshift lever are in the Park position. If in doubt about the position of the gearshift lever, turn it fully clockwise
12. Pull back the tab on the secondary lock cover and pull the cover away from the primary lock (see illustration). Squeeze the primary lock tabs to release it. then pull the primary lock up (see illustration). After this, the cable will be extended under the action of the spring, so that the end of the cable will be pulled beyond the ball stud of the gearbox lever.
3.12a. Lift the latch and pull the secondary lock in the direction indicated by the arrow...
3.12b....then squeeze the tabs and pull out the primary lock
13. Press the cable end in far enough to align with the ball stud, then snap it onto the stud.
Note: If the end of the cable is accidentally pulled too far, release it so that the spring force allows it to return behind the ball stud. Pressing the cable tip into the installation position must be done in one movement.
14. After connecting the cable to the gearbox lever, press the primary lock until its latches snap into place. Place the secondary lock over the primary lock.
15. Make sure that the gear shifting is correct in each range of the automatic transmission.
(The original article is on the website chevyman.ru)