
Necessary equipment
DW 100-130 Engine Overhaul Stand
KM-470-B Angular Torque Indicator
EN-48251 Crankshaft Rear Oil Seal Installer
EN-48249 Piston ring compressor
Disassembly procedure
1. Remove the engine. Follow the step "Engine assembly" in this section.
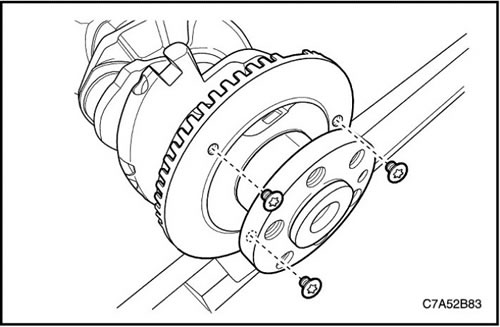
2. Remove the flywheel or flexplate screws.
3. Remove the flywheel or flexplate.
4. Install the engine on the DW100-130 engine overhaul stand.
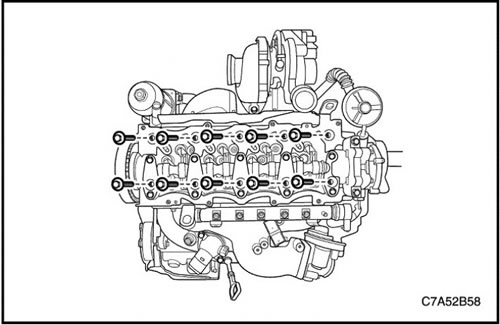
5. Remove the cylinder head. Follow step "Cylinder head and gasket" in this section.
6. Remove the oil pan. Follow step "Oil pan" in this section.
7. Remove the crankshaft balancer. See "Crankshaft balancer" in this section.
8. Remove the oil pump. See "Oil pump" in this section.

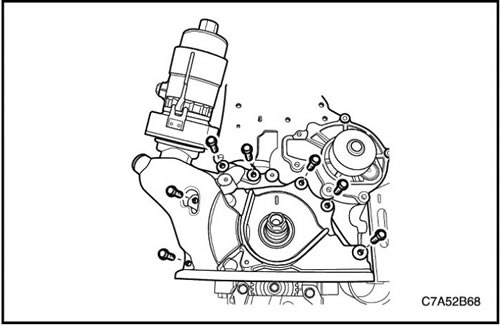
9. Remove the starter. See Part 1E1, Engine Electrical - 2.0 Diesel.
10. Remove the generator. See Part 1E1, Engine Electrical - 2.0 Diesel.
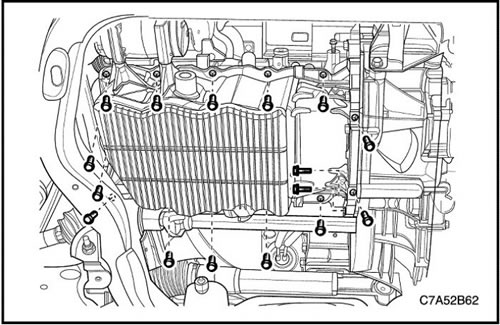
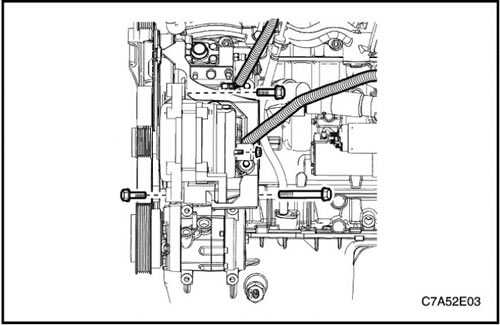
11. Remove the air conditioning compressor. See Section 7D, Automatic Temperature Control, Heating, Ventilation and Air Conditioning System.

12. Remove the air conditioning compressor and generator bracket.

13. Remove the connecting rod and piston.
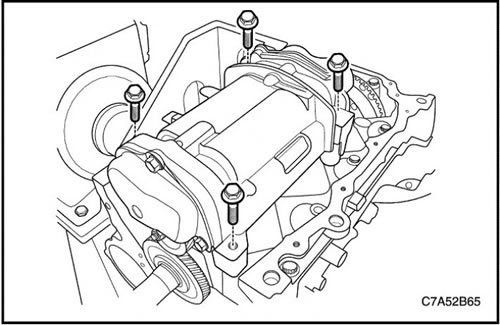
14. Remove the engine support plate.
15. Remove the crankshaft with the rear oil seal.
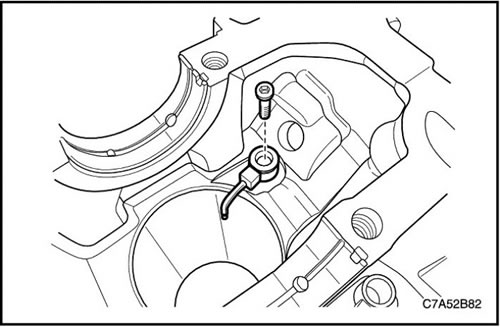
16. Remove the grease nozzle tube.
Cleaning procedure
1. Clean the sealing surface of the base plate.
2. Clean the sealing surface of the cylinder block.
3. Clean the base plate tie bolts.
4. Clean the base plate bolt holes.

Assembly procedure
1. Lubricate the main bearing with engine oil.
2. Install the grease nozzle tube.
Tighten
Tighten the grease nozzle tube mounting bolts to 23 N·m (17 ft·lbs).
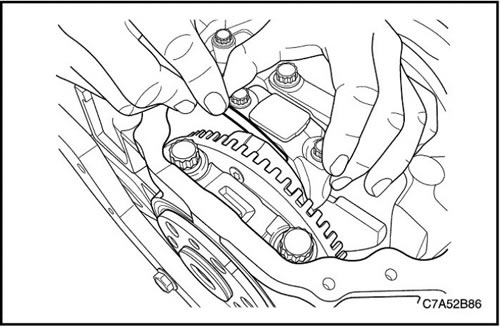
3. When replacing the crankshaft, the wheel with the "target" for the crankshaft position sensor (CPS) must be transferred to the new crankshaft.
Tighten
Tighten the tie bolts of the target wheel for the crankshaft position sensor (CPS) to 12 N·m (8.9 ft·lbs).
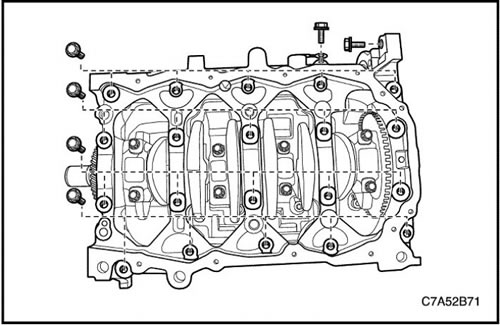
4. Install the crankshaft together with the main bearing shells.
5. Install the engine support plate. See "Engine support plate" in this section.
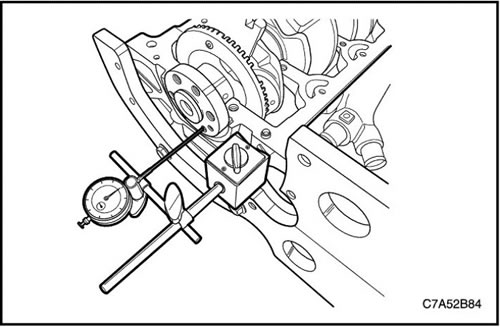
6. Check the crankshaft end play with the main bearings installed. Follow step "Engine Specifications" in this section.
7. Check the crankshaft end clearance. Follow step "Engine Specifications" in this section.
8. Lubricate the piston and rings with engine oil.
9. Inserting the piston and connecting rod using the piston ring compressor EN-48249.
10. Install the connecting rod head bolts.
Tighten
Tighten the big end cap bolts to 25 N·m (18.4 ft·lbs). Using the KM-470-B angular torque indicator, tighten the big end cap bolts an additional 90 degrees.
11. Check the connecting rod end clearance. Follow the step "Engine Specifications" in this section.

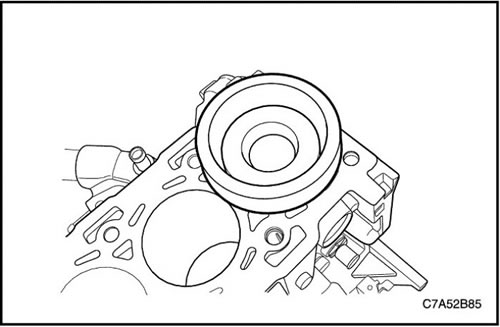
12. Install a new crankshaft rear oil seal using the EN-48251 crankshaft rear oil seal installer.
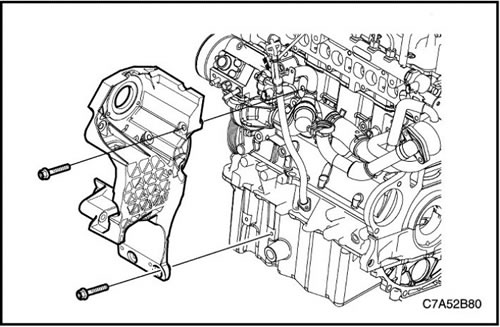
13. Install the air conditioning compressor and generator bracket.
Tighten
Tighten the A/C compressor and alternator bracket bolts to 35 N·m (25.8 ft·lbs).
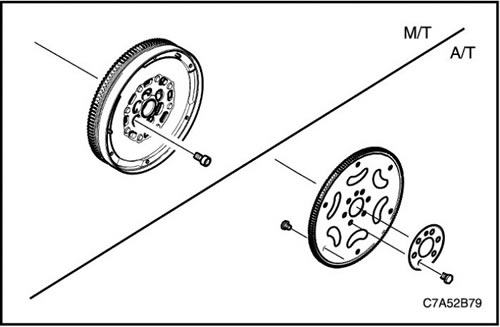
14. Install the flywheel or flex plate.
Tighten
Tighten the flywheel or flexplate pinch bolts to 105 N·m (77.4 ft·lbs).
[The original text can be found on the website: «CHEVYMAN»]