


2. Raise the vehicle and place it on stands.
3. Drain the transmission fluid and install the pan back in place.
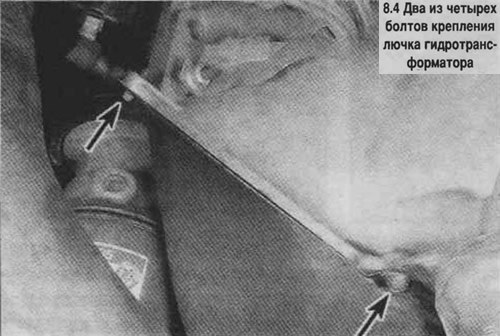
4. Remove the torque converter hatch (see photo).
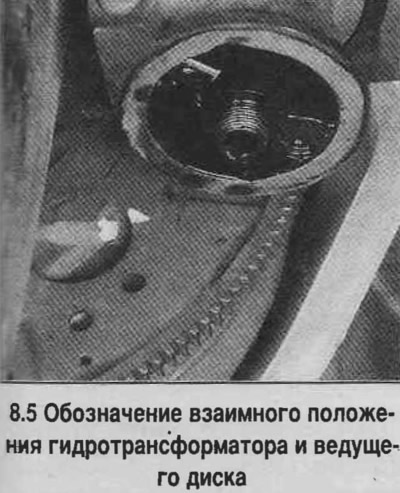
5. Mark the relative positions of the torque converter and the drive disk with a line (see photo).
6. Loosen the drive disk mounting bolts by turning the crankshaft clockwise to access each bolt.
7. Remove the starter.
8. Remove the driveshaft; on all-wheel drive models, remove the front driveshaft.
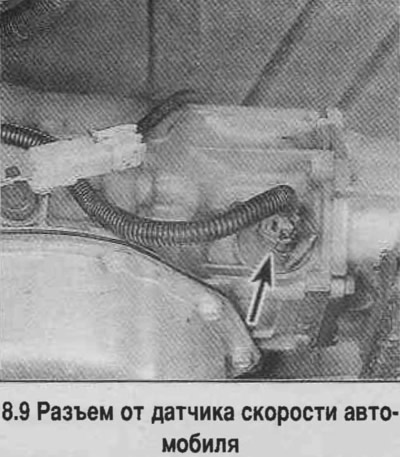
9. Disconnect the connector from the vehicle speed sensor (see photo).
10. Disconnect all wires from the transmission.
11. On vehicles with 3L80/3L80-HD (400/475) transmission, disconnect the vacuum hose from the modulator (on the right side of the transmission).
12. Remove any exhaust pipes that may interfere with transmission removal.
13. On vehicles with the 4L60 (700R-4) transmission, disconnect the throttle cable from the transmission.
14. Disconnect the shift rod or cable.
15. Jack up the engine using a board, under the oil pan.
16. Place a jack-trolley under the transmission. Secure the transmission with chains.
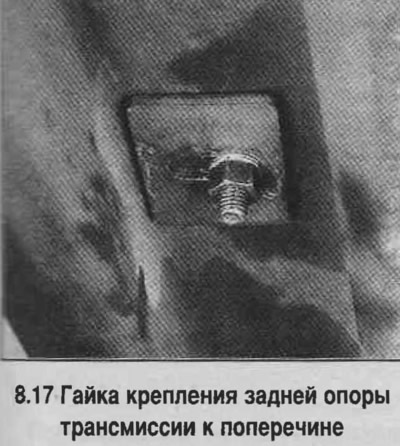
17. Loosen the nuts securing the rear transmission support to the crossmember (see photo).
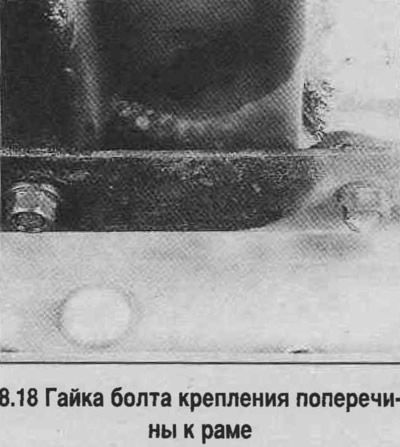
18. Unscrew the four nuts of the bolts (two on each side) fastening the crossbar to the frame (see photo).
19. Raise the transmission and remove the crossmember.
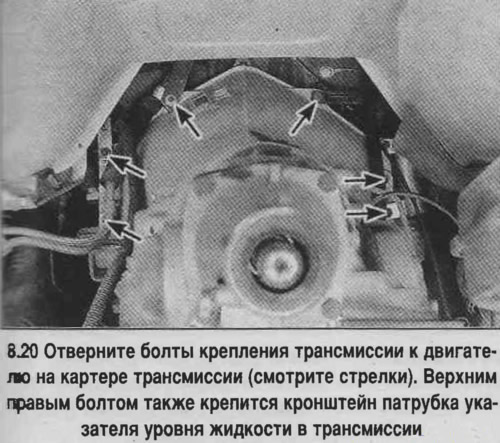
20. Loosen the transmission mounting bolts to the engine (see photo).
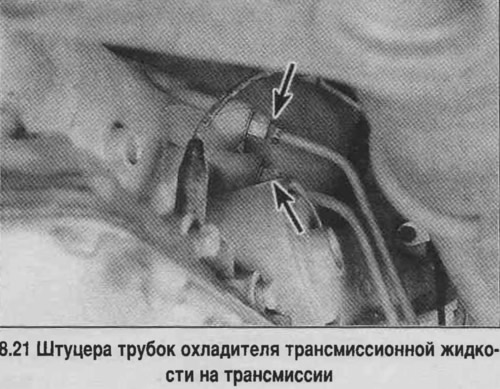
21. Lower the transmission and disconnect the transmission fluid cooler lines (see photo).
22. Remove the transmission fluid level indicator tube.
23. Move the transmission away from the engine, making sure the torque converter is clear of the drive plate. Secure the torque converter to the transmission to prevent it from falling out when removed.
24. Make sure the torque converter hub is securely fastened to the pump. On 1996 and later models, replace the transmission fluid cooler quick disconnects.
25. Raise the transmission and position it against the engine. Connect the transmission fluid cooler lines.
26. Turn the torque converter until the marks on the torque converter and the drive disk match.
27. While moving the transmission forward, install it in place so that the mounting pins enter the holes in the bell housing.
28. Install the transmission mounting bolts and tighten them.
29. Tighten the bolts securing the drive disk to the torque converter and tighten the bolts to the specified torque.
30. Install the crossmember and transmission support. Tighten the bolts and nuts.
31. Further assembly is carried out in reverse order.
The original article can be found on the resource: «ChevyMan»