
Front cover (from the radiator side)
1. Disconnect the cable from the negative terminal of the battery.
2. Remove the spark plug wires and remove the wiring harness cover (see illustrations). Before removing, number the wires to avoid confusion during installation.
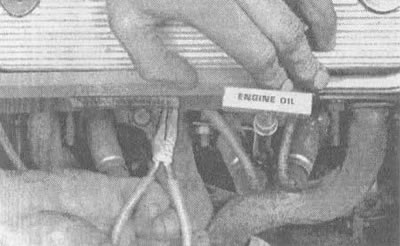
4.2a. Remove the wiring harness cover |
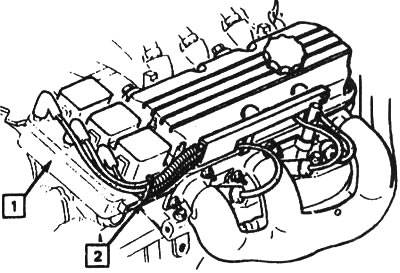
4.2b. Front valve cover parts: 1 - ignition coil, 2 - spark plug wire holder |
3. Remove the poly V-belt (see chapter 1, section 21).
4. Remove the generator bracket.
5. Unscrew the bolts and nuts securing the valve cover (see illustrations).
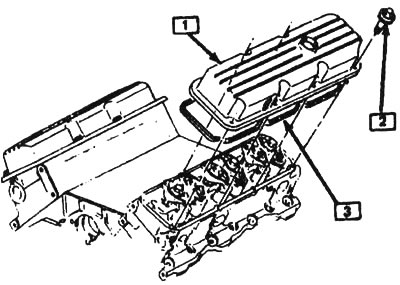
4.5. Location of valve cover fasteners: 1 - valve cover, 2 - bolt, 3 - gasket
6. Separate the valve cover.
Note: If the cover is stuck to the cylinder head, use a soft-faced hammer to dislodge it.
Back cover
7. Disconnect the cable from the negative terminal of the battery.
8. Disconnect the spark plug wires and remove the wire holder (see illustration). To avoid mistakes during assembly, mark each of them.
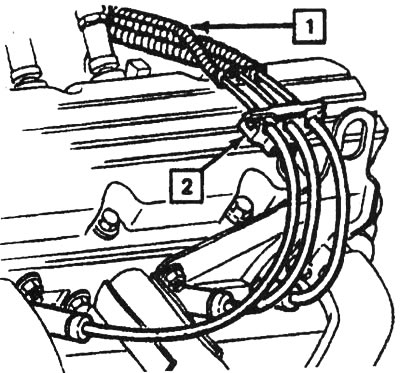
4.8. Location of the rear valve cover parts: 1 - spark plug wires, 2 - spark plug wire holder
9. Remove the poly V-belt (see chapter 1, section 21).
10. Remove the power steering pump and mounting brackets (see chapter 10, section 19).
11. Unscrew the bolts and nuts securing the valve cover.
12. Remove the valve cover.
Note: If the lid does not come off, try to remove it with a wooden mallet.
Installation
13. Before installing the covers, the mating surfaces of each cylinder head and valve cover must be absolutely clean. Use a suitable scraper to remove any remaining material from the old seal or gasket, then clean the mating surfaces with lacquer thinner or acetone (if there are traces of sealant or grease left on the mating surfaces when installing the cover, oil leakage may occur through these areas). The lids are made of aluminum, so be very careful not to scratch or deform the surfaces with the scraper.
14. Apply sealant to the threads of the mounting bolts and nuts. Replace the valve cover with a new gasket, then install the nuts and bolts.
15. Tighten nuts and bolts in several stages to the required torque specified in the technical data given in this chapter.
16. Complete the installation in reverse order. Don't forget to refill the coolant system if it was drained.
17. Start the engine and check for leaks at the joints between the valve cover and the cylinder head.