
2. The most likely causes of valve noise are dirt trapped between the plunger and valve lifter, as well as poor oil circulation, low viscosity, or insufficient pressure. Therefore, before you start removing the valve, check the oil for fuel; find out if its purity and viscosity meet the specifications.
Removal
3. Remove the valve cover (see section 4).
4. Remove the valve rocker arms and valve push rods (see section 5).
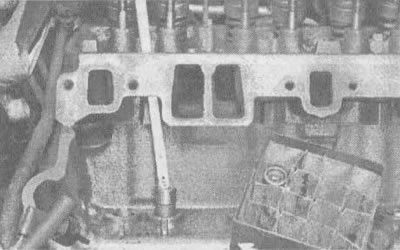
5. Remove the intake manifold (see section 7).
6. Remove the pushrod guide holder and pushrod guides (see illustrations).
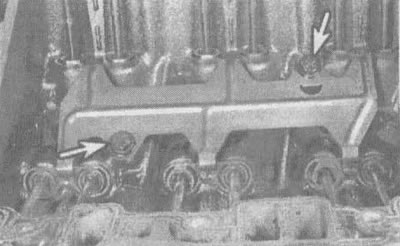
8.6a. The guide plate is held in place by two bolts (indicated by arrows) |

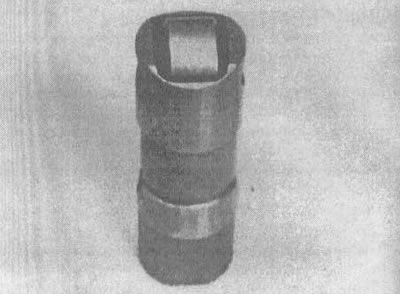
8.6b. The pusher guides are pulled onto the pushers |
7. There are several ways to remove the tappets from the holes. Many tool manufacturers make a special puller that allows you to grab and remove the plunger, but it is often possible to do without it. On late model engines with low carbon deposits, the tappets can often be removed with a small magnet or even just your fingers. You can also use a scriber's scribe with a curved end: its tip is inserted under the retaining ring located above each plunger.
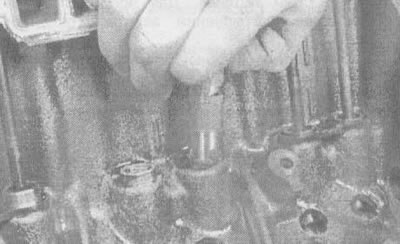
8.7 You can usually remove the tappets by hand
Caution: If you do not intend to replace the tappets, do not use pliers to remove them. Pliers can damage precision machined and hardened lifters, rendering them unusable.
8. Before removing the valve lifters, prepare a box with marked compartments for storing them so that you do not mix up their installation locations when assembling the unit. After removing the tappets, store them in a place where dirt cannot get in (see illustration).
8.8. On engines with high mileage, the tappets are removed using a special device. Store the pushrods so that they can be easily identified and installed in their original locations
Examination
9. Valve lifter parts are not sold separately. The effort required to remove them from the engine again if cleaning does not produce a positive effect is more expensive than repairing them.
10. Wash the tappets with solvent and dry thoroughly, being careful not to mix them up.
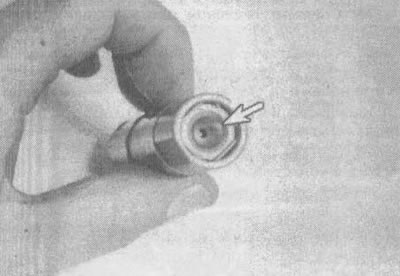
11. Check the bearing surfaces of each pushrod body and pushrod seat for signs of abrasion, scoring and uneven wear. If the tappet walls are damaged or worn, also check the tappet holes in the cylinder block. If the push rod seats are worn, check the condition of the push rod ends. Carefully inspect the rollers for wear or damage and ensure that they rotate freely and without excessive play (see illustration).
8.11a. At the top of each pushrod, check the pushrod seat (shown by arrow) for signs of wear |
8.11b. The roller should rotate freely. Also check to see if it is worn out or has excessive play |
Installation
12. Used roller tappets can be reinstalled on the new camshaft (if they are in good condition); you can also use the old camshaft if new tappets are installed (if it is not worn out).
13. If you are reusing the lifters removed from the engine, install them in the same holes from which they were removed. To remove air bubbles, dip the tappets in oil. Before installing the tappets, apply a coat of molybdenum grease or engine assembly oil to each of them.
14. The remaining points of this procedure are performed in reverse order.
15. After starting the engine, check for oil leaks.
(The article was borrowed from the website: chevyman.ru)