
1. Place the car on a level, horizontal surface if possible. If there are passengers in the vehicle, they should be disembarked.
2. Remove the spare wheel and tool kit.
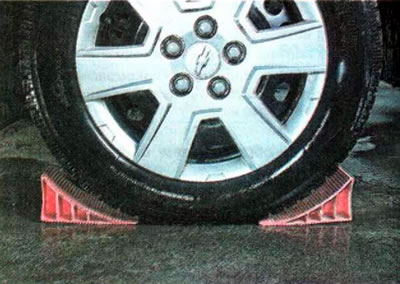
3. We secure the car with the parking brake and install wheel chocks on both sides under the wheel located diagonally from the one being replaced.
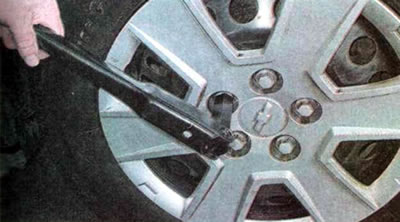
4. Using a 19 mm socket or wheel wrench, unscrew the nuts securing the decorative cap.
The nuts are fixed in the holes of the cap and remain on it.
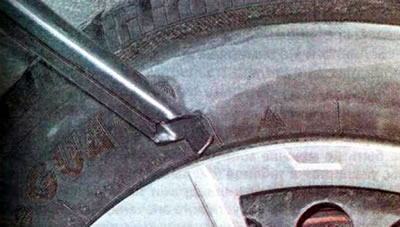
5. Using a special tip of the wheel wrench, carefully pry the decorative wheel cap around the entire circumference of the disk and remove it.
6. Using a 19 mm socket or wheel wrench, loosen all wheel mounting nuts by approximately half a turn.
7. Install the jack in a specially designated place, while the lower support platform of the jack should be located strictly under the upper stop.
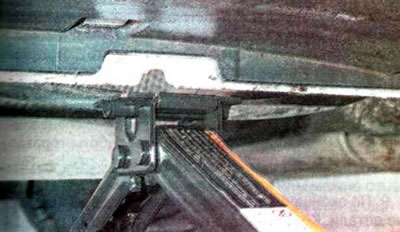
8. Smoothly lift the car, while simultaneously checking that it does not move forward or backward. We lift until the car wheel being replaced is at a distance of 2-3 cm from the supporting surface.
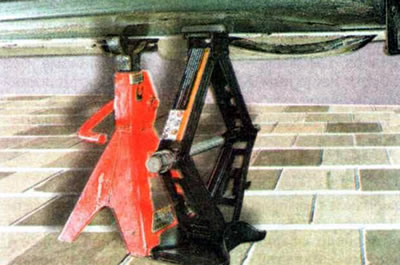
9. If the wheel is removed for installation work, place a stand under the body's power elements and lower the car onto it.
10. Finally, unscrew the mounting nuts and remove the wheel.
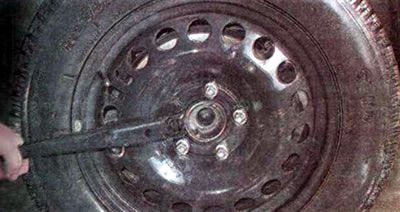
11. Clean the mounting surface of the hub and install the spare wheel on the hub. We tighten the wheel nuts.
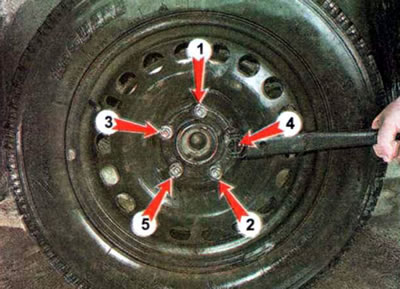
12. Holding the wheel from turning, tighten its mounting nuts in the specified sequence.
13. Smoothly lower the car until the wheel is in full contact with the supporting surface.
14. Finally, tighten the wheel mounting nuts according to the same scheme with the prescribed torque specified in the reference data.
Note: We recommend that you first tighten the nuts with a torque wrench to remember the force applied and the length of the lever. And then tighten with a wheel wrench.
16. Remove the jack and tool kit.
17. Check the tire pressure and, if necessary, bring it up to normal.
[The original article can be found on the resource: «ChevyMan»]