
2. Turn off the ignition.
Warning. Do not disconnect the battery when the ignition is on. This may cause damage to the vehicle's electrical equipment.
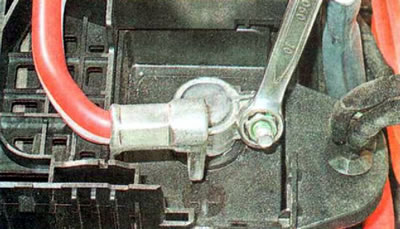
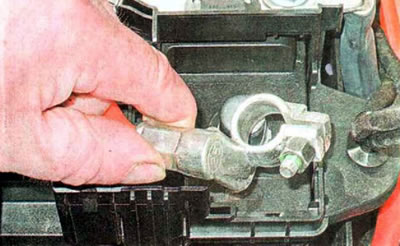
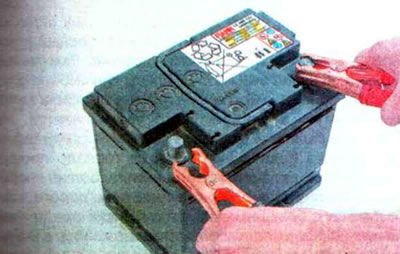
3. Using a 10 mm wrench, loosen the fastening nut...
...and remove the wire terminal from the negative terminal of the battery.

4. Release the retainer.
...and open the fuse box cover.
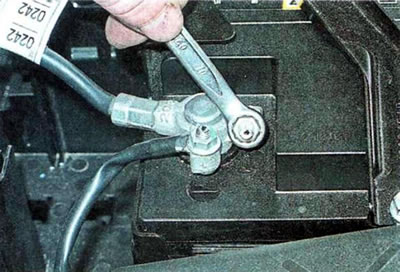
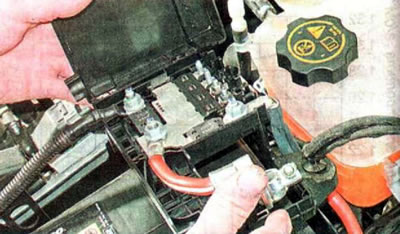
5. Using a 10 mm wrench, loosen the fastening nut...
...and remove the wire terminal from the positive terminal.
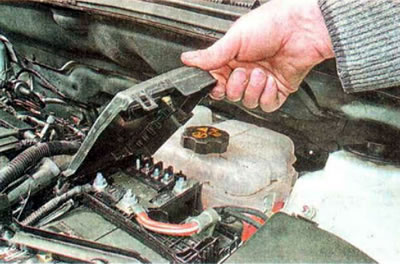
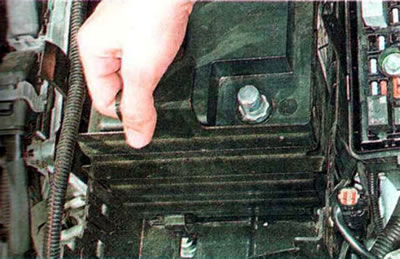
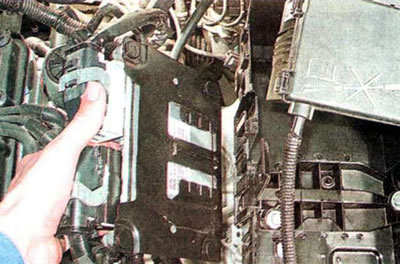
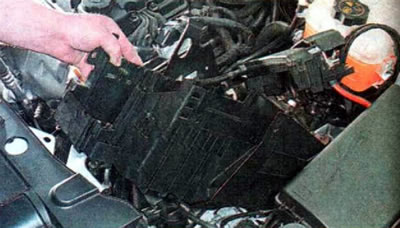
6. Using a thin slotted screwdriver, press the lock...
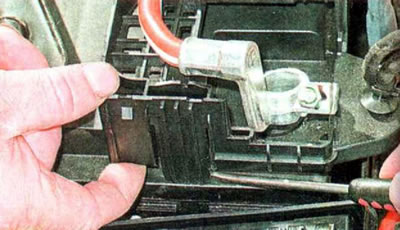
... and lifting it up, we disconnect the fuse box from the battery. For convenience, you can remove the cover from the fuse and relay box located nearby.
7. Using a 10 mm wrench, unscrew the mounting nut...
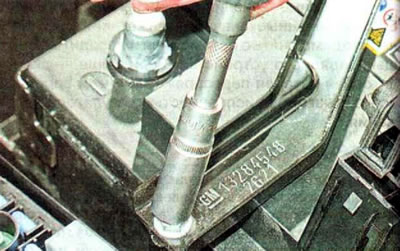
... and remove the pressure plate.
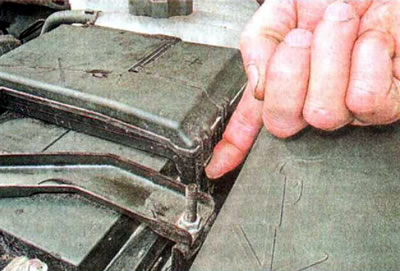
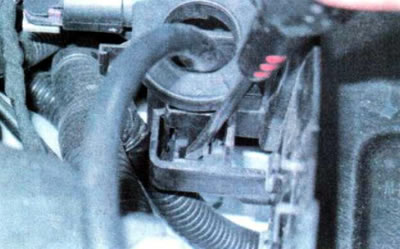
8. Using a slotted screwdriver, press the lock...

...and pulling up, we remove the battery protection.
9. Move forward and remove the battery.
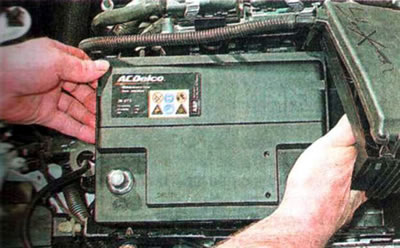
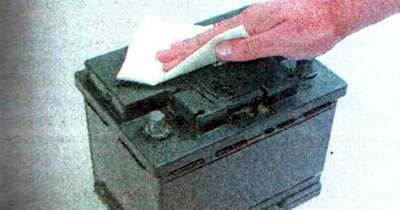
10. If you are installing an old battery, wipe its surface with a rag and clean the terminals and the inner surfaces of the wire terminals from oxides. We treat the battery terminals with a special cleaner.

11. Install the battery in reverse order. Tighten the terminal mounting nuts to a torque of 4.5 Nm, and the clamping bar nut to a torque of 12 Nm.
Warning. Battery terminals vary in diameter, with the positive terminal having a larger diameter. Reversing the polarity when connecting the battery will result in failure of the vehicle's electronic equipment.
12. To protect against environmental influences, apply technical petroleum jelly or protective varnish to the battery terminals with the clamps installed on them.
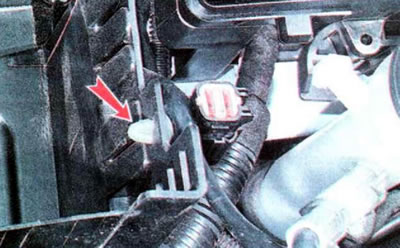
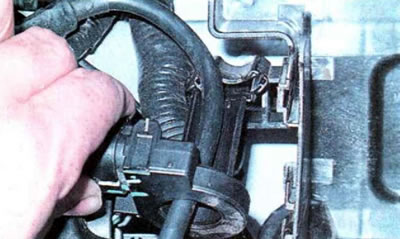
13. To remove the battery platform, open the wire harness holder...
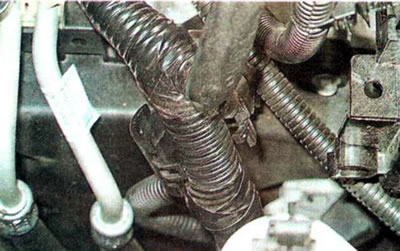
...we use a slotted screwdriver to press the lock...

...and pulling it up, we disconnect the electronic engine control unit.
14. On the left...
...and on the right we disconnect the wire harness holders from the platform.
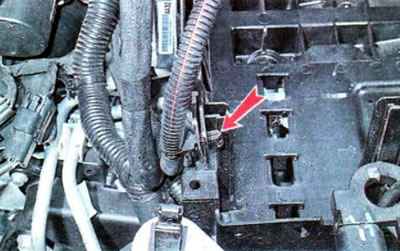
15. Using a thin slotted screwdriver, press the lock...
...and disconnect the battery current sensor from the platform.
16. Using a 13 mm wrench, unscrew the three mounting bolts...
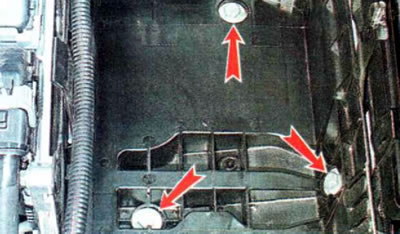
...and we rent a site.
17. Install the platform in reverse order. Tighten the platform mounting bolts to a torque of 15 Nm
Charger
The method of charging the battery depends on the characteristics of the charger, the type and condition of the battery. The work is shown using the example of charging a shallowly discharged open-type battery with a non-automatic charger. The basic steps in operation are common to all types of batteries and chargers. In any case, when charging the battery, you must use the instructions for the charger and battery (if available).
Warning. For charging maintenance-free batteries (closed type) use chargers with automatic voltage regulation and automatic shutdown (it is better if the charger has a mode for charging maintenance-free batteries).
Note: The battery must be charged in a well-ventilated area.
To complete the work you will need a charger, a hydrometer, and distilled water.
1. Remove the battery from the car (see above "Removal and installation").
Recommendation. If possible, charge the battery in a warm room with the electrolyte heated to a positive temperature.
2. Clean the outer surface of the battery with a rag soaked in a solution of baking soda, ammonia or a special product in an aerosol can.
3. Open the battery caps and check the electrolyte level in the battery sections, adding distilled water if necessary.
4. Connect (observing polarity) to the battery terminals of the charger and only then plug the charger into the network.
We set the charging current to about 10% of the nominal battery capacity. The charging current for a battery with a nominal capacity of 60 Ah should be 6 A. The charging time for a completely discharged battery is at least ten hours.
5. Charge the battery. We control the process by periodically checking the charge level, measuring the density of the electrolyte or the voltage at the battery terminals.
6. When the voltage at the battery terminals reaches about 14.4 V, reduce the charging current by half.
7. Stop charging the battery after all of its batteries begin to emit gas: first, disconnect the charger from the power supply and only then disconnect the wires from the battery terminals. If gas is not released in one of the cans, then most likely there is a short circuit between the plates and the battery is faulty.
8. Close the caps of the cans and install the battery in the car.
[The original text can be found on the website ChevyMan]