


Contents: Trunk lid (sedan) ↧ Rear door (hatchback) ↧ Fuel filler door ↧ Removal and installation the trunk… ↧ Trunk lock retaining bracket ↧ Rear door (hatchback) ↧ Rear door lock retaining bracket ↧ Rear door lock ↧ Fuel filler door ↧ Fuel filler door remote control… ↧
Trunk lid (sedan)
The trunk lid consists of inner and outer panels, rolled around the perimeter and connected with structural glue. The lid is secured to the hinges with screws. To facilitate opening and holding the lid open, reaction rods are provided.
Rear door (hatchback)
The rear door consists of a steel frame with glass. The steel frame consists of inner and outer panels, rolled around the perimeter and connected with structural adhesive. Gas strut assemblies help open the door and hold it open.
Fuel filler door
The fuel filler door is located on the right side of the vehicle. It is secured with screws to hinges located in a recess in the side of the body.
Removal and installation the trunk lid
Removal
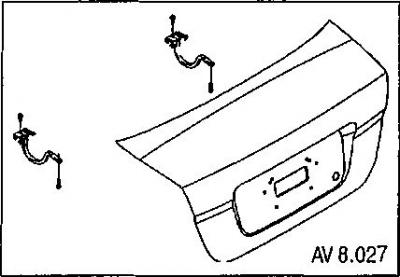
1. Disconnect the electrical connector.
2. Disconnect the electrical wiring from the trunk lid hinge bracket.
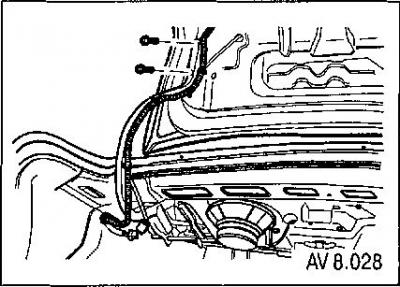
3. Unscrew the bolts and remove the trunk lid.
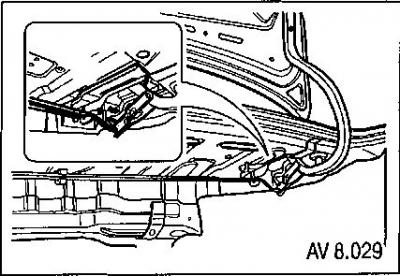
When installing, tighten the boot lid mounting screws to a torque of 10 Nm.
Trunk lid remote control cable and handle
4. Remove the left wheel arch trim.
5. Remove the trunk corner trim.
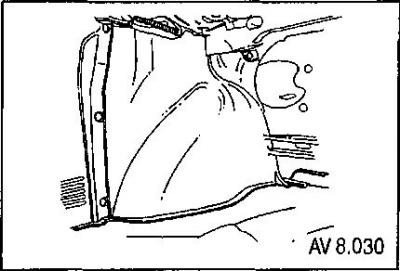
6. Remove the rear trunk trim.
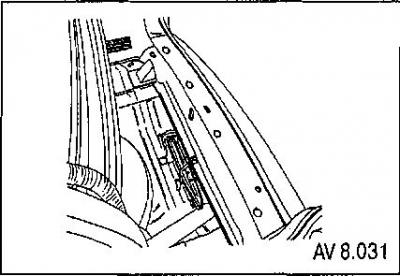
7. Disconnect the cable from the lock.
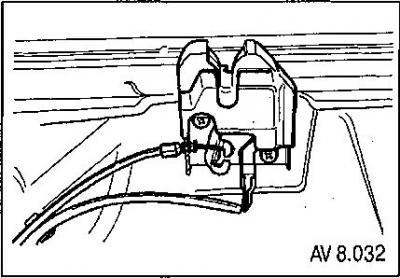
8. Remove the front driver's seat and rear seats.
9. Remove the floor carpet from the left side of the vehicle.
10. Unscrew the fastening screw and remove the handle.
11. Disconnect the cable from the handle.
12. Remove the cable.
When installing, tighten the remote control cable handle mounting screw to a torque of 8 Nm.
Boot lid torsion balancers (sedan)
13. Disconnect the torsion bars from the trunk lid hinge bracket.
14. Disconnect the torsion bars from the trunk lid hinges.
Trunk lock
15. Unscrew the screws and remove the trunk lock.
16. Disconnect the electrical connector.
17. Disconnect the lock rod.
18. Disconnect the cable from the lock.
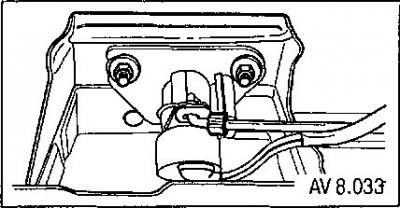
When installing, tighten the trunk lock screws to 6 Nm.
Trunk lock retaining bracket
Removal
19. Remove the rear trunk trim.
20. Unscrew the mounting screws.
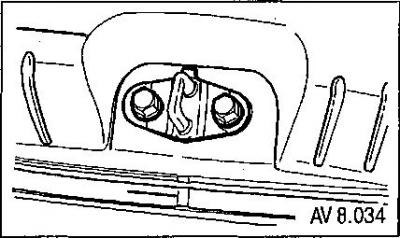
21. Remove the lock bracket.
Installation
Installation is carried out in the reverse order of removal.
When installing, tighten the trunk lock bracket screws to 8 Nm.
Rear door (hatchback)
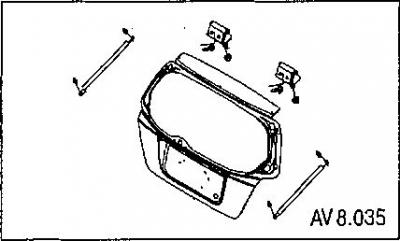
Removal
1. Open and support the rear door properly.
2. Remove the door seal, electrical connector and windshield washer hose.
3. Unscrew the mounting nuts and remove the gas strut assemblies from the door and body.
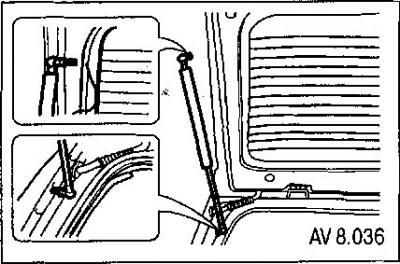
4. Together with an assistant, unscrew the mounting screws and remove the door from its hinges.
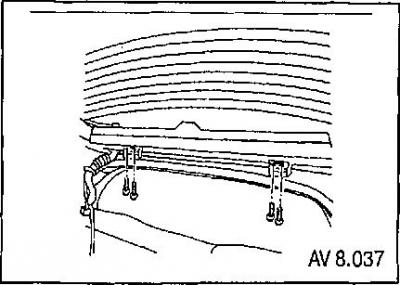
Installation
1. With the help of an assistant, install the door on the hinges and tighten the fastening screws.
2. Check the position of the door relative to the opening.
3. Tighten the door mounting screws to the hinges to a torque of 20 Nm.
4. Install the gas strut assemblies on the door and body.
5. Tighten the gas strut stud mounting nuts to a torque of 8 Nm.
6. Connect the electrical connector, washer hose and seal.
Rear door lock retaining bracket
Removal
1. Open the back door.
2. Remove the rear trunk trim
3. Remove the lock limiter mounting screws.
4. Disconnect the cable from the lock retaining bracket.
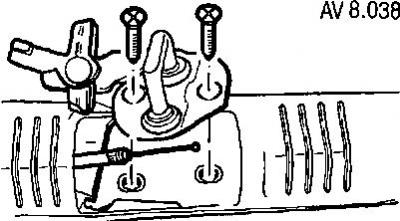
Installation
1. Connect the cable to the lock retaining bracket.
2. Install the lock retaining bracket using screws.
3. Tighten the mounting screws to a torque of 20 Nm.
4. Install the rear trunk trim.
Rear door lock
Removal
1. Open the back door.
2. Remove the lower door trim molding.
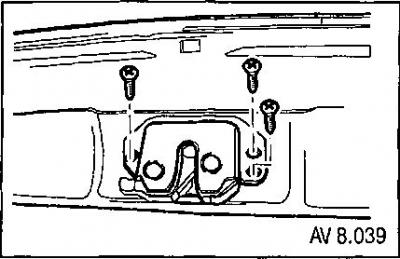
3. Remove the mounting screws and the lock.
4. Disconnect the lock rods and electrical connector.
Installation
Installation is carried out in the reverse order of removal.
When installing, tighten the door lock mounting screws to a torque of 6 Nm.
Fuel filler door
Removal
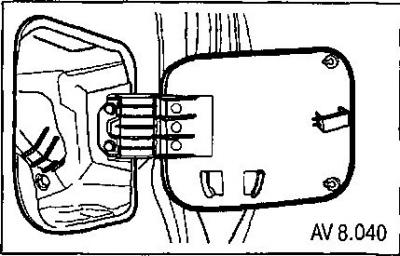
Remove the mounting screws and the fuel filler door.
When installing, tighten the fuel filler door mounting screws to a torque of 2 Nm.
Fuel filler door remote control cable and handle
Removal
1. Open the trunk.
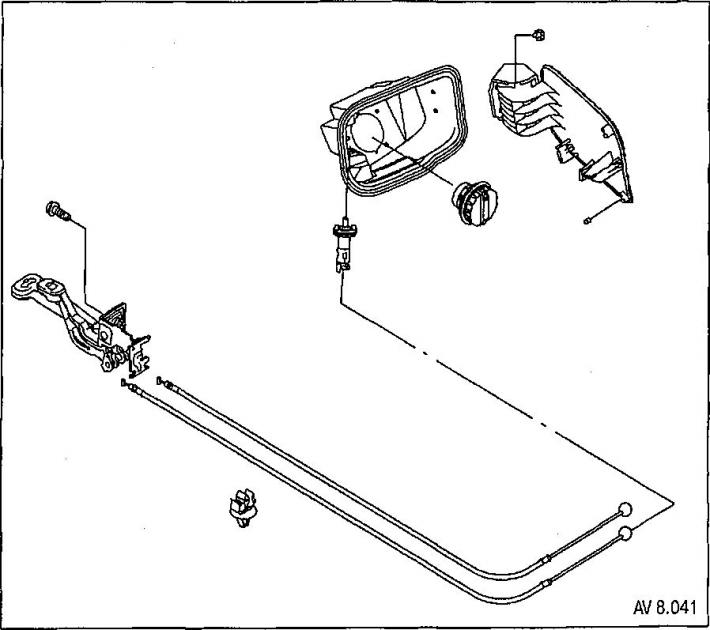
2. Remove the trunk wheel arch trim, rear corner trim and rear trunk trim.
3. Disconnect the cable from the fuel filler door.
4. Remove the front driver's seat and rear seats.
5. Remove the floor carpet from the left side of the vehicle.
6. Remove the fastening screw and the cable handle.
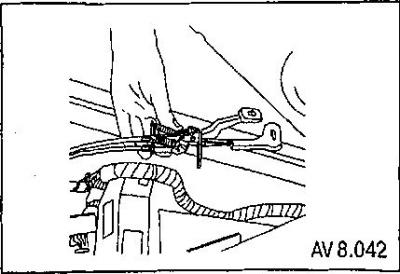
7. Disconnect the cable from the handle.
8. Remove the cable.
Installation
Installation is carried out in the reverse order of removal.
When installing, tighten the remote control cable handle screw to a torque of 8 Nm.
[The article was reprinted from the website «ChevyMan.ru»]