


Contents: Front bumper trim ↧ Removal and installation the front… ↧ Removal and installation the rear… ↧
The bumper system is designed in such a way that the vehicle can withstand without damage a collision with a stationary barrier at a speed of 8 km/h.
After absorbing the collision energy, this system is restored to its original position.
Bumpers are structurally composed of two elements: an impact energy absorber and a polymer lining.
Bumpers can be removed and installed as a unit, as an assembly or individually.
The front and rear bumpers contain an internal foam energy absorber and a polymer liner. To gain access to the energy absorber and bumper, the liner must be removed. The front bumper can be removed as a unit, in an assembly, or the bumper liner can be removed separately.
Front bumper trim
With the front wheels removed:
1. Unscrew the screws, bolts, nuts and remove the mudguard from the front wheel well;
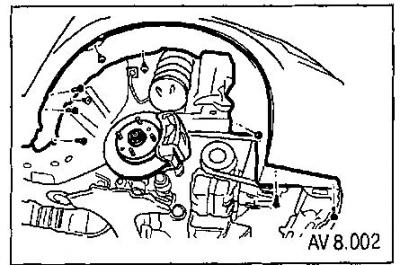
2. Remove the headlights, turn signal repeater bulbs and front fog lights;
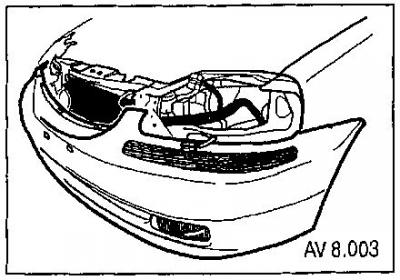
3. Unscrew the screws securing the niches to the forest;
Removal and installation the front bumper
Removal
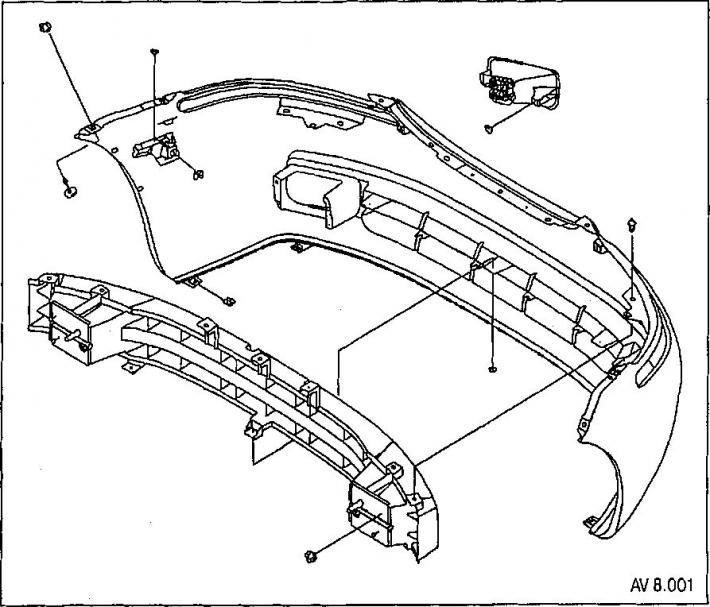
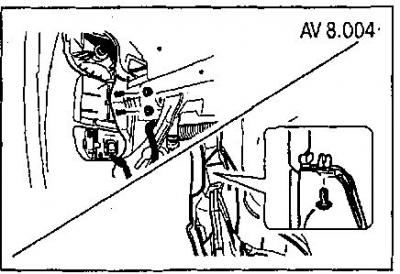
4. Remove the nuts from the trim;
5. Remove the screws under the trim;
6. Remove the screws from the top of the trim;
7. Remove the front bumper trim.
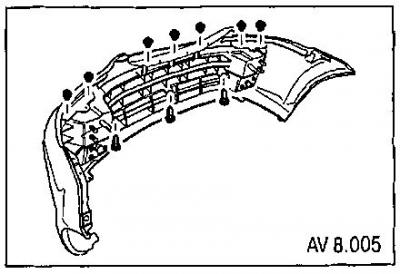
Front Bumper Energy Absorber
8. With the front bumper trim removed, unscrew the mounting nuts.
9. Remove the front bumper energy absorber.
When installing, tighten the fastening elements to the following torques:
- front bumper energy absorber mounting nuts - 27 Nm;
- screws, bolts, nuts of the front wheel well and mudguard - 1.5 Nm.
Installation
Installation is carried out in the reverse order of removal.
Removal and installation the rear bumper
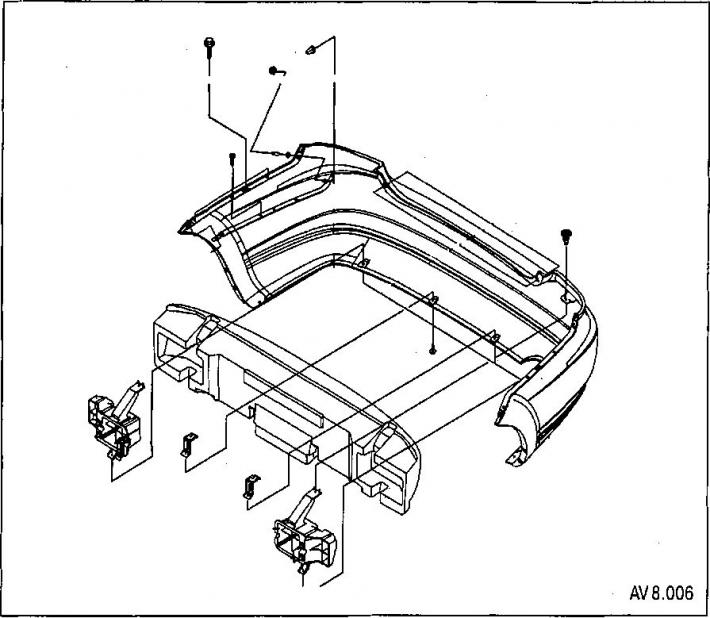
Removal
1. Remove the rear wheels
2. Unscrew the mounting screws and remove the mudguard.
Loosen the mounting screws and remove the mudguard.
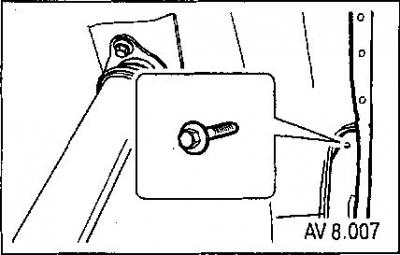
3. Remove the screws behind the bumper trim.
4. Remove the nuts from the rear of the bumper energy absorber.
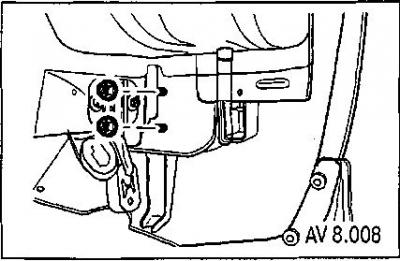
5. Remove the rear corner trim from the trunk.
6. Unscrew the screws securing the bumper trim in the trunk.
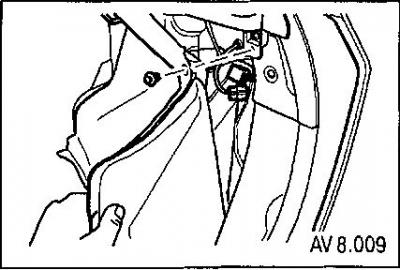
7. Remove the screws and outer trim under the tail lights.
8. Remove the screws securing the trim under the rear lights.
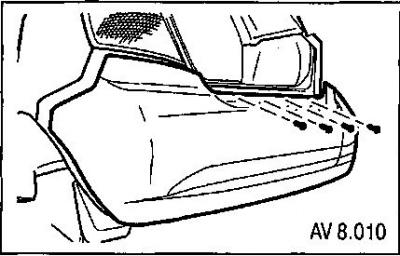
9. Remove the rear upper trim screws.
10. Remove the energy absorber.
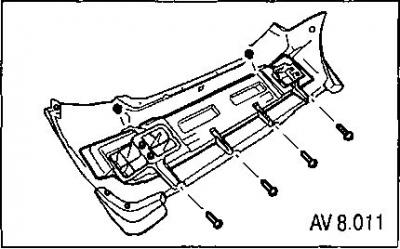
11. Remove the bumper trim
Installation
Installation is carried out in the reverse order of removal.
When installing, tighten the fastening elements to the following torques:
- rear bumper energy absorber nuts - 27 Nm;
- bumper trim mounting screws - 10 Nm;
- luggage compartment trim mounting screws - 5.5 Nm;
- screws for fastening mudguards and mud flaps - 1.5 Nm.
The original article is on the website «chevyman.ru»