


Contents: Preliminary check (all models) ↧ Pressure check ↧ Checking the fuel pump (for all… ↧ Checking the fuel pump relay (for… ↧
Note: To perform a fuel pressure test, a fuel pressure gauge and a fuel injection system test adapter kit are required.
Preliminary check (all models)
1. If the fuel system does not work due to interruptions in the supply of the required amount of fuel, inspect the fuel system as follows.
2. First of all, make sure there is fuel in the gas tank.
3. With the engine running, inspect the connections of each fuel line at both ends for leaks. Eliminate leaking connections (couplings, pipelines). Check all hoses for kinks or bends that may restrict fuel flow.
Pressure check
4. Relieve the pressure in the fuel system (see section 2).
Cars with distributed injection system PFI (3.8L engine)
5. Install the fuel pressure gauge (J-34730-1) at the pressure regulator valve (see illustration 2.4).
6. Turn the ignition key to the "ON" position, turning off the air conditioner. The fuel pump should run for about 2 seconds - note the pressure gauge reading. After the pump stops, the pressure should remain constant. It must be within the range specified in the specifications of this chapter.
7. Start the engine and let it idle at normal operating temperature. The pressure should drop 3-10 psi. If all pressure readings are within the range described in the specifications in this chapter, the system is operating normally.
8. If the pressure does not drop 3-10 psi after starting the engine, apply 12-14 inches of vacuum to the pressure regulator. If the pressure drops, repair the vacuum corrector in the pressure regulator. If the pressure does not drop, replace the regulator.
9. If the fuel pressure is not within specifications, check as follows:
- a) If the pressure is higher than the specification, check that the regulator is not damaged, the fuel bypass hose or tube is not pinched or clogged.
- b) If the pressure is lower than that specified in the technical specifications:
- c) Check the fuel filter - make sure it is not clogged.
- d) Check for pinched or clogged fuel lines between the fuel tank and the fuel rail.
- d) Check the pressure regulator for proper operation.
- e) Inspect the fuel line for leaks.
- g) Check if the vacuum corrector hose is pinched, damaged or disconnected.
- h) Check for leaks at the injectors.
- i) Check the fuel pump valve inside the tank.
10. After completing the work, release the fuel pressure (see section 2) and remove the pressure gauge,
11. If there are no problems with the system parts described above, check the fuel pump (see below).
Cars with TV central injection system! (3.1L engine)
12. Relieve the pressure in the fuel system (see section 2).
13. Install the fuel pressure gauge between the fuel supply hose and the throttle body inlet. During this test, the fuel lines will be under high pressure, so tighten the connections securely to prevent leaks.
Note: If you don't have fasteners (adapters) to connect the fuel line to the pressure gauge, use a special tool available at spare parts stores.
14. With the ignition off, connect a 12 V voltage source via a fused wire to the fuel pump test terminal (red wire) and mark the pressure value (see illustration).
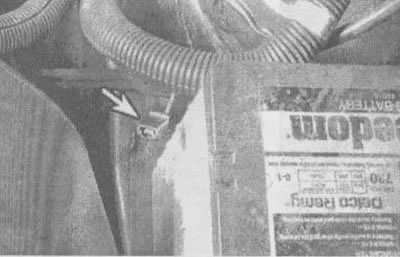
3.14a. The fuel pump control terminal is located near the battery
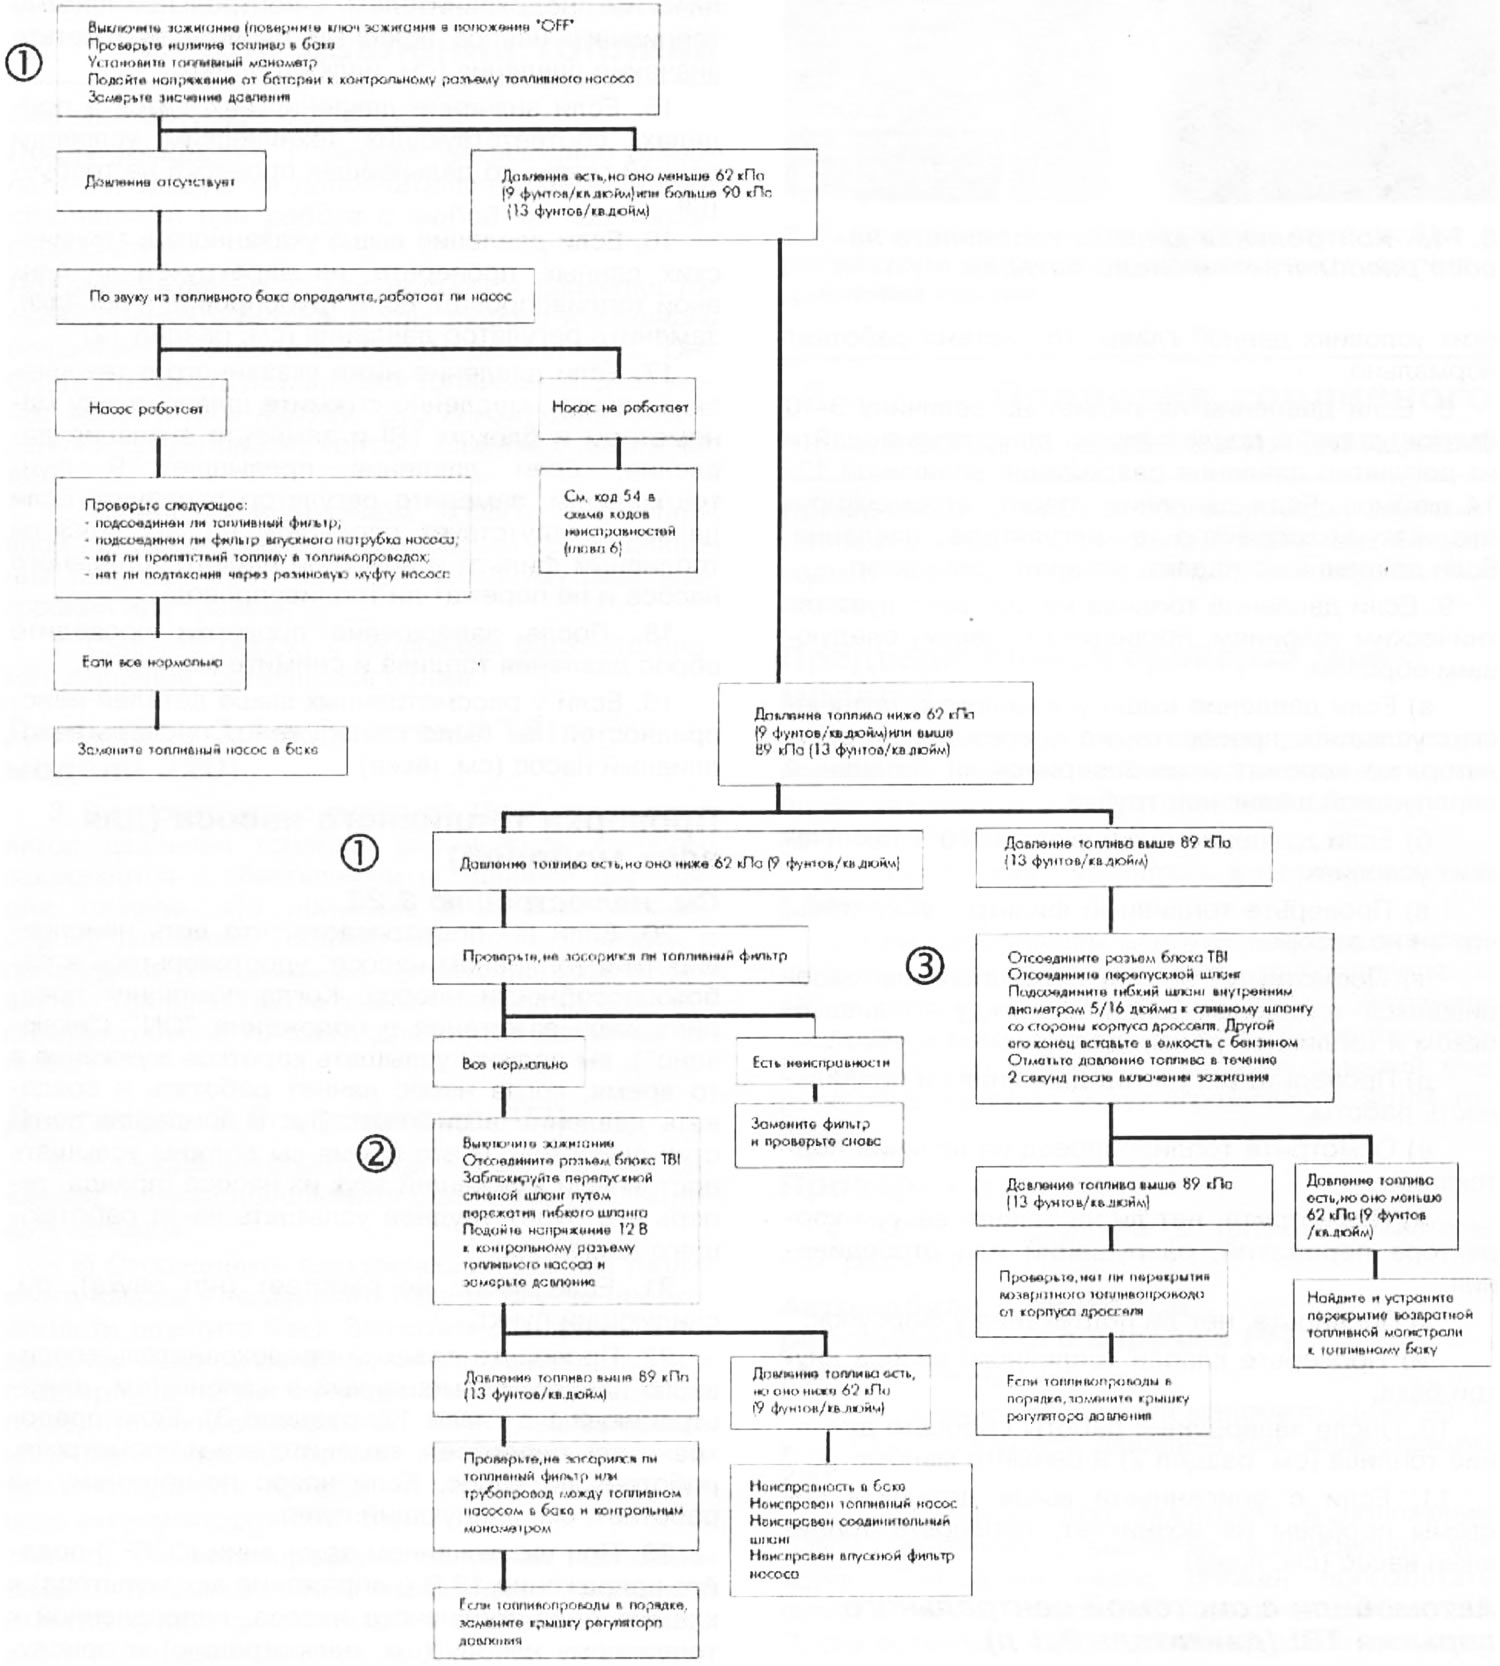
15. If the pressure value is within the limits corresponding to the technical conditions of this chapter, then no further checking is required.
16. If the pressure is higher than specified in the technical data, check that the fuel drain line is not kinked. If the pipeline is OK, replace the pressure regulator (see section 12)
17. If the pressure is lower than the specification, slowly squeeze the hose between the pressure gauge and the TBI unit and measure the pressure value. If the pressure exceeds 9 psi, replace the pressure regulator. If there is no pressure, check to see if the fuel filter and fuel pump inlet filter are clogged or if the fuel line is pinched.
18. After completing the check, relieve the fuel pressure and remove the pressure gauge.
19. If no faults were found with the above parts, check the fuel pump (see below)
Checking the fuel pump (for all models)
20. If you suspect that there is a problem with the fuel pump, make sure that the pump is working properly. When your assistant turns the ignition key to the "ON" position, you should hear a short buzzing sound as the pump starts to operate and build pressure in the system. Have an assistant start the engine. At this time, you should hear a constant buzzing sound from the pump (true, it will now be harder to hear because of the running engine)
21. If the pump does not work (no sound), see the next point.
22. Check the fuel pump fuse located in the passenger compartment (see illustration 3.1 in chapter 12, section 3). If the fuse is blown, replace it and see if the pump works. If the pump still does not work, see the next step.
23. With the ignition switched off ("OFF"), apply 12 V voltage (battery voltage) to the fuel pump relay terminal directed to the fuel pump (see illustration) and listen to see if the fuel pump is working.
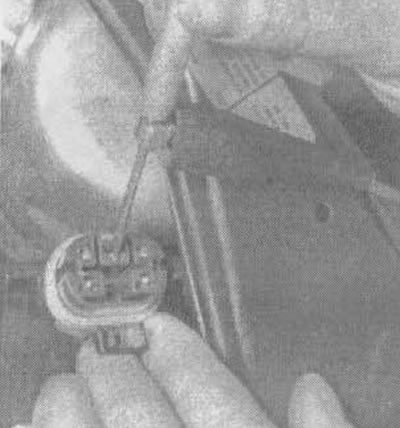
3.23. Apply voltage from the battery to the gray wire on the fuel pump relay terminal and listen to see if the fuel pump starts working
Note: The location of the relay is indicated on illustrations 6.2a and 6.26 in Chapter 12, Section 6.
24. If the pump works, check the fuel pump relay. If the pump does not work, check the circuit between the relay and the fuel pump for an open. If the circuit is not open, disconnect the electrical connector at the fuel pump. Apply battery voltage to the pump terminal with the gray wire. Short the terminal with the black wire to ground. If the fuel pump now starts working, then everything is OK; check all connectors and wires again. If it doesn't work, then the pump is broken. Replace the fuel pump.
Checking the fuel pump relay (for all models)
25. To check the fuel pump relay, disconnect the relay (see illustrations 6.2a and 6.26 in chapter 12) and connect the test lamp to the dark gray with white terminal and have your assistant turn the ignition key to the "ON" position (see illustration). The indicator lamp should light up for 2-3 seconds and then turn off automatically.
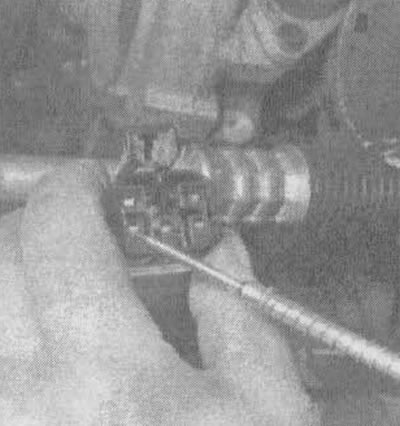
3.25. With the key in the ignition switch, check the battery voltage at the dark gray and white terminal of the fuel pump relay connector (shows details of a 3.1 liter engine)
26. If the test passes but the fuel pump relay does not work (if it works, you should hear a click from the relay when the assistant turns the ignition key to the "ON" position; if the relay is connected), replace the fuel pump relay with a new one. If there is still no voltage, check the ECM/PCM and fuel pump circuits for shorts and opens.
(The original article is on the website «ChevyMan»)