
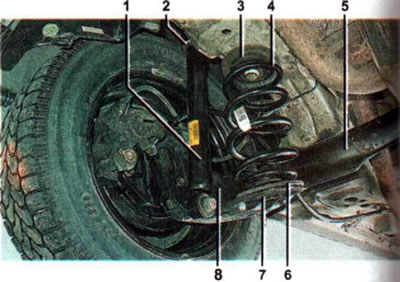
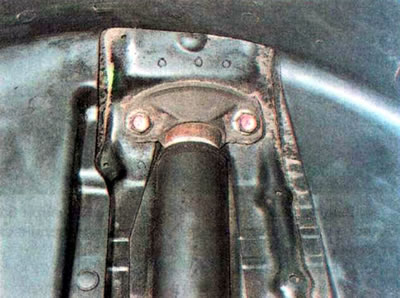
Rear suspension details: 1 - shock absorber; 2 - shock absorber protective cover; 3 - upper spring cushion; 4 - spring; 5 — rear suspension beam; 6 - lower spring cushion; 7 - lower spring support cup; 8 — longitudinal lever
U-shaped rear suspension beam. Thanks to this design, it has greater bending rigidity and less torsional rigidity. At the front, the beam arms are secured to the body brackets via silent blocks pressed into them, which provide the arms with mobility.
The springs are installed separately from the shock absorbers. Their upper support cups are attached to the body side member, and the lower ones are made integral with the longitudinal arms. The shock absorbers are attached to the lever via silent blocks. The shock absorber rod is covered with a protective cover, preventing dust and dirt from getting in.
The longitudinal arms are attached to the axle journals with wheel hubs and brake mechanisms.
Checking the technical condition
The technical condition check must be carried out in accordance with the maintenance plan.
You can assess the technical condition of the suspension while the car is moving. When driving at low speed on an uneven road, the suspension should operate without knocking, creaking or other extraneous sounds. After driving over an obstacle, the car should not swing.
Recommendation. It is better to combine checking the condition of the suspension with checking the tires, wheels and wheel bearings.
Note: One-sided wear of the rear tire tread indicates deformation of the rear suspension components.
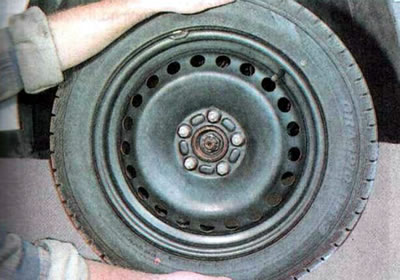
To carry out the work, you will need an inspection pit or overpass.
1. We prepare the car for maintenance and repair.
2. We check the shock absorbers and, if a fault is detected, replace them.
Note: The performance of the shock absorbers should be checked immediately after a long trip, while the working fluid in the shock absorbers has not cooled down.
Note: To avoid affecting vehicle handling, replace shock absorbers only in pairs.
3. By lifting the rear wheels of the car one by one, we check the condition of the hub bearing. To do this, we use our hands to rock the wheel in a vertical plane. To make sure that the play is not caused by faulty suspension components, repeat the check with the brake pedal pressed. If the play has disappeared, the bearing is to blame. But sometimes you can eliminate the play by tightening the nut to the specified tightening torque.
Note: When checking the suspension silent blocks, the vehicle must be on a supporting surface.
4. Place the vehicle on an inspection ditch or overpass.
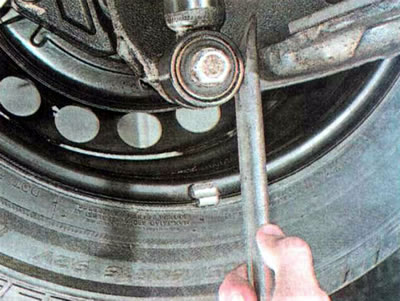
5. Check the condition of the silent block of the rear suspension trailing arm by shaking it with a mounting blade.
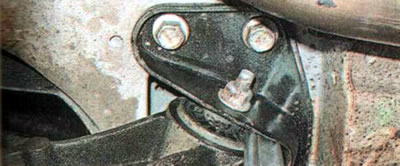
6. Check the condition of the shock absorber silent blocks.
7. Make sure that the shock absorber is securely attached to the body.
8. Inspect the rear suspension springs. Sagging, deformed or broken springs must be replaced simultaneously on both sides of the vehicle.
9. Check the correct installation of the springs: the ends of the coils should rest against the special projections of the support cups.
10. We check the rear suspension on the other side of the car in the same way.
11. Inspect the suspension parts. Deformation and fatigue cracks in suspension parts are not allowed. We replace damaged parts (see relevant sections).
Recommendation. The reliability of the suspension elements is very important to ensure safe operation of the vehicle. Therefore, in strict accordance with the maintenance plan, check the tightening of all fastening bolts and nuts to the prescribed tightening torques of threaded connections.
(The original article can be found on the resource «CHEVYMAN.RU»)