


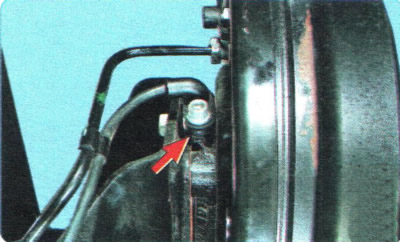
The rear wheel speed sensor is installed in the hole of the rear suspension knuckle. To replace it, follow these steps:.
NOTE: The left rear wheel speed sensor removal and installation are shown. The right rear wheel speed sensor is removed and installed in the same way.
1. Disconnect the wire from the negative terminal of the battery.
2. Install the anti-rollback stops ("shoes") under the front wheels and loosen the nuts securing the corresponding rear wheel. Lift the rear of the vehicle, place it on secure supports, and remove the rear wheel.
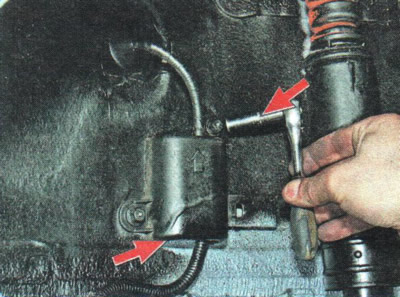
3. In the rear wheel arch, unscrew the two nuts securing the cover of the electrical connector of the sensor wiring harness...
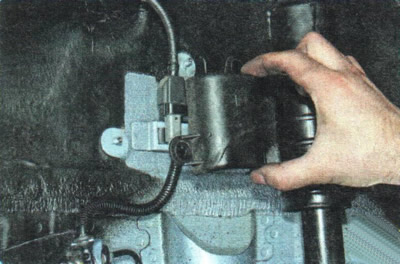
4. ...and remove the cover.
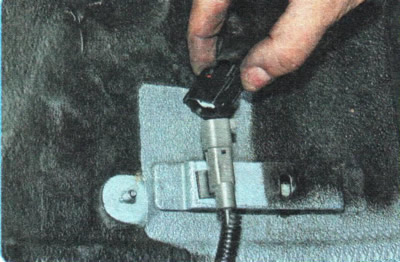
5. Squeeze the retainer and disconnect the sensor connector.
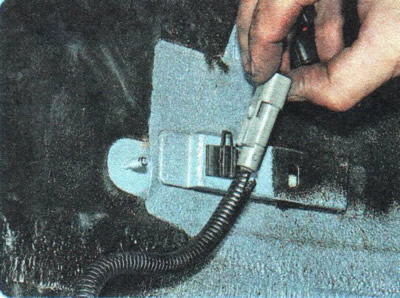
6. Disconnect the sensor connector from the holder on the body.
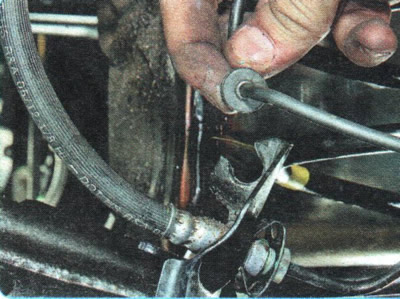
7. Remove the wire harness from the holder on the suspension arm.
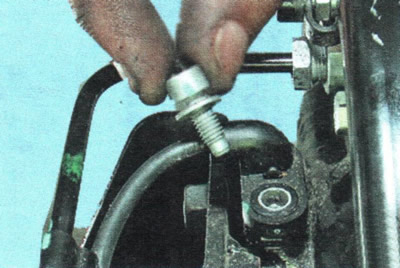
8. Unscrew the bolt securing the sensor to the rear suspension knuckle...
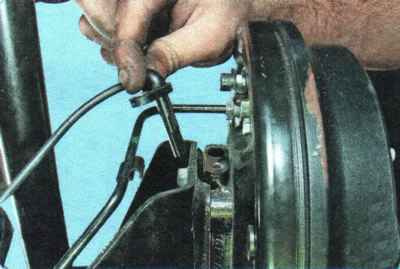
9. ...and remove the sensor from the knuckle hole.
10. Install the rear wheel speed sensor in the reverse order of removal.
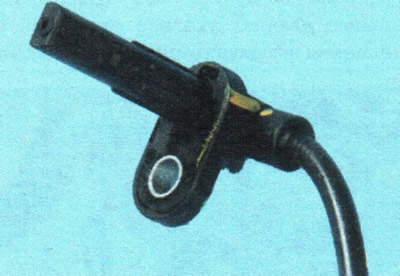
WARNINGS: When installing the rear wheel speed sensor, carefully align the hole in its housing with the threaded hole in the knuckle. Do not rotate the sensor around the longitudinal axis during installation.
The increase in resistance to the sensor movement should be felt only in the last 2 mm before it is fully seated in the knuckle. If the sensor enters the knuckle hole with great resistance from the very beginning of installation, remove the sensor and eliminate the cause of jamming (dirt, burrs on the body, etc.).
It is strictly forbidden to press in the wheel speed sensor with a hammer.