


For rear wheel drive models only.
1. Servicing of the front wheel bearings is generally not required. However, the condition of the bearings should be checked each time the front of the vehicle is lifted.
2. If any noticeable play is detected when rocking the wheel in the vertical plane, it is necessary to disassemble the hub assembly, change the grease in the bearings, or replace the bearings.
3. Prepare a wooden block measuring 25x12x50 mm to insert it onto the brake disc between the pads.
4. Remove the wheel.
5. Remove the brake caliper, move it to the side and secure it (Chapter 9).
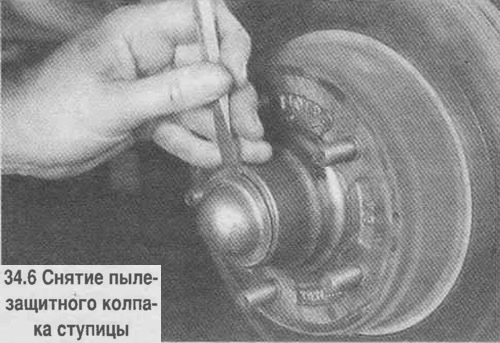
6. Pry up and remove the hub dust cap (see photo).
7. Unpin the nut (see photo).
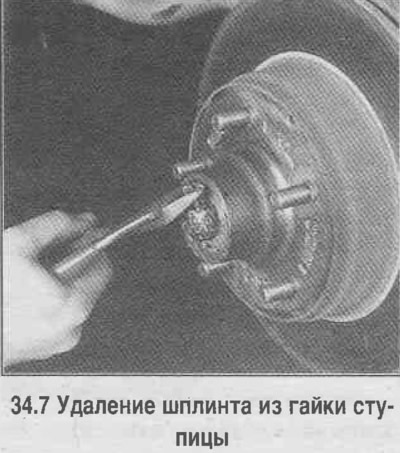
8. Unscrew the nut and remove the washer from the journal (see photo).
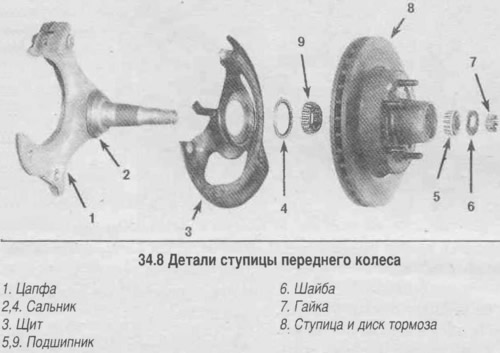
9. Push the hub/disc assembly toward you, then back. This will release the outer bearing from the hub and allow it to be removed.
10. Remove the hub/disc assembly from the journal.
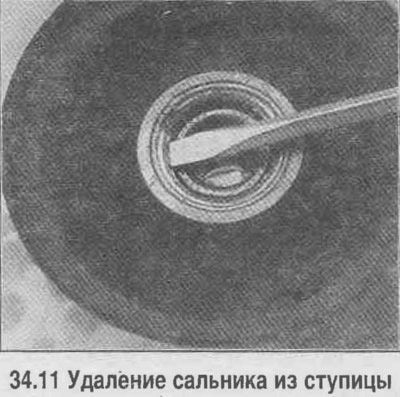
11. Remove the seal from the inside of the hub (see photo). Note the initial installation of the seal.
12. Remove the inner wheel bearing from the hub.
13. Remove old grease by washing the bearings and hub with solvent. Dry the parts.
14. Check the condition of the bearings, the presence of cracks, chipping, wear of the rollers, and other defects. Check the condition of the outer bearing races in the hub. If defects are found on the bearing races, the races should be replaced at a car service center. After replacing the races, the bearings are also changed (it is not allowed to install old bearings in new bearing housings).
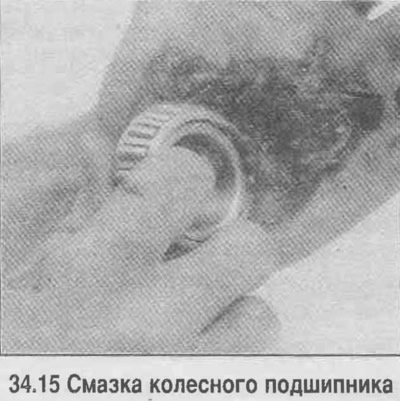
15. Put high-melting grease into the bearings. The grease should get into the gaps between the rollers and the inner race (see photo).
16. Apply a thin layer of grease to the bearing seats and the seal lip on the journal.
17. Lubricate the thrust surfaces of the outer bearing races.
18. Install the inner bearing into the hub.
19. Install the new seal into the rear of the hub and press it in using light hammer blows through a wooden block until the seal surface is flush with the hub.
20. Carefully install the step knot; in place, insert the outer bearing.
21. Install the washer and screw on the nut. Tighten the nut to 15 Nm.
22. Rotate the hub to remove excess grease. Rotation will cause the rollers to move into place in the bearings.
23. Make sure that the tightening torque of the nut has not changed (15 Nm).
24. Loosen the hub nut.
25. By hand (not with a key!) tighten the nut with a jerk until it stops. Secure the nut with a new cotter pin by inserting it through the hole in the threaded end of the journal. If the hole and slot in the nut do not match, slightly loosen the nut until they match. To install the cotter pin, the nut can be unscrewed no more than 1/2 turn from its original position (after manual tightening).
26. Bend the ends of the cotter pin so that they are flush with the nut. Trim the ends of the cotter pin if necessary.
27. Then assembly is performed in reverse order. When finished, check the wheel play by shaking it in a vertical plane.
The original source of the article is the website: «CHEVYMAN.RU»