


Rear shaft
2. Raise the vehicle and support it on stands. Place the transmission in neutral. The parking brake should be released.
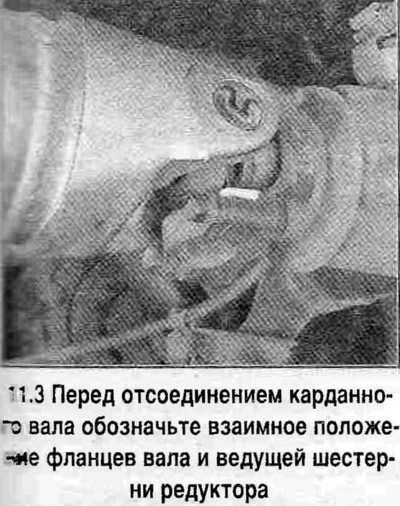
3. Mark the relative positions of the flanges of the cardan shaft and the drive gear of the gearbox (see photo).
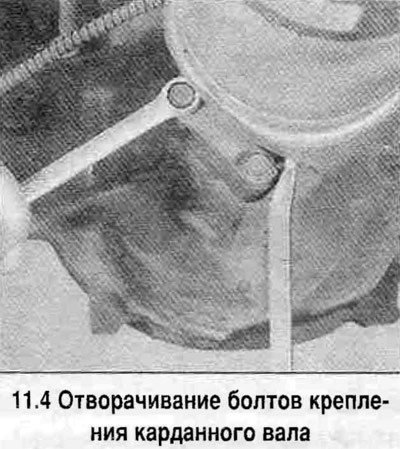
4. While holding the bolts, unscrew the four nuts securing the rear shaft flange (see photo).
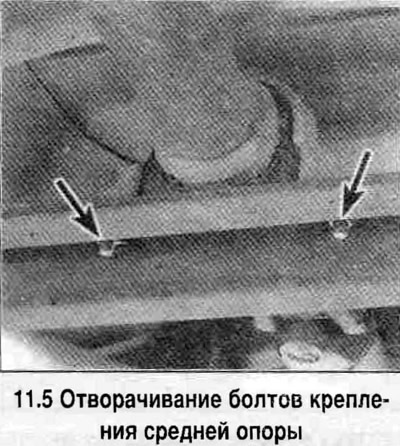
5. On vehicles with a 2-section shaft, unscrew the bolts securing the middle support (see photo).
6. Wrap the crosspiece housings and bearing housings with tape to prevent them from falling out.
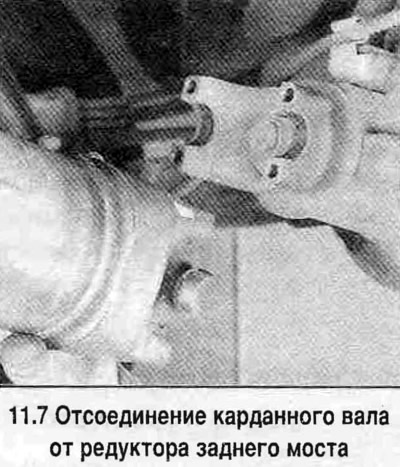
7. Lower the rear of the shaft (see photo). Remove the front part of the shaft from the transmission or transfer case or (if a flange connection is provided), disconnect the flange from the transfer case.
8. On vehicles with a splined sliding joint instead of a flanged joint on the transmission or transfer case side, place a plastic bag over the opening in the transfer case or transmission and secure it with a rubber ring.
9. Install the shaft(s) in reverse order. Tighten all connections to the specified torques.
Front shaft (all-wheel drive models)
10. Raise the vehicle and place it on stands.
11. On some vehicles, remove the front shaft protective cover.
12. Mark the relative positions of the gearbox flanges and cardan joints.
13. Loosen the bolts securing the shaft to the axle and transfer case flanges and remove the shaft (see photo).
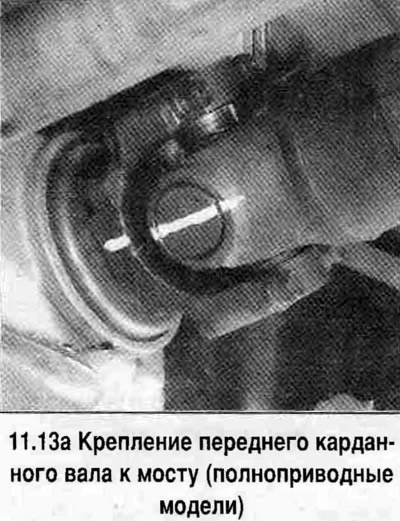
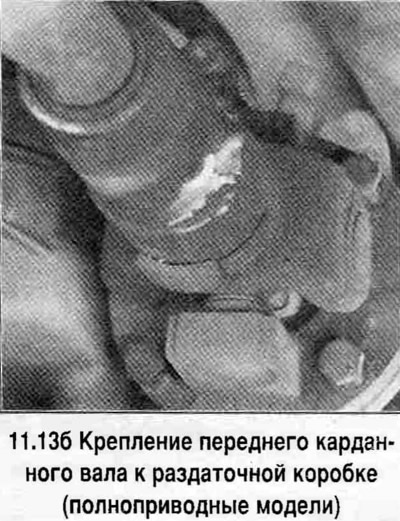
14. Install the front shaft in the reverse order. Align the marks made during disassembly and tighten the bolts to the specified torque.
[For details, visit the website CHEVYMAN.RU]