
2. Jack up the car and place safety stands under the frame.
3. Disconnect the rear propeller shaft.
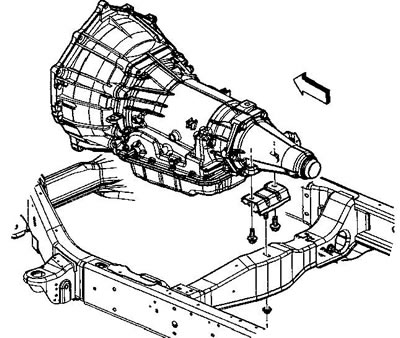
4. Jack up the automatic transmission.
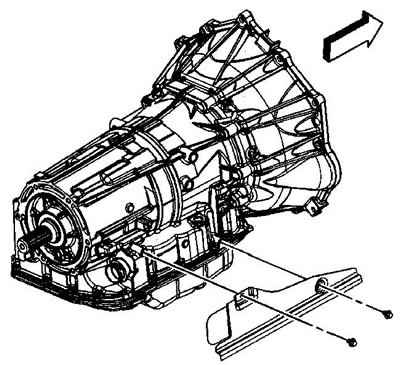
5. Unscrew the bolts and nuts securing the automatic transmission support crossmember.
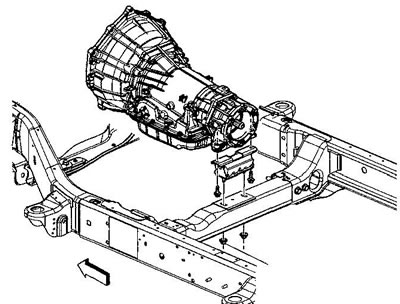
6. Remove the gearbox support.
- a) Unscrew the nut (2WD models) or two nuts (4WD models).
- b) Unscrew the two bolts securing the support to the gearbox.
- c) Remove the gearbox support.
2WD models |
4WD models |
7. Remove the exhaust manifold.
8. (4WD models) Disconnect the front propeller shaft.
9. Remove the torque converter plug.
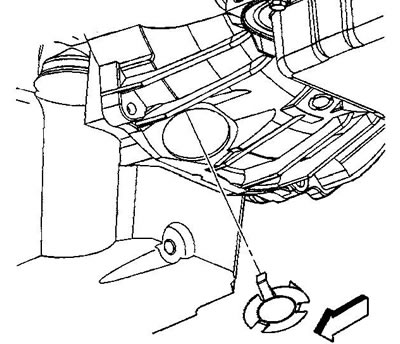
10. Loosen the nut and remove the left flywheel cover. Tightening torque 10 Nm.
11. Remove the starter.
12. Loosen the nut and remove the right flywheel cover. Tightening torque 10 Nm.
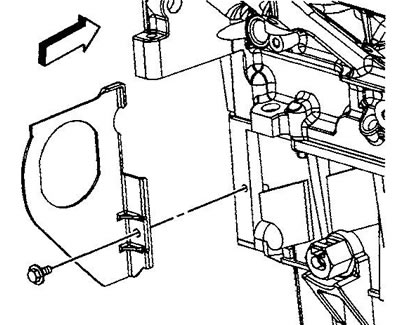
13. Loosen the flywheel-to-torque converter mounting bolts. Tightening torque 63 Nm.
14. Lower the gearbox slightly to provide access to the top and sides of the automatic transmission.
15. (4WD models) Disconnect the hose and electrical connectors from the transfer case housing.
16. (4WD models) Remove the transfer case.
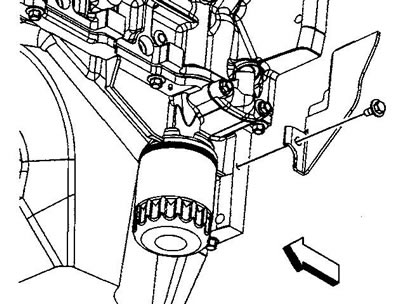
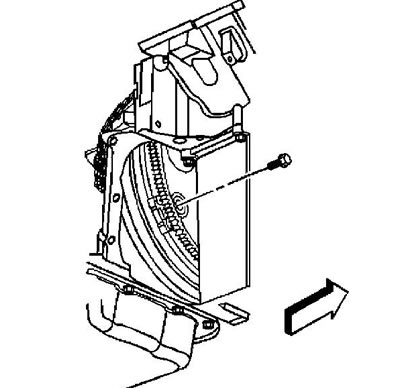
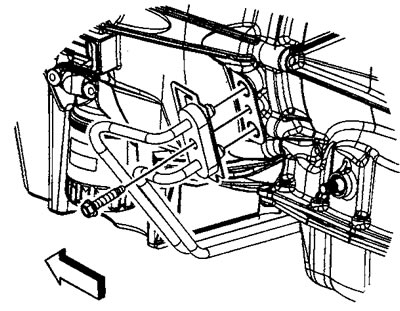
17. Unscrew the two bolts and remove the heat insulator. Tightening torque 17 Nm.
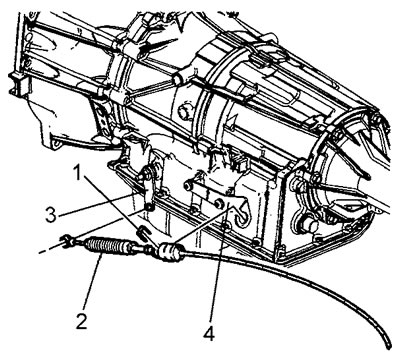
18. Remove the cable support clamp (1).
19. Disconnect the automatic transmission control cable (2) from the start inhibit switch lever (3) and its support (4).
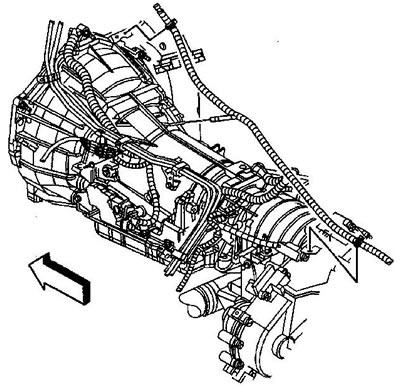
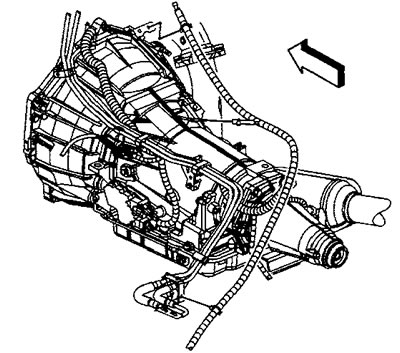
20. Disconnect the hose, electrical connectors and wiring harness from the transmission housing.
21. Unscrew the bolt of the fuel pipe bracket on the left side of the automatic transmission.
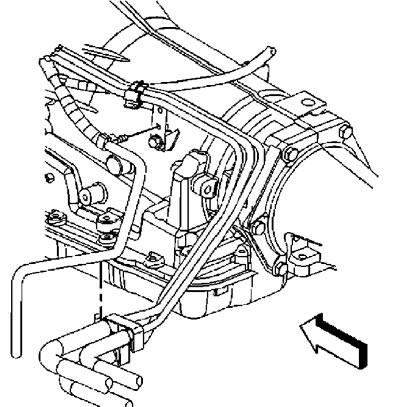
22. Loosen the bolt and disconnect the transmission fluid cooler pipes from the gearbox.
23. Install plugs on the open ends of the tubes and the hole in the gearbox housing.
24. Loosen the eight bolts securing the gearbox to the engine. Tightening torque 50 Nm.
25. Pull the gearbox straight towards the rear of the car.
26. Install the torque converter locking device on the automatic transmission.
27. Remove the gearbox assembly with the dipstick tube.
28. If necessary, flush the working fluid cooler and tubes.
29. Install the parts in the reverse order of removal.