
2. Before starting work, obtain the appropriate automatic transmission fluid (see "Recommended operating fluids and lubricants" at the end of this chapter), as well as a new filter and a casing pan gasket.
3. To perform the procedure, you will also need a jack, supports on which the car is placed after being raised with a jack, a drain container that can hold at least 4.5 liters, as well as rags and old newspapers to absorb the oil.
4. Raise the car with a jack and install special supports.
5. Place a container under the housing tray. If there is a drain plug, unscrew it. After the fluid has completely drained, install and tighten the plug securely.
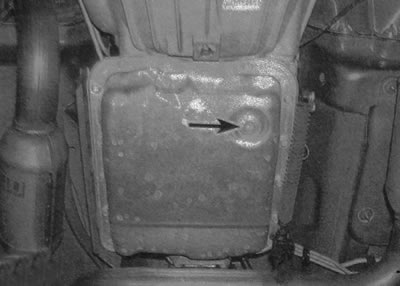
27.5. If there is a drain plug, unscrew it and drain the oil into a container
6. If there is no drain plug, remove all but one of the bolts located at the corners, then slowly remove the front oil pan bolts and drain the oil into a container.
7. To gain access to the oil pan bolts, you need to remove the shift rod located on the driver's side (see illustration).
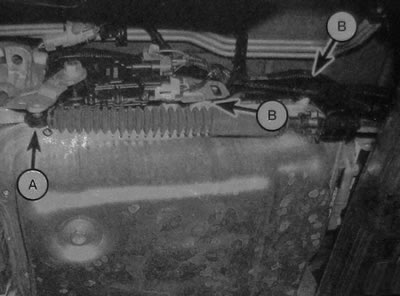
27.7. Disconnect the selector cable end from the ball stud (A), then unscrew the two bolts that secure the cable bracket to the gearbox casing (B) (this will open access to the transmission pan bolts)
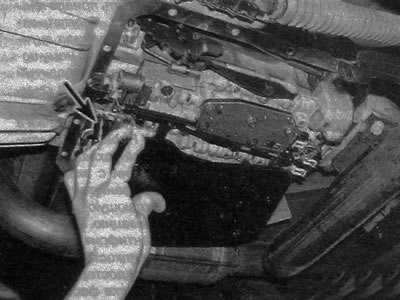
8. Unscrew the mounting bolts, then carefully pry the pan off the gearbox casing with a screwdriver.
Warning: Even after a complete drain, the pan will still contain some transmission oil.
9. Carefully clean the mating surface of the casing, completely removing any remaining old gasket and sealant.
10. Clean the tray with solvent and dry it. It is preferable to blow the tray with compressed air.
Note: Some models have a magnet on the bottom of the box that needs to be cleaned thoroughly. The presence of a small amount of metal particles on the magnet is acceptable. If the magnet is heavily coated with particles, contact an authorized service center or another service center for a thorough inspection of the transmission.
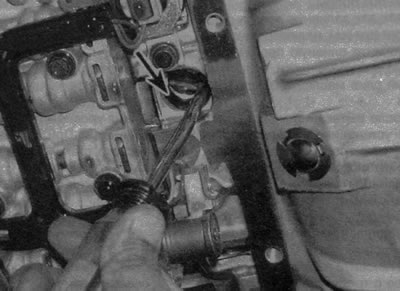
11. Remove the filter located on the valve body inside the gearbox housing (see illustration).
27.11 Pull straight down and remove the transmission filter
Note: Avoid damaging the soft aluminum valve body mating surface.
12. Install a new gasket and filter. Many replacement filters have an attached gasket, making installation easier (see illustration).
27.12. Using a removable device, remove the gearbox filter seal located on the valve block housing and replace this seal. Avoid damaging the aluminum housing
13. Make sure the mating surface of the pan is clean and install a new gasket on it (see illustration). Place the pan on the transmission housing and install all bolts. Moving around the perimeter of the pallet, tighten all the bolts in several passes to the required torque.
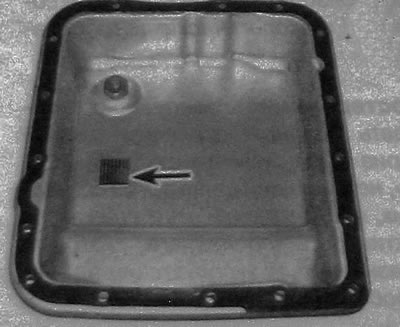
27.13. Clean the box pan, install the magnet and a new gasket
14. Install the components removed to provide access to the bolts.
15. Lower the vehicle onto a supporting surface and pour in approximately 4 litres of the appropriate type of oil through the gearbox filler tube (see subsection 7).
16. Place the selector lever in the Park position and apply the parking brake. Start the engine at high idle speed without increasing its speed.
17. Move the selector lever through all positions in turn, starting and ending in the Park position, then let the engine idle for several minutes. Check the fluid level. It will probably be low. Add oil until the level rises to the appropriate mark on the dipstick. Do not allow the box to overfill with transmission oil.
18. After the first trips, look under the car to make sure there are no leaks in the automatic transmission oil. It is also necessary to check the oil level in the warmed-up transmission (see subsection 7).
(The article was reprinted from the website: «chevyman.ru»)