


1. Disconnect the wire from the negative terminal of the battery.
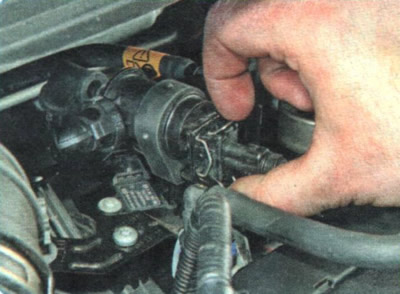
2. Compress the spring clip of the Evaporative Canister Purge Solenoid Valve harness connector...
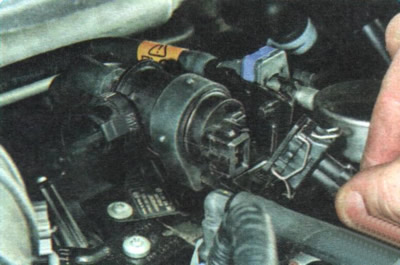
3. ...and disconnect the shoe from the valve.
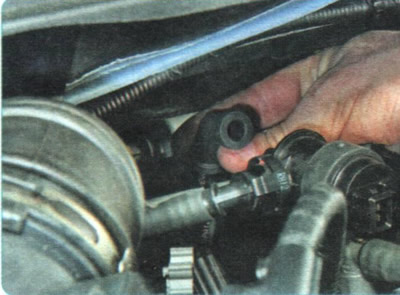
4. Remove the fuel vapor supply hose from the valve fitting into the intake pipe.
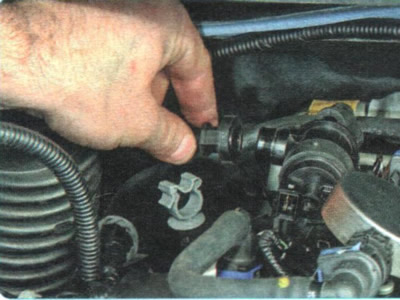
5. Disconnect the fuel vapor supply line from the adsorber from the valve by squeezing the tip clamps.
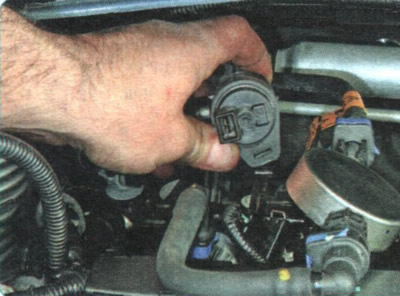
6. Remove the valve from the bracket tab.
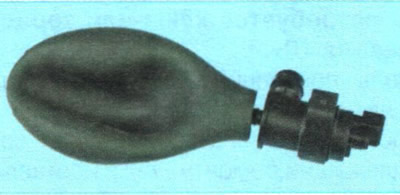
7. To check the valve, attach a rubber bulb to the valve outlet with a piece of hose and squeeze it. Air should come out through the valve, and the bulb should remain compressed after the pressure on it is removed.
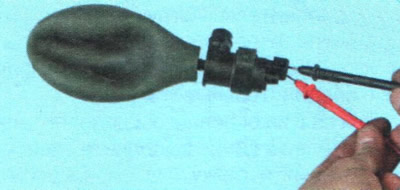
8. Connect a 12 V DC source to the valve terminals - the valve should open and the vacuum should disappear (the bulb will straighten out, and when you press it again and release it, air will be freely pumped through the valve in both directions). Otherwise, replace the valve.
9. Install the purge solenoid valve in the reverse order of removal.