
Warning! To avoid burns, replace the coolant when the engine temperature is no more than +40°C. The coolant is toxic, so do not pour it into the soil or into the sewer.
1. We prepare the vehicle for maintenance and install it on an inspection pit or overpass.
2. Prepare a container with a capacity of at least 6 liters to drain the coolant. If the liquid is supposed to be refilled into the cooling system in the future, the container must be clean.
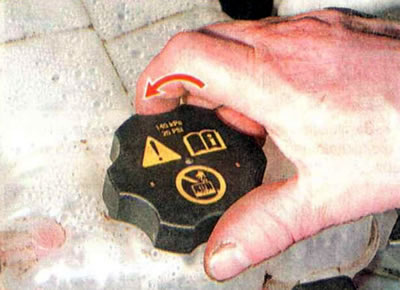
3. Unscrew the expansion tank cap.
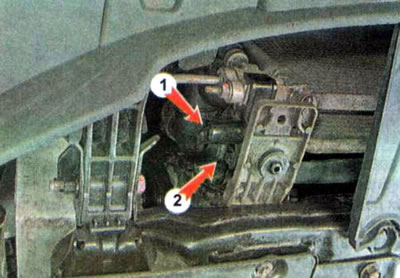
4. Place a previously prepared container under the radiator drain pipe 2 and unscrew the plug 1 a few turns. When the coolant has drained, tighten the plug.
Recommendation. If the drained coolant is cloudy, brown in color, or has sediment, flush the system with clean water and refill with new coolant.
Warning! Dilute antifreeze with distilled water in advance (before filling the cooling system). This is the only way to ensure that the specified ratios of antifreeze and distilled water are precisely observed.
5. Prepare the coolant.
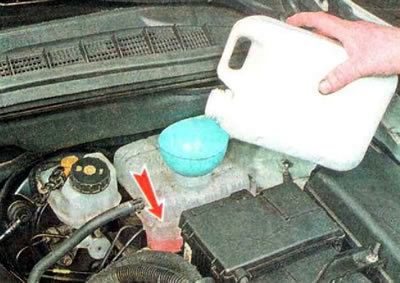
6. Slowly pour coolant into the expansion tank of the cooling system to the maximum level (see above), and close the filler cap.
7. Start the engine. We check whether coolant is leaking from the radiator drain pipe.
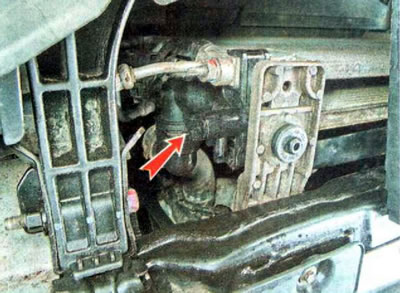
If necessary, tighten the cap more tightly.
8. Warm up the engine to operating temperature (the electric fan should turn on at least twice). We stop the engine and after it has cooled down, we check the coolant level in the expansion tank. If necessary, we bring it to the maximum.
The text of the article was obtained from the website: «ChevyMan»