
Based on signals from the intake air temperature sensor and the absolute pressure sensor in the intake manifold, the ECU calculates the amount of air entering the cylinders and determines the amount of fuel required to form the fuel-air mixture in accordance with the engine operating mode.
If the sensor fails, the ECU switches to a backup operating program, and the engine management system malfunction indicator lamp lights up on the instrument panel.
Replacement
The need to perform work is determined during diagnostics of the engine control system. Before replacing the sensor, you should check the condition of its terminals and the condition of the junction block. It is possible that the cause of the malfunction is a contact problem due to oxidized terminals.
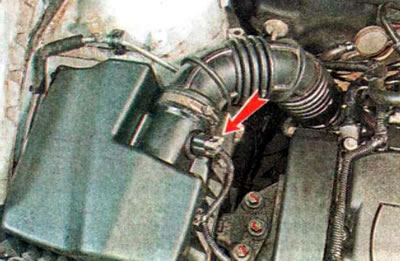
1. We prepare the car for maintenance and repair.
2. Disconnect the wire terminal from the negative terminal of the battery
3. Move the retainer lock back.
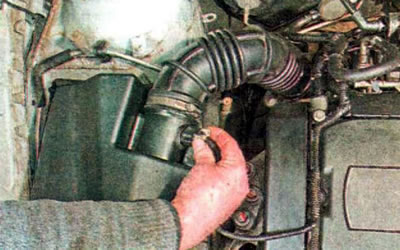
4. Press the lock...
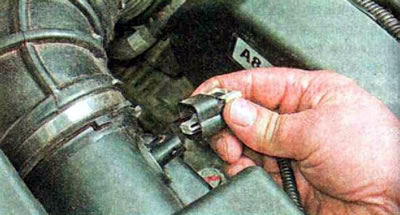
...and disconnect the wiring harness connector from the sensor.
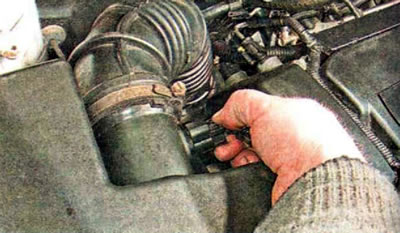
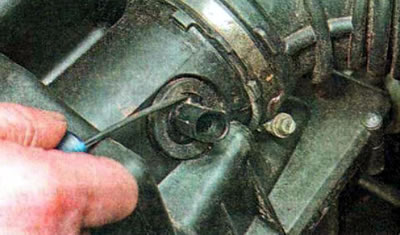
5. Using a slotted screwdriver, carefully pry the sensor out of the pipe.
Note: You can check the sensor by measuring the resistance at its terminals at different temperatures. The resistance values must match those indicated in the table. Otherwise, the sensor is faulty.
| Temperature, C | Resistance, kOhm |
| -18 | 12,00 |
| -12 | 9,50 |
| 1 | 7,00 |
| 0 | 5,50 |
| 12 | 3,50 |
| 17 | 2,80 |
| 40 | 1,20 |
| 60 | 0,60 |
6. Install the sensor in reverse order.
The original article can be found on the resource CHEVYMAN.ru