
Contents: Troubleshooting ↧ Clearing fault codes ↧
The engine management system has a self-diagnostic mode. During operation, the electronic control unit (ECU) monitors the serviceability of all elements and circuits of the engine control system. Having detected a malfunction, the ECU switches the engine management system to the backup operating mode and turns on the corresponding malfunction indicator lamp located on the instrument panel.
In most cases, the engine will be able to continue to operate, which allows you to get to the repair site under your own power, but with a deterioration in the vehicle's performance parameters. The codes of detected faults are stored in the memory of the engine management system ECU.
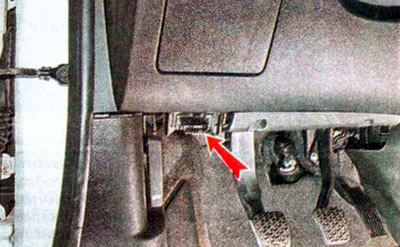
To read fault codes, the system has a diagnostic connector installed on the left under the instrument panel.
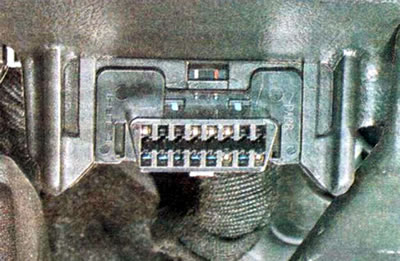
OBD II standard diagnostic connector.
You can read the fault codes at a specialized service station or independently, if you have the appropriate equipment (see below).
Note: The diagnostic connector can be used to read fault codes for other vehicle systems (transmission, ABS, electric power steering).
Troubleshooting
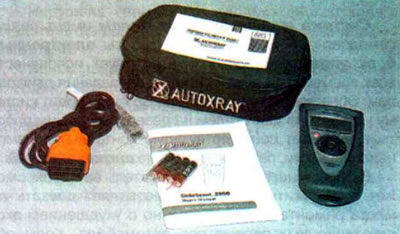
To perform the work you will need a diagnostic device - a scanner...
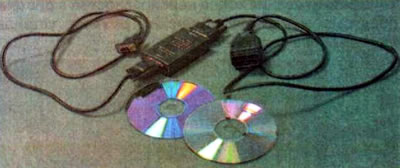
...or a laptop with an adapter and software.
Note: The sequence of work depends on the design of the diagnostic device. The necessary information is provided in the technical documentation for the device or in the software supplied with the device. The general principle of verification is outlined below. Initial stage of diagnostics (points 3-5) does not require a device, so it can be (and even desirable) perform each time the engine is started.
1. We prepare the car for maintenance and repair.
2. Make sure that the battery is charged (the voltage at its terminals is not less than 12V). If necessary, charge the battery.
3. Turn on the ignition. The engine management system malfunction indicator light should light on the instrument panel, indicating that the self-diagnostic system is working properly.
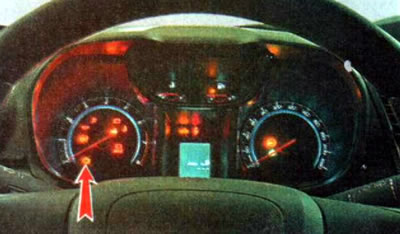
4. Start the engine. If the engine management system is working properly, the indicator light should go out a few seconds after the engine starts running.
Recommendation. Each time you start the engine, it is advisable to check that the self-diagnostic system is working properly. If any of the control lamps on the instrument panel does not light, then there is a malfunction in the engine management system and it is necessary to carry out diagnostics using diagnostic equipment, even if the engine can be started.
5. Turn off the ignition and connect the scanner to the diagnostic connector block. We turn on the ignition and use a scanner to read information from the memory of the electronic control unit.
Warning. When performing diagnostics, it is necessary to follow the requirements set out in the instructions for the diagnostic device
6. If a fault code is detected for one of the elements, make sure that the wiring harness connector was securely connected to this element. Then we visually check the condition of the contacts in the wiring block. If there are oxides, treat the contacts with a product for cleaning and protecting electrical contacts.
7. Using a scanner, delete the fault code (see the instructions for the diagnostic device). We start the engine. If the connector contacts and wires are in good condition, and after deleting the fault codes the indicator lamp lights up again, the element being tested or its circuit is faulty. We replace the faulty part.
8. If the scanner allows you to take readings in real time, check the current engine parameters during operation in various modes.
9. After finishing the work, turn off the ignition and disconnect the diagnostic device (scanner).
Clearing fault codes
Not all diagnostic devices have the ability to erase fault codes from the memory of the electronic control unit. To clear fault codes without an external diagnostic device, follow these steps:.
1. Remove the wire terminal from the negative terminal of the battery.
2. After waiting about 1 minute (to clear the memory of the electronic control unit), we connect the wire terminal to the battery.
The original article is on the website «CHEVYMAN.RU»