


Contents: Exhaust ventilation openings ↧ Console ↧ Carpet ↧ Trunk shelf (hatchback) ↧ Door trim ↧ Front pillar trim ↧ B-pillar trim ↧ Rear pillar trim ↧ Shelf under the rear window (sedan) ↧ Rear door trim (hatchback) ↧ Front door sill trim ↧ Console ↧ Carpet ↧ Trunk wheel arch trim (hatchback) ↧ Trunk wheel arch trim (sedan) ↧ Rear corner trim for luggage… ↧ Rear trunk trim (sedan) ↧ Ceiling upholstery ↧
The interior trim is made of plastic and is secured with screws or plastic clips.
Exhaust ventilation openings
When all windows are closed and the ventilation system is on, excess outside air entering the vehicle creates excess internal pressure. In order to reduce the pressure, air is released through two exhaust ventilation openings. The ventilation openings are located at the rear of the vehicle behind the bumper.
Console
The console is located above the tunnel of the car floor from the center of the dashboard to the rear seat. The front part of the console contains the cigarette lighter and the gearshift lever. The rear part of the console contains the parking brake lever, power window buttons (if they are included in the equipment kit) and a cup holder.
The airbag system diagnostic module is located under the front console.
Carpet
The molded one-piece floor carpet extends from the front to the rear floor panel.
Trunk shelf (hatchback)
A luggage rack is provided for hatchback models. The rack is installed in the luggage compartment, but if more space is required for the cargo being transported, it can be easily removed.
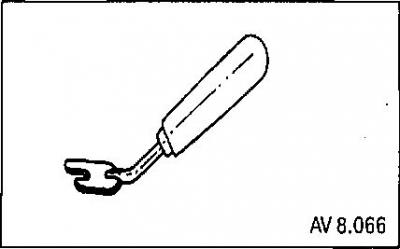
Trim removal tool
Door trim
Removal
1. Roll down the front window.
2. Remove the inside door opening handle.
3. Remove the armrest.
4. Remove the window lift handle.
5. Remove the interior decorative molding.
6. Unscrew the screws securing the door trim.
7. Using a removal tool, remove the door trim.
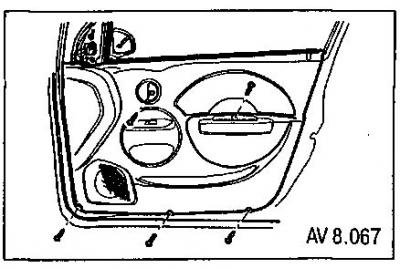
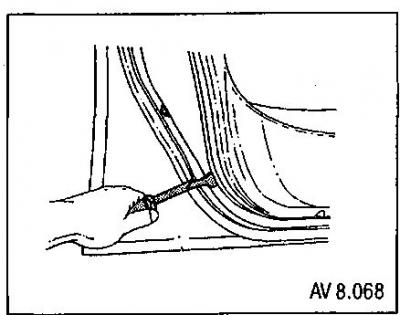
When installing, tighten the mounting screws to a torque of 3.5 Nm.
Front pillar trim
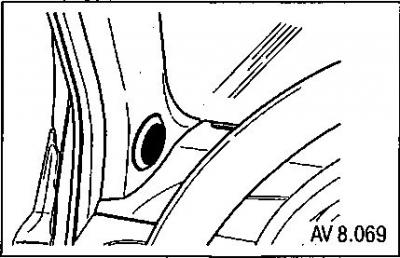
8. Remove the front pillar trim.
9. Disconnect the electrical connector.
B-pillar trim
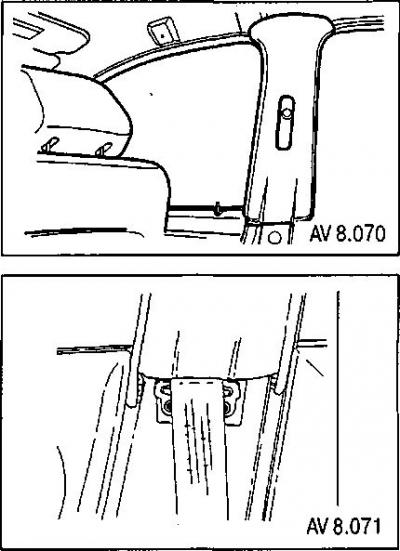
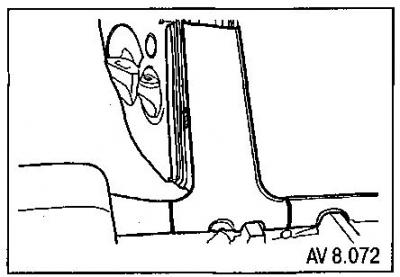
The B-pillar trim consists of two parts - upper and lower.
10. Loosen the front seat belt anchor screw.
11. Remove the lower part of the B-pillar trim. To do this, you need to move the rear part of the front door sill trim and the front part of the rear door sill trim.
12. Loosen the screws and remove the seat belt bracket.
13. Remove the upper part of the B-pillar trim.
When installing, tighten:
- seat belt bracket mounting screws with a torque of 10 Nm;
- front seat belt anchor screw with a torque of 38 Nm.
Rear pillar trim
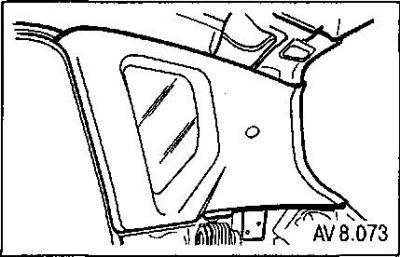
14. Remove the seat belt from the rear pillar trim.
15. Remove the rear door sill trim.
16. Remove the rear pillar trim.
Shelf under the rear window (sedan)
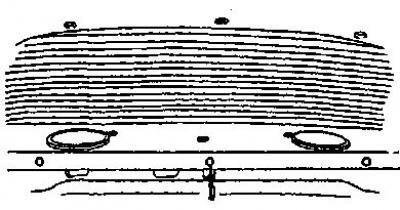
17. Remove the rear seat back. See below.
18. Remove the plastic clips and shelf.
Rear door trim (hatchback)
19. Open the back door.
20. Remove the trim using the removal tool.
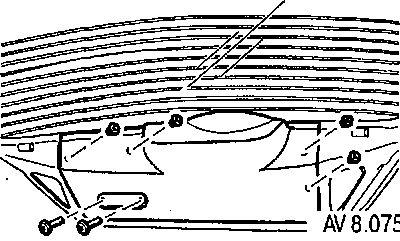
Front door sill trim
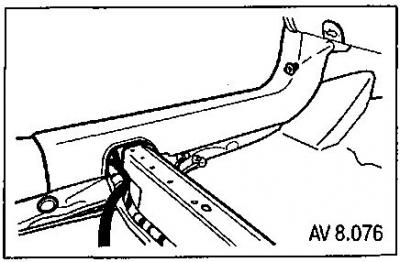
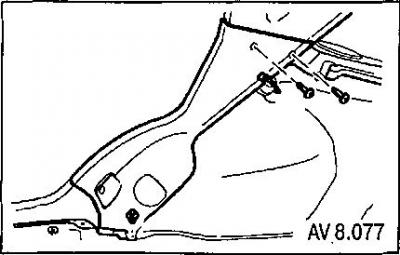
The sill trims of the front and rear doors are secured with screws.
21. To remove and install the rear door sill trim, remove the rear seat back. Tightening torque for the sill trim mounting screws is 3.5 Nm; rear seat back mounting screw - 2.5 Nm.
Console
22. Remove the gearshift lever cover.
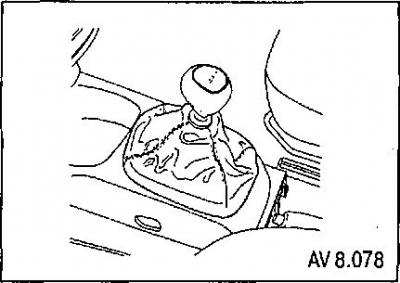
23. Remove the console mounting screws.
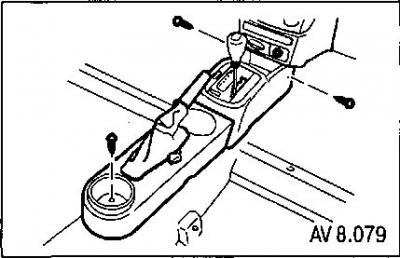
24. Disconnect the electrical connector.
25. Remove the console.
When installing, tighten the console mounting screws to 4 Nm.
Carpet
26. Remove the right and left rear door sill trim.
27. Remove the anchor bolts of the left and right front seat belts from the center pillar.
28. Remove the left and right lower B-pillar trims.
29. Remove the front seats.
30. Remove the threshold trims of the left and right front doors.
31. Remove the floor console.
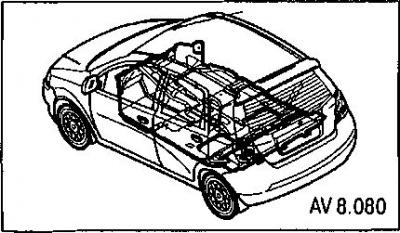
32. Remove the floor carpet.
When installing, tighten the seat belt anchor bolts to a torque of 35 Nm.
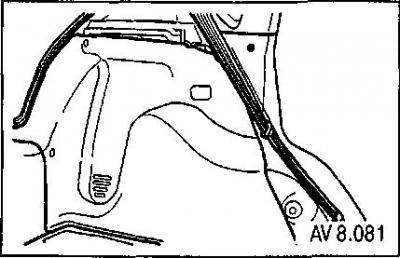
Trunk wheel arch trim (hatchback)
33. Remove the rear luggage compartment trim.
34. Remove the clips and wheel arch liner.
Trunk wheel arch trim (sedan)
35. Remove the rear seat back.
36. Remove the plastic clips and remove the rear seat back panel.
37. Remove the plastic clips and remove the wheel arch liner.
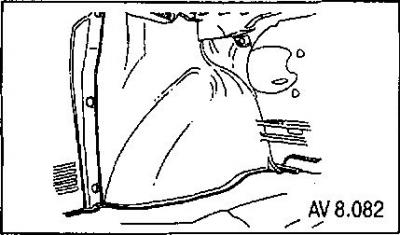
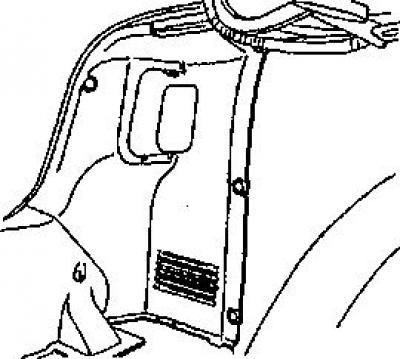
Rear corner trim for luggage compartment (sedan)
38. Remove the plastic clips and rear corner trim.
Rear trunk trim (sedan)
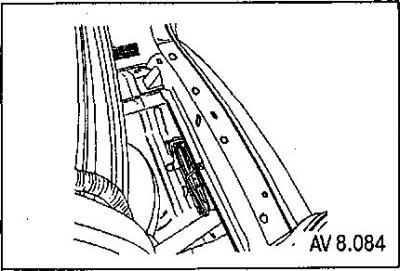
39. Remove the plastic clips and rear trim.
Installation
Installation is carried out in the reverse order of removal.
Ceiling upholstery
Removal
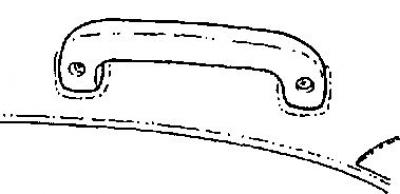
1. Remove the passenger assist handles.
2. Remove the clothes hook.
3. Remove the plastic clips attached to the headliner located on the driver's side.
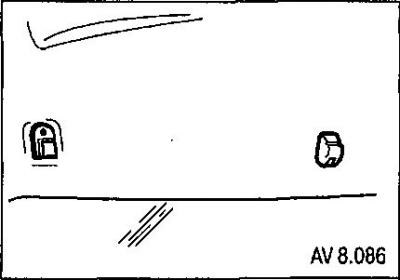
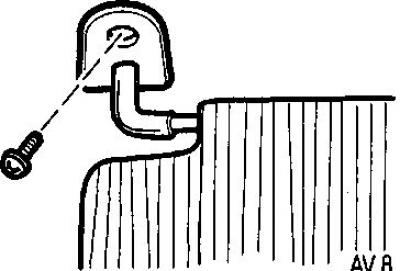
4. Remove the sun visors.
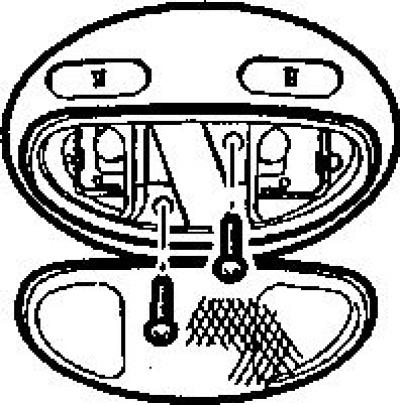
5. Remove the central interior light. To do this:
- remove the light diffuser by prying it off with a screwdriver;
- unscrew the screws and remove the light assembly;
- disconnect the electrical connector.
6. Remove the left and right front pillar trims.
7. Loosen the anchor bolts and remove the seat belt mounts from the B-pillars.
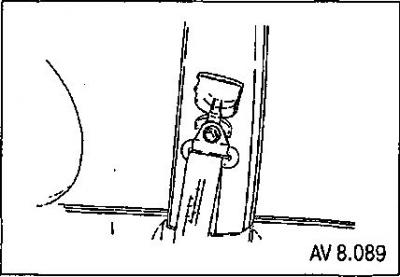
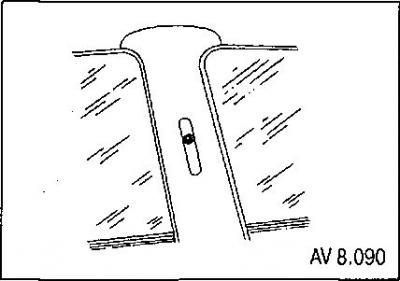
8. Remove the upper part of the left and right B-pillar trim.
9. Remove the left and right rear pillar trim.
10. Remove the sunroof molding (if available).
11. Remove the plastic clips on the headliner located along the rear window.
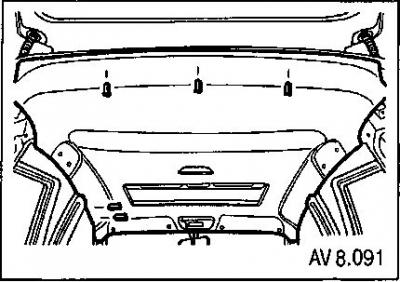
12. Move and tilt forward both front seats.
13. Lower the headliner and rotate it 45°.
14. Remove the headliner through the rear door.
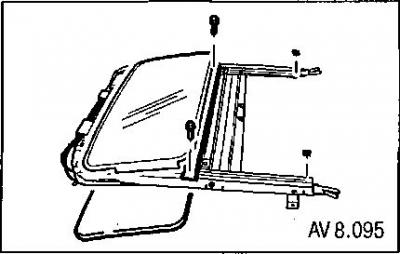
If it is necessary to remove the sunroof mechanism with the headlining removed, do the following.
15. Remove the drain hoses.
16. Disconnect the electrical connector.
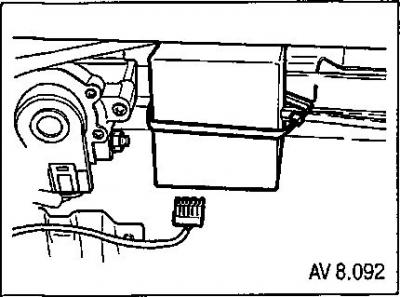
17. After unscrewing the mounting screws, remove the electric motor.
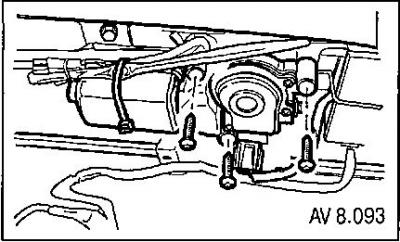
18. Remove the electric motor control unit.
19. After unscrewing the mounting screws, remove the sunroof housing from the vehicle.
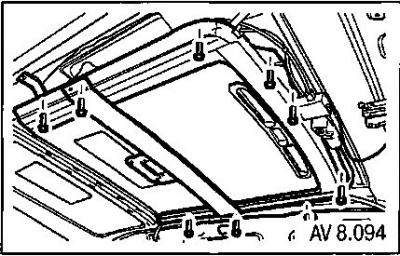
20. Remove the drain channel.
21. Remove the sun protection glass.
Installation
Installation is carried out in the reverse order of removal.
When installing, tighten the mounting screws to the following torques:
- b-pillar seat belt mounting screws - 38 Nm;
- screws for fastening the control switch for the electric door/sunroof opening lamp - 4 Nm;
- roof hatch housing mounting screws - 7 Nm;
- sunroof electric motor mounting screws - 5 Nm.