


1. Open the hood and disconnect the wire from the negative terminal of the battery.
NOTE: Shown is replacement of bulbs in the left headlight. The bulbs in the right headlight are located symmetrically and are replaced in the same way. For clarity, replacement of bulbs is shown on a removed headlight.
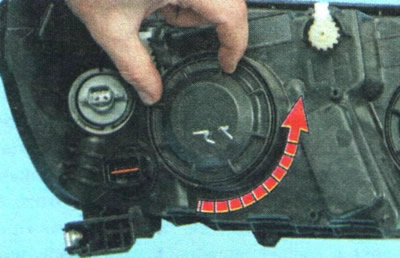
2. To replace the low beam bulb from the engine compartment side, turn counterclockwise...
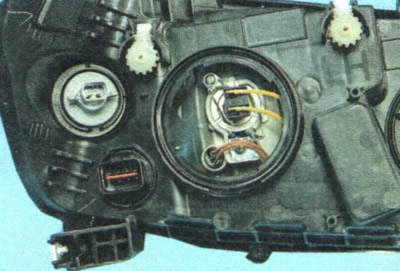
...and remove the housing cover.
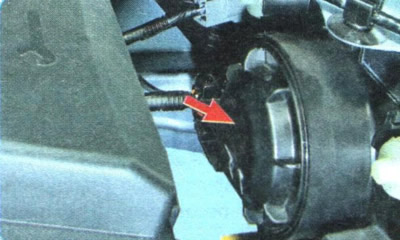
NOTE: To gain easy access to the low beam lamp cover in the left headlight...
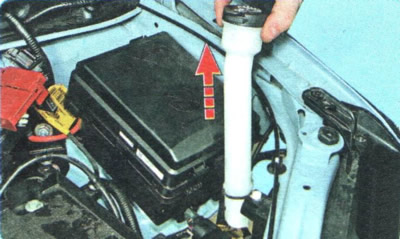
... remove the filler neck of the windshield washer reservoir. To do this, slightly rocking, pull the neck vertically upwards. The neck is installed in the opening of the reservoir with tension and is sealed with a rubber ring.
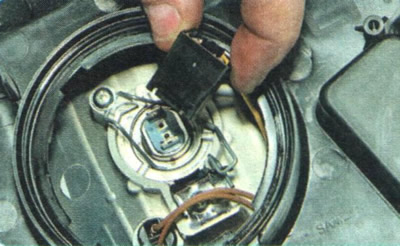
4. Disconnect the connector from the lamp base.
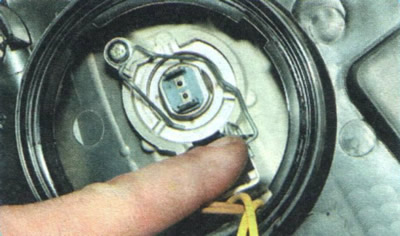
5. Remove the spring clip from under the hook on the reflector and fold back the clip.
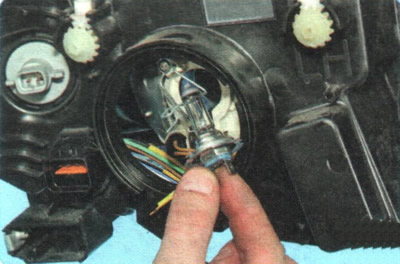
6. Remove the low beam bulb.
WARNING: Do not touch the bulb with your fingers as the high temperature of the bulb will cause any contamination of the surface (for example, fingerprints) burn out during operation, leaving blackening. This leads to local increases in the temperature of the bulb, which can cause its destruction. When installing, hold the bulb of the lamp with a clean napkin (or in clean gloves), and in case of accidental contact, wipe the flask thoroughly with a cloth (for example, from microfiber), leaving no fibres.
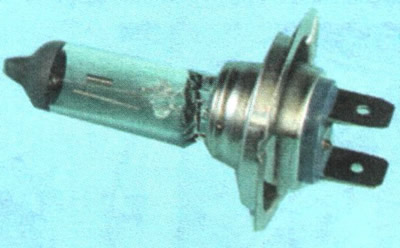
7. Insert the new bulb into the reflector and secure with the holder.
8. Replace the cover.
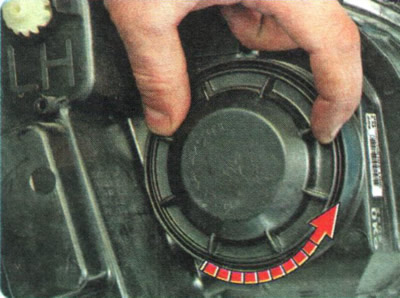
9. To replace the high beam bulb, turn counterclockwise...
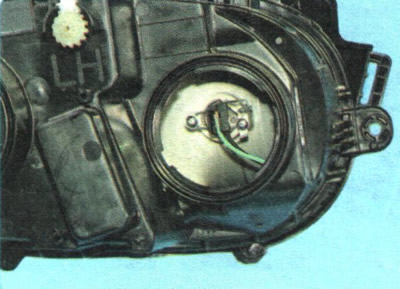
10. ...and remove the lid.
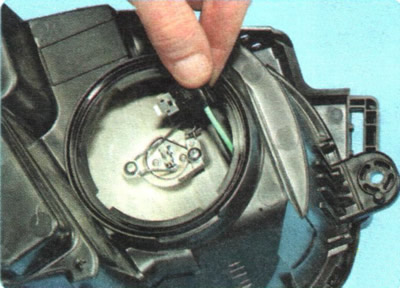
11. Disconnect the wiring harness connector from the high beam lamp.
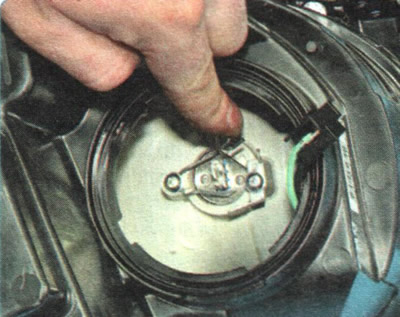
12. Remove the spring clip from under the hook on the reflector and fold back the clip.
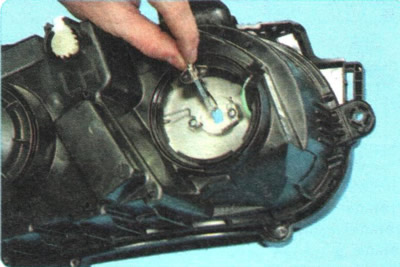
13. Remove the bulb from the headlight.
WARNING: Do not touch the bulb with your fingers as the high temperature of the bulb will cause any contamination of the surface (for example, fingerprints) burn out during operation, leaving blackening. This leads to local increases in the temperature of the bulb, which can cause its destruction. When installing, hold the bulb of the lamp with a clean napkin (or in clean gloves), and in case of accidental contact, wipe the flask thoroughly with a napkin (for example, from microfiber), leaving no fibres.
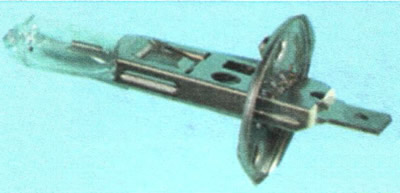
14. Install the new bulb into the holder, connect the wiring harness connector to the bulb and install the bulb into the reflector.
15. Replace the cover.
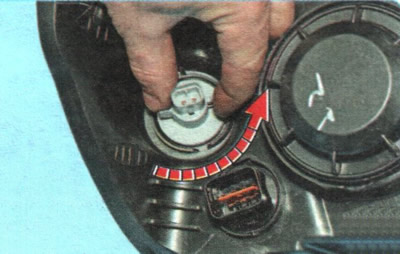
16. To replace the front turn signal bulb, turn counterclockwise...
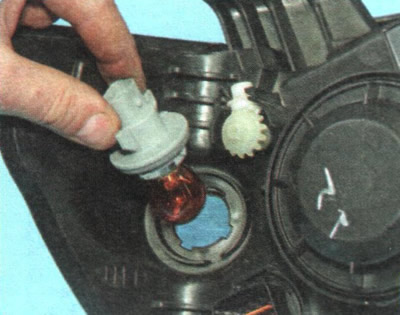
17. ...and remove the lamp holder.
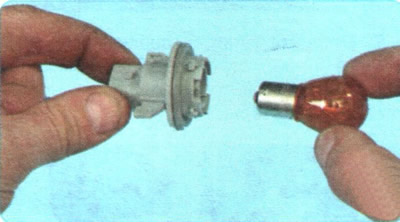
18. Gently press the bulb into the socket, turn it counterclockwise and remove it from the socket.
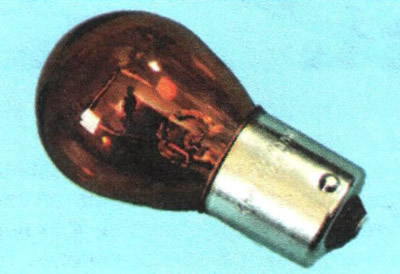
19. Insert the new lamp into the socket and install the socket in place.
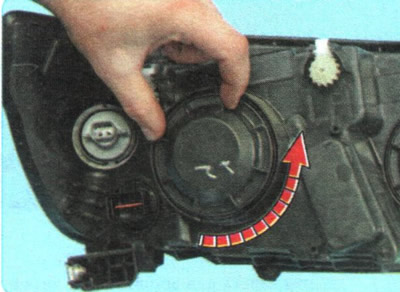
20. To replace the front parking light bulb, turn counterclockwise...
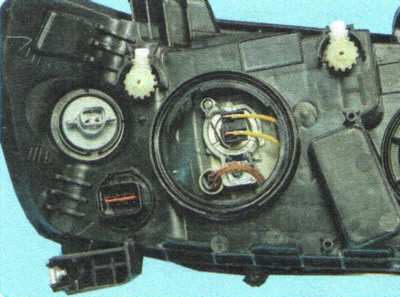
21. ...and remove the cover.
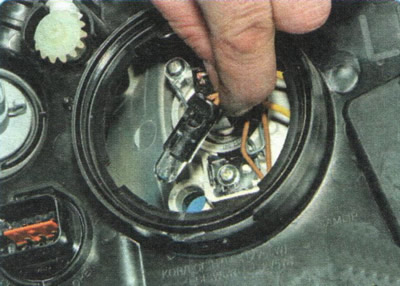
22. Pull the bulb holder out of its socket in the reflector.
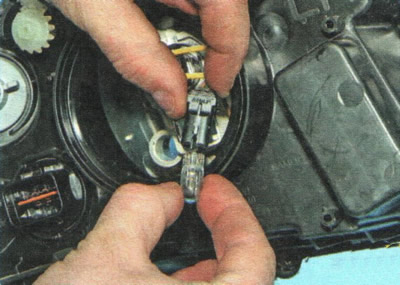
23. Remove the baseless lamp from the socket.
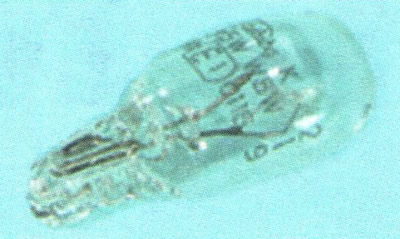
24. Insert the new lamp into the socket and install the socket in place.
25. Replace the cover.
The article was reprinted from the website CHEVYMAN.RU