


Contents: Checking the engine oil level ↧ Coolant ↧ Restoring the fluid level in the… ↧ Restoring electrolyte levels ↧ Checking and restoring the fluid… ↧
Attention! Regardless of the service interval, check for leaks under the car and eliminate them immediately.
Checking the engine oil level
1. Place the vehicle on a level, horizontal surface.
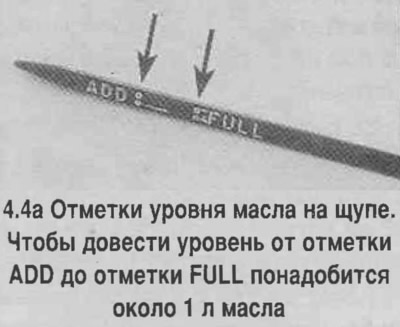
2. The oil level in the engine is checked using a gauge, the dipstick of which is located at the bottom of the engine (see photo).
3. The oil level is checked before driving or at least 15 minutes after stopping the hot engine.
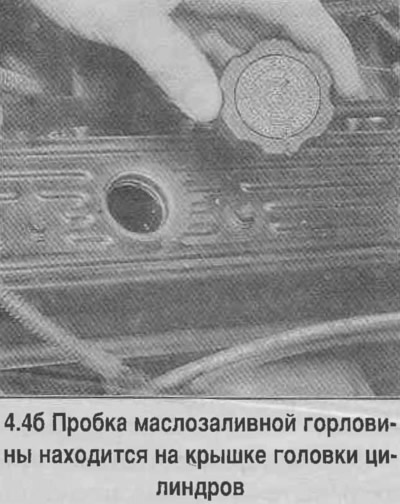
4. Remove the dipstick and wipe it with a clean rag. Insert the dipstick back into the tube until it stops, remove the dipstick again. Determine the oil level by the edge of the oil film on the dipstick. The oil level should be between the ADD and FULL marks. If you need to add oil, unscrew the filler cap on the cylinder head cover (see photo) and add fresh oil of the required grade, bringing the level to the upper mark.
5. When finished, insert the dipstick into the oil level indicator tube and tighten the plug.
6. Always maintain the oil level between the two marks. If the oil level drops too low, the engine may not be lubricated properly and may fail. If the oil level is too high, the spark plugs will become oily and oil leaks will develop from under the gaskets and seals.
7. The oil must be changed if, when running your fingers along the dipstick, (before wiping it) solid particles are felt. Increased oil consumption indicates engine malfunction (wear of piston rings, cylinders, pistons, valve guides and stems, damage to cylinder head gaskets). If a milky tint is detected in the oil on the dipstick (liquid from the cooling system gets into the oil), then the engine also needs repair.
Coolant
8. All vehicles covered in this Manual are equipped with a pressurized cooling system. The expansion tank is located next to the radiator (see photo).
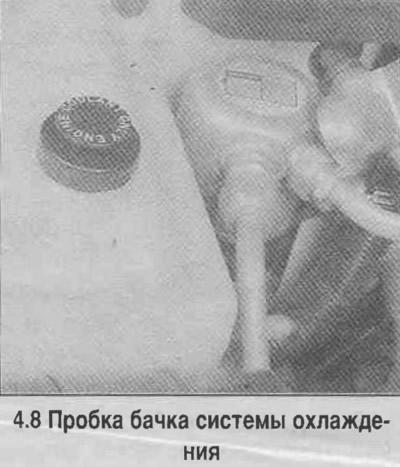
9. The fluid level in the expansion tank depends on the engine temperature. On a cold engine, the fluid level must be brought to a level slightly above the FULL COLD mark on the tank, on a warmed-up engine - to the FULL HOT mark. To do this, unscrew the expansion tank cap and add a 50/50 mixture of antifreeze and water. It is prohibited to add inhibitors and other additives to the fluid.
10. The need to frequently top up the fluid indicates a leak in the system and the need to eliminate its cause. Inspect the condition of the radiator and all hoses. If no signs of leakage are visually detected, then the entire cooling system should be pressure tested and the radiator cap should be checked. Pressure testing will help detect even minor, previously unnoticeable leaks. Once finished, tighten the cap of the expansion tank.
11. If severe rust contamination is detected, replace the fluid.
12. If necessary, unscrew the radiator cap, wrap it with a rag and turn it to the first stop, then wait a little, and remove the cap.
13. Do not allow antifreeze to come into contact with the painted surface of the car body.
Restoring the fluid level in the windshield washer reservoir
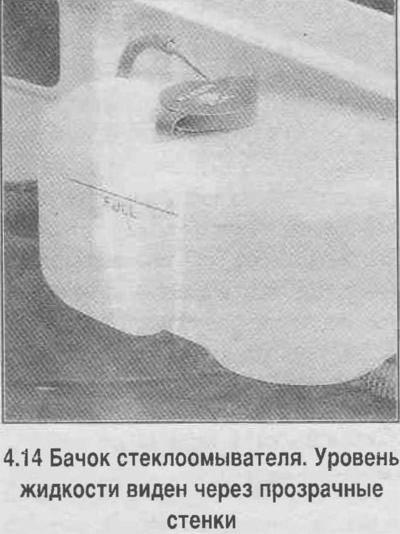
14. The tank is located in the engine compartment (see photo).
Restoring electrolyte levels
15. The cars are equipped with a maintenance-free battery (there are no plugs on the battery case). If a serviceable battery is installed, the plugs should be removed periodically and the electrolyte level should be checked. If the level drops, add distilled water.
Checking and restoring the fluid level in the hydraulic drive of the clutch and brakes
16. Clutch hydraulic reservoirs (hydraulic drive is used on cars with manual transmission) and the brakes are located next to the vacuum booster.
17. The liquid level must be above MIN on the wall of the feed tank (see photo).
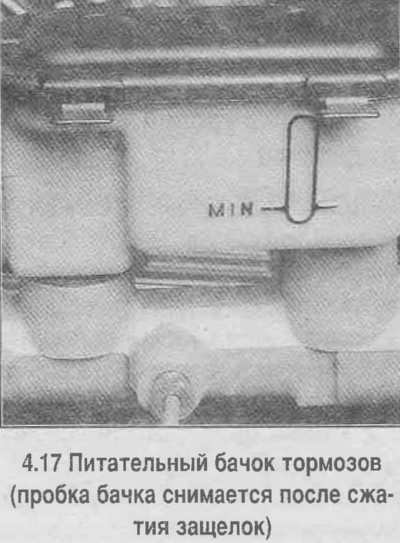
18. If it is necessary to restore the fluid level, first wipe the tank, then remove the plug.
19. Only the recommended brand of fluid should be added. Mixing fluids is not allowed, as this may cause damage to parts and subsequent failure of the hydraulic drive system. It is also prohibited to add fluid that has been standing in an open container for a long time.
20. Before adding fluid, check the remaining fluid in the feed tank and the tank walls for foreign impurities and dirt particles. If contamination is detected, the system should be flushed and the fluid replaced.
21. Keep in mind that the fluid level in the reservoirs may gradually decrease over a long period of time due to natural wear of the brake pads. A rapid decrease in the fluid level in the supply reservoir indicates a leak in the hydraulic drive system and the need for immediate repair.
22. If at least one of the sections of the tank is empty, it is necessary to remove air from the hydraulic drive.
(The text of the article was obtained from the website: ChevyMan.ru)