


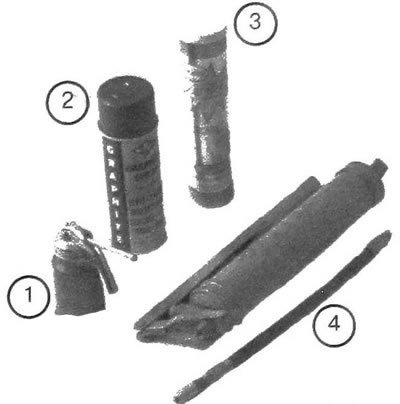
17.1. To lubricate the chassis elements, you will need the following materials and tools: 1. Engine oil - Should be in the oil can that is used to lubricate the hood and door hinges; 2 Graphite grease in aerosol - Used for lubricating lock cylinders; 3. Plastic grease - Filled into the supercharger. Lubricant comes in several types and is supplied in tubes of various sizes. Check the specifications for the type and quantity of lubricant; 4. Lubricant pump (grease gun) - typical device. The illustration shows the hose disconnected, which has a tip that aligns with the port connector when lubricating chassis components. After use, requires immediate complete cleaning.
2. While under the vehicle, determine the location of the grease inlet holes (see illustration).
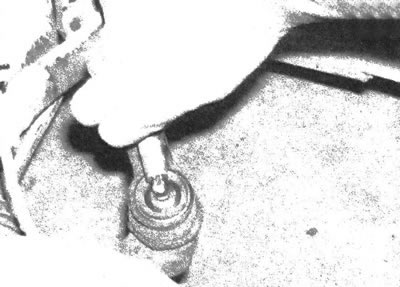
17.2 After cleaning the inlet hole, place the nozzle on the nipple and press the nozzle, then inject the grease into the element (as a rule, about two injections are enough)
3. To ensure the necessary access, raise the vehicle using a jack and place supports under the supporting frame elements. Make sure stability is ensured. If the procedure involves removing the wheels for rotation or inspection of brake components, loosen the wheel nuts while the vehicle is off the supporting surface.
4. Before lubricating the chassis components, release some grease from the supercharger, removing with it any dirt that may have accumulated on the tip. Wipe the tip with a clean cloth.
5. With the supercharger ready and a sufficient amount of rags, begin lubricating the elements located on the underside of the vehicle.
6. Wipe the orifice nipple clean, place the tip on it and inject grease from the blower by pressing the lever. Inject grease completely into the element. When lubricating the joint, pump the grease until the boot hardens. Avoid over-lubricating as this may damage the sealing elements.
The lubricant should be pumped into the remaining suspension and steering components before it starts to protrude between the articulated parts. If grease comes out of the tip when pumping, it is likely that the connector on the inlet hole is clogged or the tip is not seated tightly. Reconnect the tip and try pumping. Replace the connector if necessary.
7. After lubrication is complete, wipe the surfaces of the parts and the connector, removing excess lubricant. Perform the described procedure on each element with a hole for introducing grease.
8. Clean the fittings and inject grease into the cardan joints. Pump grease until it appears from the contact points of the hinge parts. Some universal joints are sealed and do not require any lubricant to be forced into them.
Note: Most replacement universal joints are not sealed and have grease nipples. If the driveshaft joints have been replaced, include them in the chassis component lubrication procedure.
9. Also clean and lubricate the parking brake cable and levers.
Caution: Do not apply chassis grease to brake cables as the grease may damage the cable sheaths.
(Information taken from the official website: «CHEVYMAN.ru»)