


2. Unscrew the nut securing the ground cable to the hood stud.
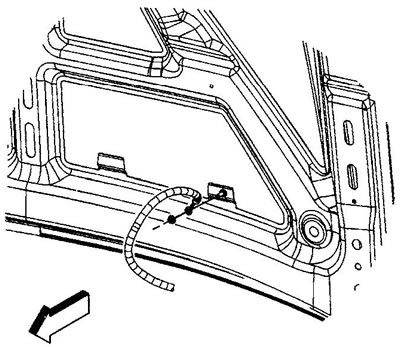
Tightening torque 9 Nm.
3. Remove the ground cable from the stud.
4. Select two M6 bolts 19 mm long, two nuts and two flat washers.
5. Remove the hood pillar retainer (1) on the pillar bracket stud.
6. Remove the rack from the stud.
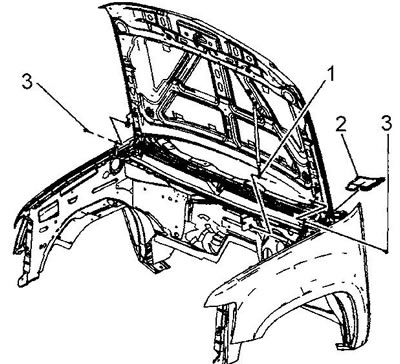
7. Remove the air intake covers (2) by lifting the cover until the clips disengage (the picture shows the left cover, the right one is similar).
8. Ask an assistant to support the hood.
9. Loosen the bolts (3) securing the hood hinges. Tightening torque 25 Nm.
10. Raise the hood so that the notch (1) of the hood service position is positioned in the upper part of the hinge.
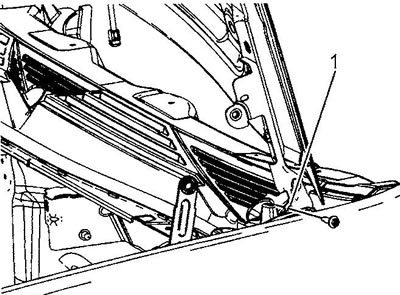
11. Install the MB bolts into the service position recesses and tighten the nuts by hand.
12. Lower the hood until the bolts rest against the bottom of the hinge. Tighten the nuts to secure the hood.
13. Now the hood is in the service position.
14. Remove the hood latch.
15. Disconnect the front end of the top tie.
16. Remove the intake manifold.
17. Release the ventilation hose (2) from the clip of the upper radiator hose (3).
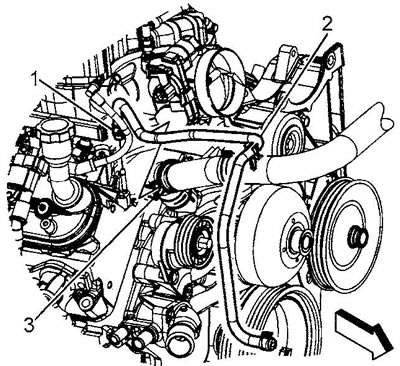
18. Remove the clamp (1) securing the ventilation hose to the cooling system air bleed pipe.
19. Remove the ventilation hose from the tube and place it aside.
20. Remove the clamp (3) of the upper radiator hose.
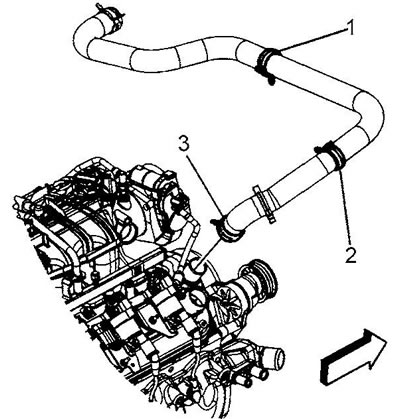
21. Remove the upper radiator hose from the engine pipe.
22. Remove the clamp securing the lower radiator hose to the coolant pump pipe.
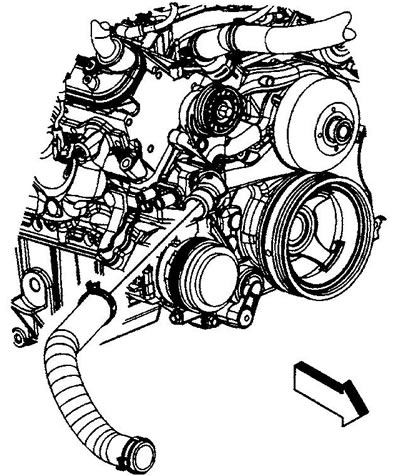
23. Remove the lower radiator hose from the coolant pump pipe.
24. Remove the heater hoses.
25. Disconnect the oil pressure sensor connector (1).
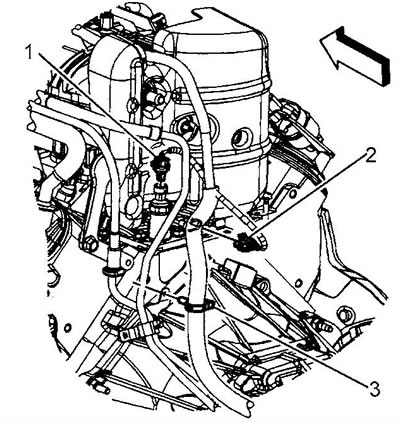
26. Disconnect the oil manifold connector (2).
27. Unscrew the bolt securing the grounding cable at the rear of the left half-block head and place the cable to the side.
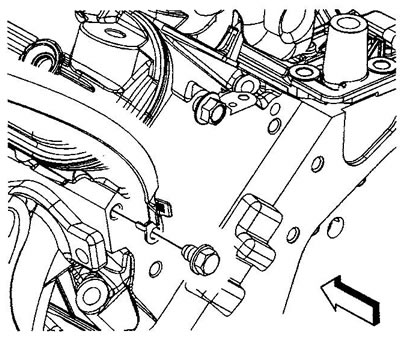
Tightening torque 16 Nm.
28. Unscrew the stud (1) securing the negative battery terminal cable to the head of the right half block.
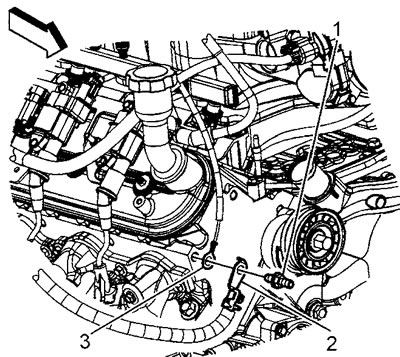
Tightening torque 25 Nm.
29. Remove the battery cable (2) and ground cable (3) from the right half-block head.
30. Raise the vehicle and place safety stands under the frame.
31. Remove the clip (1) supporting the engine wire harness.
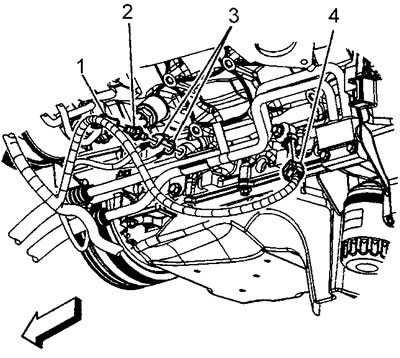
32. Unscrew the stud (2) securing the grounding cables. Tightening torque 16 Nm.
33. Remove the ground cables (3) from the engine block.
34. Disconnect the knock sensor connector (4).
35. If installed, remove the bolt securing the automatic transmission fluid cooler tube support clip to the oil pan.
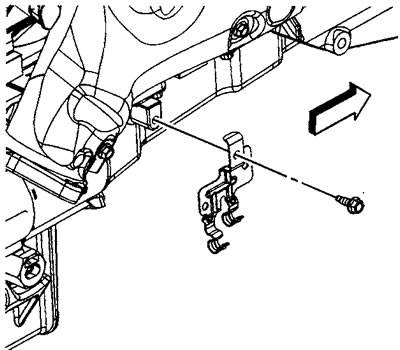
Tightening torque 9 Nm.
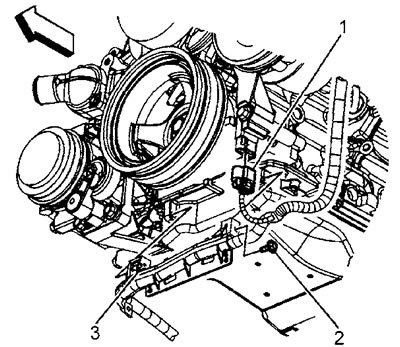
36. Disconnect the connector (1) of the camshaft position sensor wire harness.
37. Loosen the bolt (2) of the battery cable channel. Tightening torque 12 Nm.
38. Pull the channel pin (3) out of the oil pan.
39. Disconnect the connector (1) of the air conditioning pressure sensor.
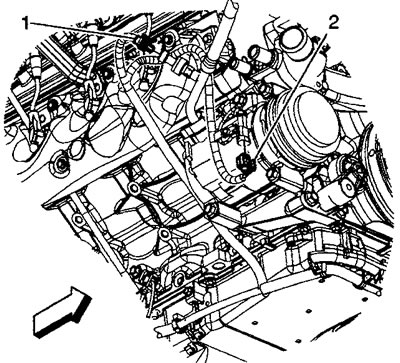
40. Remove the starter.
41. Disconnect the crankshaft position sensor connector (1).
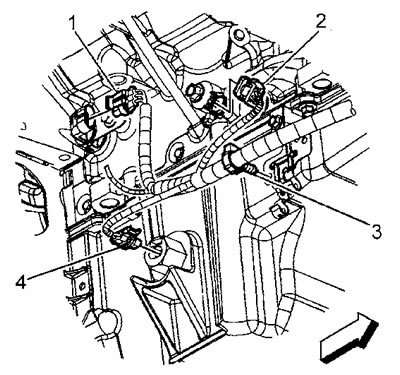
42. Disconnect the knock sensor connector (2).
43. Disconnect the oil level sensor connector (4).
44. Remove the clip (3) supporting the engine wire harness from the automatic transmission fluid cooler tube bracket.
45. If equipped, disconnect the coolant heater wires from the heater.
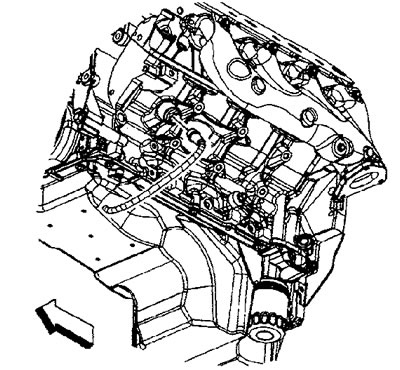
46. Lower the car.
47. Loosen the rear bolt securing the power steering pump to the engine block. Tightening torque 50 Nm.
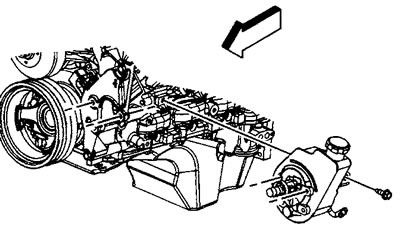
48. Loosen the generator bracket mounting bolts. Tightening torque 50 Nm.
49. Remove the generator bracket (together with the power steering pump) to the side.
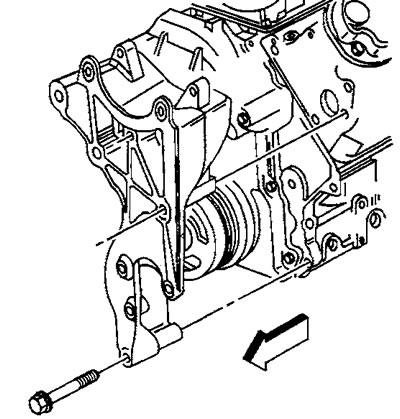
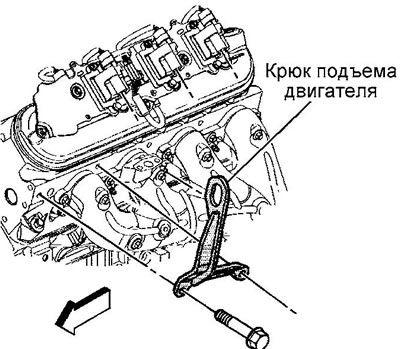
50. Remove the ignition coil to properly install the engine lift hook.
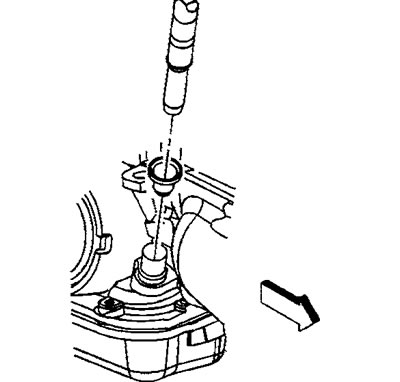
51. Unscrew the nut securing the automatic transmission fluid level dipstick tube.
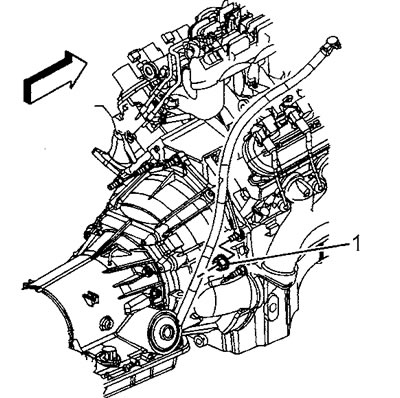
52. Remove the automatic transmission fluid level dipstick tube.
53. Install the engine lifting hook on the cylinder heads. Tighten the mounting bolts. Tightening torque: bolt M8 25 Nm; bolt M10 50 Nm.
54. Unscrew the bolts (1) securing the left and right engine mounts to the frame.
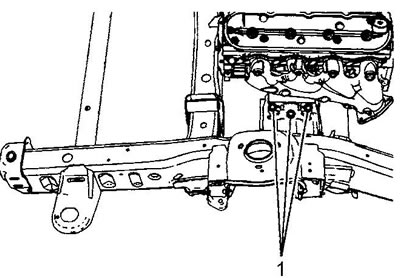
Tightening torque 65 Nm.
Note: When installing, tighten the center bolt first, then the side bolts.
56. Loosen the engine screen mounting bolts and remove the screen.
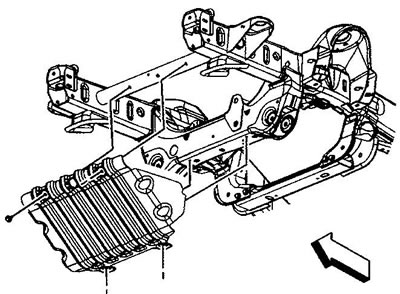
Tightening torque 20 Nm.
57. Loosen the engine guard mounting bolts and remove the guard.
Tightening torque 28 Nm.
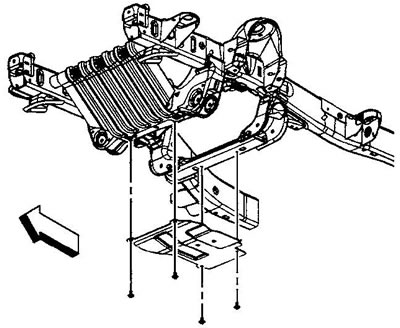
58. Place a container under the oil pan drain plug to collect the oil.
59. Unscrew the drain plug (430). Drain the oil and install the plug in place.
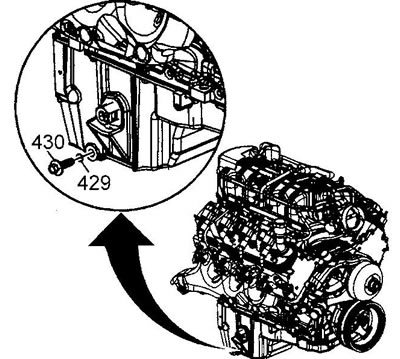
Tightening torque 25 Nm.
60. Remove the catalytic converter.
61. Loosen the bolts securing the torque converter to the drive coupling.
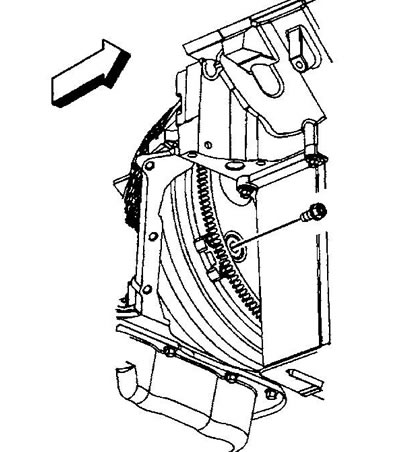
Tightening torque 60 Nm.
62. Unscrew the nut securing the fuel vapor accumulator tube bracket to the automatic transmission housing.
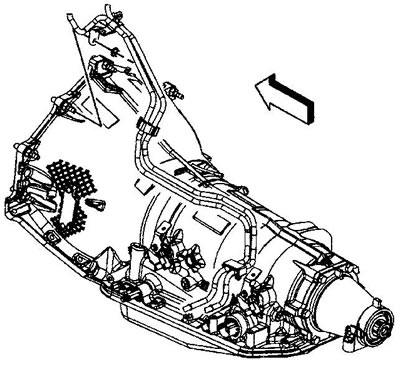
Tightening torque 20 Nm.
63. Remove the bracket from the stud and move the bracket to the side.
64. On the 4L80-E automatic transmission, unscrew the nut (1) of the transfer case ventilation hose bracket
65. On the 4L60-E/4L70-E/6L80-E automatic transmission, unscrew the nut (2) of the transfer case ventilation hose bracket. Tightening torque 20 Nm.
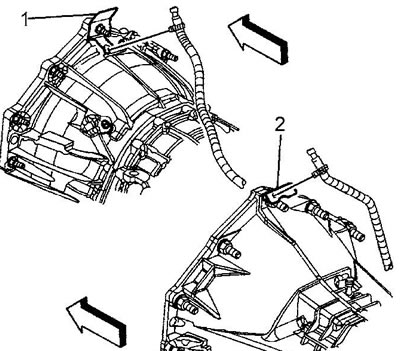
66. Set the transfer case ventilation bracket and hose aside.
67. Unscrew the automatic transmission fasteners to the engine.
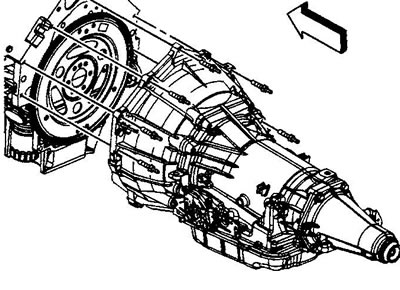
Shown are automatic transmissions 4L60-E/4L70
68. Lower the car.
69. Connect the engine lifting hooks to the lifting device slings.
70. Place a temporary support (jack) under the automatic transmission.
71. Remove the engine from the vehicle.
72. Secure the torque converter with a special clamp to prevent the torque converter from falling.
73. Install the engine on the disassembly stand.
74. Installation is carried out in reverse order.
Attention
After repair, the engine must be tested. To do this, after installing it on the vehicle, perform the following operations:
- Perform the engine pre-lubrication procedure.
- Perform the procedure of "training" the variable valve timing system (models produced since 2007).
- Turn off the ignition system.
- Turn the engine over manually several times, listen for unusual noises.
- Turn on the ignition system.
- Start the engine and listen for any unusual noises.
- Check the oil pressure.
- Bring the engine to 1000 rpm and warm it up to operating temperature.
- Listen to the noise of the valve mechanism.
- Check the engine for leaks of technical fluids.
- Adjust oil and coolant levels.
(The article is based on data from the website CHEVYMAN.RU)