


WARNING: Be careful when changing a flat tire. It may be punctured by thieves in order to steal valuables from the car while you are changing it.
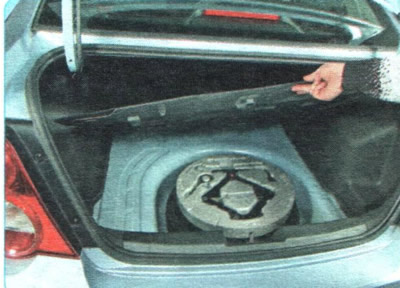
1. Open the trunk (it contains everything you need to change a wheel) and remove the mat from the trunk floor (or lift its back part).
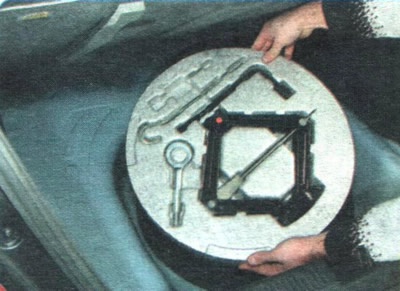
2. Remove the tool cassette from the spare wheel well.
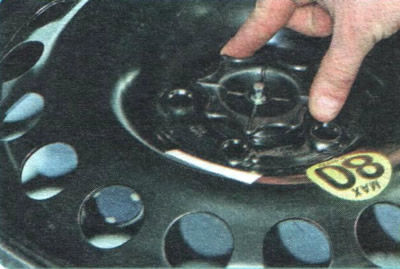
3. Unscrew the spare wheel retainer...
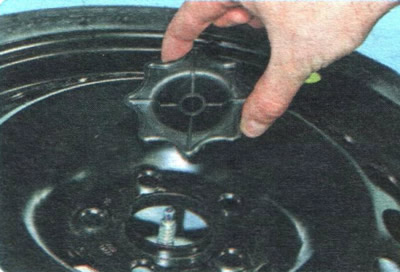
4. ...and remove the retainer.
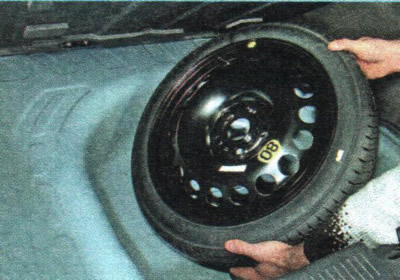
5. Remove the spare tire from the trunk and place it next to the tire being replaced.
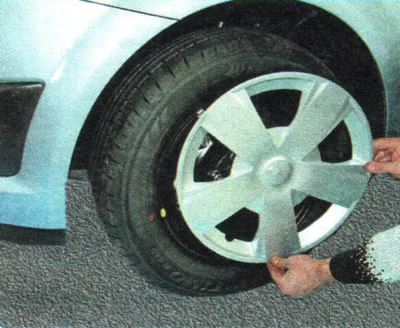
6. On a vehicle equipped with stamped wheel rims, remove the decorative wheel cap, overcoming the force of the retaining spring.
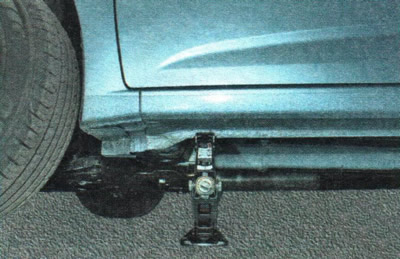
7. Engage 1st gear and apply the parking brake. Place the jack under the vehicle next to the wheel to be replaced (see "Using a jack").
HELPFUL TIP: To avoid getting dirty when changing a tire, wear gloves and protective clothing if your vehicle has them.
8. On the opposite side, the car must be secured by placing wheel chocks under the front and rear wheels so that the raised car cannot move forward or backward.
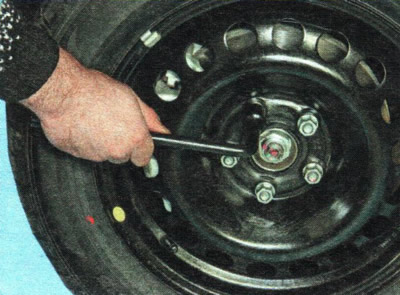
9. Using a jack, raise the car slightly, but so that the wheel that needs replacing does not come off the road. Using a wheel brace, loosen the five wheel nuts.
USEFUL TIPS: To make it easier to unscrew the wheel nuts, you can use your foot instead of your hands, stepping on the handle of the wheel wrench from above.
To make it easier to unscrew the nuts, we recommend purchasing a special wheel wrench with a telescopic handle. It is also convenient to work with a cross-shaped wheel wrench.
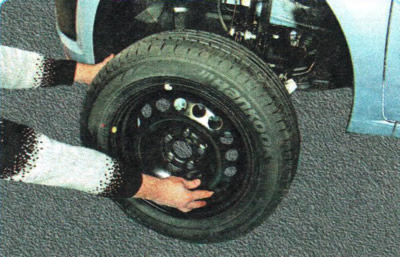
10. Jack up the car so that the wheel is off the road, then completely loosen the nuts and remove the wheel.
WARNINGS: Try to keep the vehicle suspended with the wheel removed for as little time as possible. Raise the vehicle with a jack only to the height necessary for removing and installing the wheel.
If you are working on soft ground, place a thick board under the base of the jack. Do not use bricks for this purpose - they easily split and the car may fall off the jack, seriously injuring you.
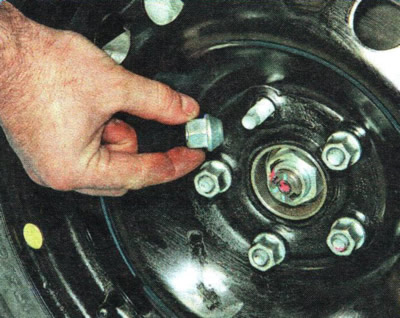
11. Install the spare wheel in place of the removed one, screw the mounting nuts on until they stop, but do not tighten them.
CAUTION: When tightening the nuts, make sure that their conical parts are aligned with the conical surfaces of the holes in the wheel rim, otherwise the nuts will loosen while driving, which may result in loss of the wheel.
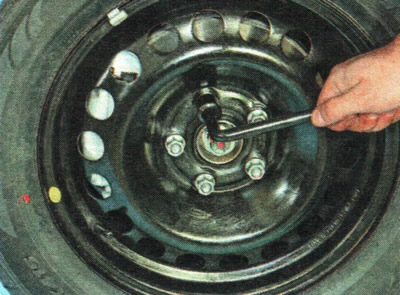
12. Lower the vehicle and tighten the nuts completely. Tighten the wheel nuts every other one around the circumference. To avoid damaging the wheel rim, do not try to "tighten" the wheel nuts by pressing the handle of the wrench with your foot.
USEFUL TIPS: In order to feel the necessary tightening force of the wheel fastening nut, use a torque wrench at first. The tightening torque of the wheel fastening nuts is 90 Nm.
Do not lubricate the threaded part of the mounting studs - this may lead to the nuts loosening on their own while the car is moving. It is permissible to lubricate the conical part of the nuts with a thin layer of consistent grease.
13. Install the decorative cap.
14. Before continuing driving, be sure to check the air pressure in the tire of the installed wheel and, if necessary, bring it to the norm.
USEFUL TIPS: The car has tubeless tires. If you do not have enough skills to install tires, we advise you not to try to do this job yourself. One damage to the sidewall - and you will have to buy a new tire or install a tube.
In a desperate situation, you can use a special first aid kit for repairing tubeless tires without dismounting (see below "Tubeless tire repair") or tire sealant. They must be used in accordance with the instructions provided.