


Contents: Front oil seal ↧ Removal the oil seal without… ↧ Removal the seal from the removed… ↧ Rear oil seal ↧
Front oil seal
Attention! On engines with a plastic timing chain cover, the seal and cover are made as one piece and are changed together each time the cover is removed.
Removal the oil seal without dismantling the timing chain cover
1. Remove the front flywheel.
2. Use a large screwdriver to pry the seal out of the cover (see photo).
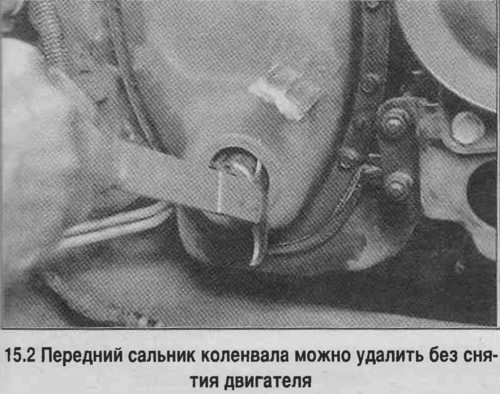
3. Clean the seal bore. Lubricate and install the new seal in place with the open end of the seal facing inward.
4. Press the seal in by hitting the socket head with a hammer until the seal surface is flush with the adjacent surface (see photo). The socket wrench head should rest against the outer part of the seal.
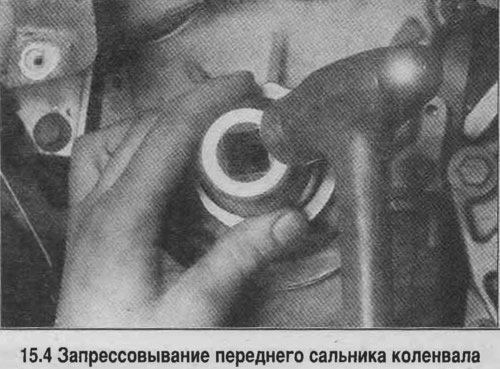
5. Lubricate the seal lips with engine oil and install the front flywheel.
Removal the seal from the removed timing chain cover
6. Knock out the old seal from the back of the cover (see photo).
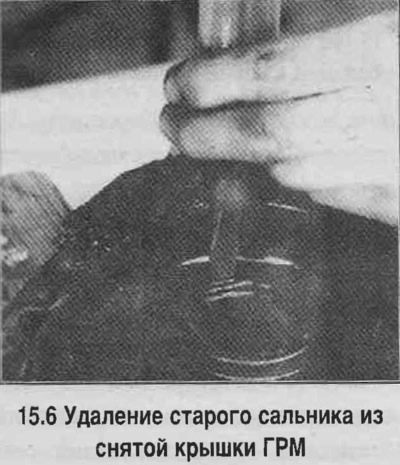
7. Clean the area around the seal.
8. Lubricate and press in the new seal by hammering it into the mandrel.
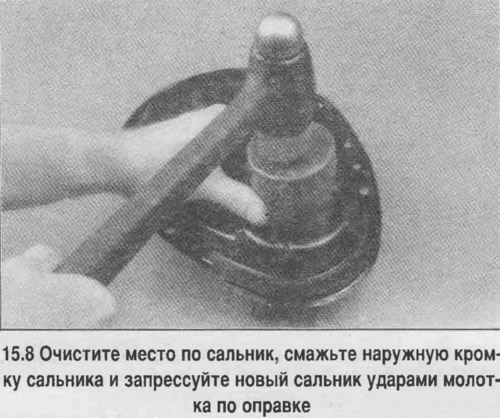
9. Install the timing chain cover.
Rear oil seal
7.4 liter engines before 1990
10. The rear oil seal can be replaced without removing the engine from the vehicle. Remove the oil pan.
11. Loosen the bolts and remove the rear main bearing lower cover.
12. Open the rear main bearing cap seal.
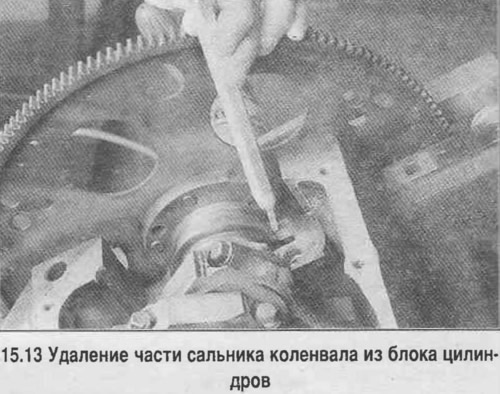
13. Remove part of the oil seal in the cylinder block by knocking it out with a hammer and brass punch and grasping it with pliers (see photo). Take care not to damage the crankshaft journal.
14. Check the condition of the crankshaft journal and the split plane of the cylinder block, as well as the grooves for the seal, remove burrs.
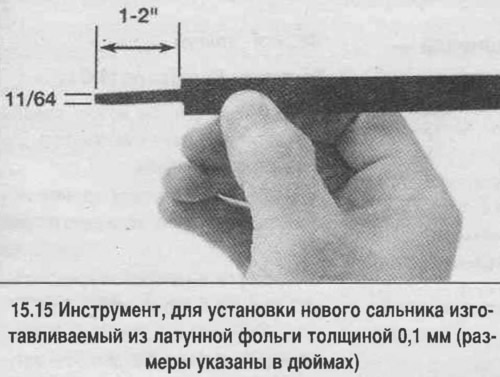
15. To install a new seal you will need the tool shown in the photo.
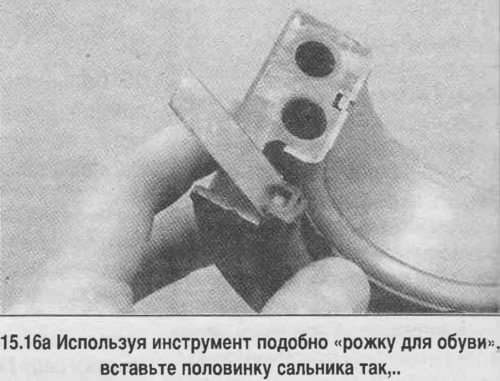
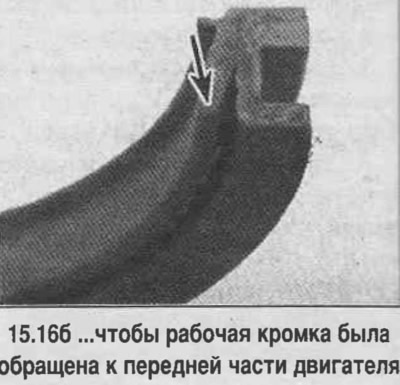
16. Using a tool, insert one part of the oil seal into the main bearing cap so that the lips of the oil seal are facing forward. If the oil seal has two working lips, the lip with the spring should be facing forward (see photo). The ends of the "half" of the seal must be flush with the surface of the main bearing cap.
17. Position the narrow end of the tool so that it protects the rear back side of the seal as it passes around the sharp edge of the cylinder block (see photo).
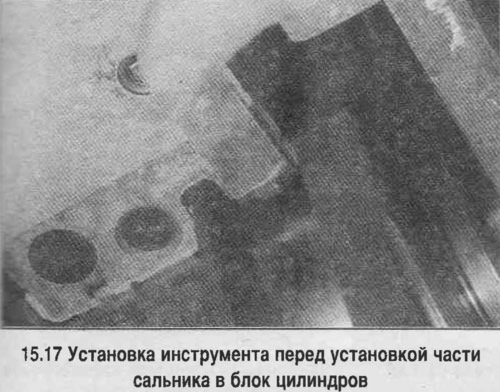
18. Lubricate the working edges of the seal and the grooves with molybdenum grease or engine oil, do not lubricate the ends of the seal! Insert the seal into the groove of the cylinder block using the tool (see photo).
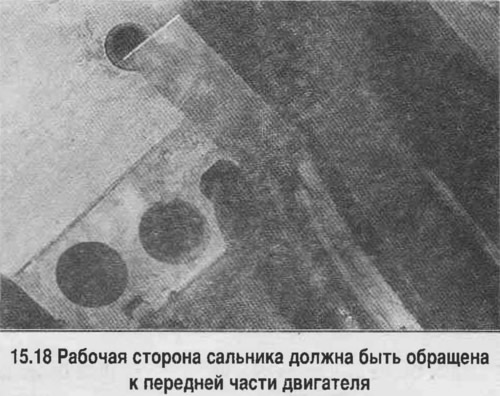
Caution: Make sure the seal lip faces the front of the engine.
19. Press the seal into place using a shoe horn-type tool. If necessary, rotate the crankshaft to engage the seal in the groove. When both ends of the seal end seal are flush with the cylinder block bed surface, remove the tool.
20. Lubricate the working lip of the oil seal in the main journal cover with molybdenum grease or engine oil.
21. Carefully install the main bearing cap on the block, tighten the bolts to 12-14 N·m. Using light hammer blows through the copper gasket, move the crankshaft in both directions until it stops, then tighten the main bearing cap bolts to the specified torque.
22. Install the oil pump and oil pan.
V6 and V8 engines 5.0 and 5.7 liters
23. All 5.0L and 5.7L V6 and V8 engines have a one-piece seal in the housing. The housing is bolted to the cylinder block. To replace this seal, you will need to remove the transmission, clutch and flywheel or torque converter and drive plate (on automatic transmission). The procedure for removing the transmission is discussed in Chapter 7.
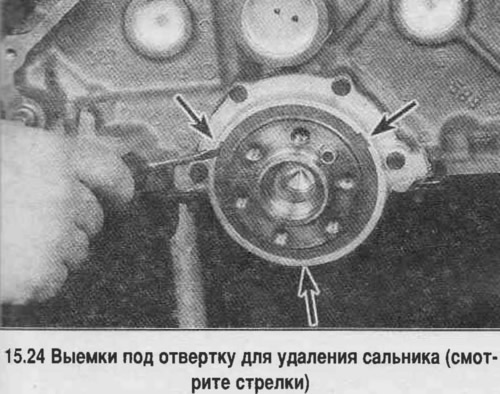
24. The seal can be removed from the housing by prying it with a screwdriver (see photo). The seal is pressed into the housing using a device that is secured in the threaded holes on the end of the crankshaft.
25. If there is no tool, remove the oil pan, unscrew the housing mounting bolts and remove the oil seal housing and gasket. Press the new oil seal into the housing and install it in place.
26. Remove the oil pan.
27. Measure the seal protrusion. Insert a screwdriver into the recesses on the seal housing and remove the seal.
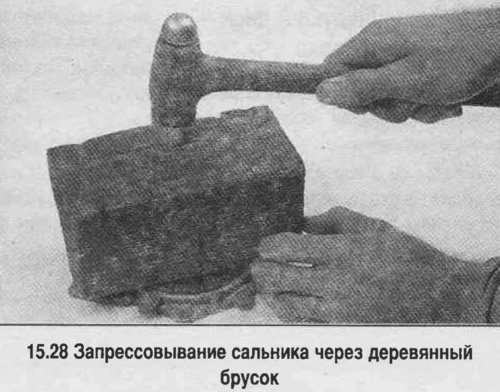
28. Clean the housing, lubricate the hole and the seal with engine oil. Press the seal in without distortions to the depth of its original installation (see photo).
29. Install the housing with the seal in place, replacing the gasket.
30. Further assembly is carried out in reverse order.
7.4 liter engines since 1991
Attention! It is recommended to use a special device to replace the rear oil seal. If it is not available, the oil seal can be installed using a pipe section with a diameter slightly smaller than the outer diameter of the oil seal.
31. This engine has a one-piece rear seal that is pressed into a hole in the rear main bearing cap and cylinder block. Remove the transmission, clutch, and flywheel or torque converter drive plate.
32. Pry up and remove the old seal, taking care not to damage the sealing surfaces.
33. Clean the area for the new seal. Lubricate the seal and press it in using a device that is secured with bolts screwed into holes on the end of the crankshaft, or with a piece of pipe that should rest against the outer part of the seal. The working edge of the seal should face the front of the engine. The seal is pressed in until it stops.