


2. Loosen the rear wheel nuts, raise the rear of the car and place it on stands. Block the front wheels and remove the rear wheels.
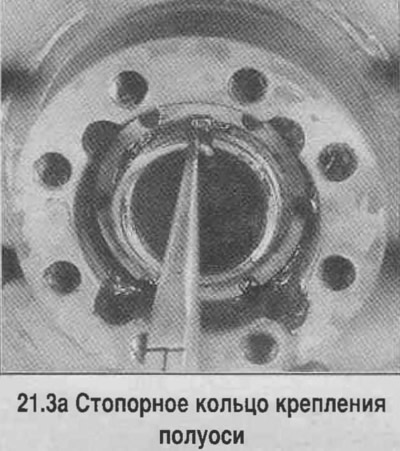
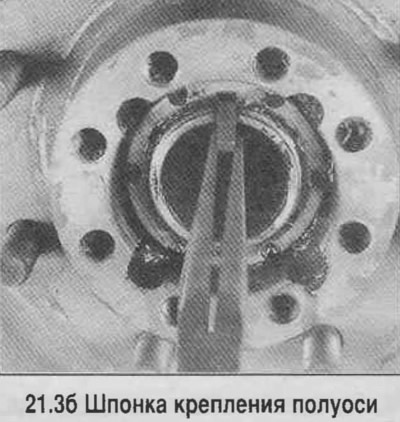
3. On some vehicles, remove the retaining ring and take the key out of the axle shaft housing (see photo).
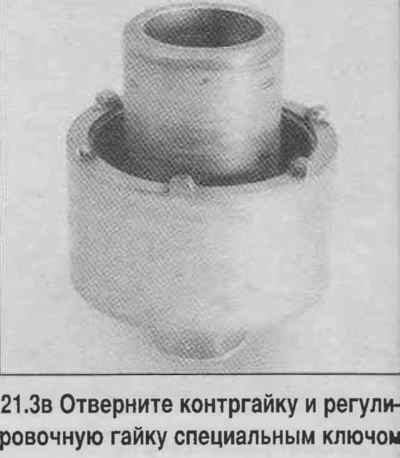
4. Press back the tongue of the lock washer of the adjusting nut and unscrew the lock nut.
5. Unscrew the adjusting nut with a special key.
6. Remove the thrust washer.
7. Pull the hub/drum assembly toward you and remove it from the axle. On some models, the drum can be removed separately after removing the screws.
8. Remove the oil seal.
9. Using a hammer and a long drift, knock out the outer race of the inner bearing and the seal.
10. Remove the snap ring, then knock out the outer bearing.
11. On models where the brake drum (or disc) is made integral with the hub, remove the drum from the hub by pressing out the wheel mounting studs. When reassembling, make sure that the drain holes are aligned and apply a thin layer of RTV sealant to the hub oil deflector, then press in the studs. It is recommended that this procedure be performed at a car service center.
12. Clean the hub from any remaining seal in the seal seat.
13. Wash the hub and axle with solvent.
14. Check the condition of the bearings, the presence of cracks, wear and damage. Check the condition of the flange, studs and splines of the hub, as well as the bearing race. Replace worn or damaged parts.
15. Check the condition of the brake drum (or disc) (see Chapter 9).
16. Lubricate the bearings and flange and hub thrust surfaces with wheel bearing grease. Distribute the grease evenly between the rollers, cone and roller carrier.
17. Press the bearing and seal into the hub at a car service center.
18. Install the oil deflector. Then install the hub assembly onto the axle, taking care not to damage the seal.
19. Install the thrust washer, aligning the tooth of the washer with the groove in the axle housing.
20. Screw on the adjusting nut and adjust the tension in the bearings.
21. Install the hub/wheel, washer and tighten the adjusting nut.
22. Turn the wheel, make sure that the hub rotates freely without touching the brake pads.
23. To adjust the wheel bearings, a special key is required to grip the adjusting nut.
24. While rotating the wheel, tighten the adjusting nut to a torque of 60 Nm. (see photo).
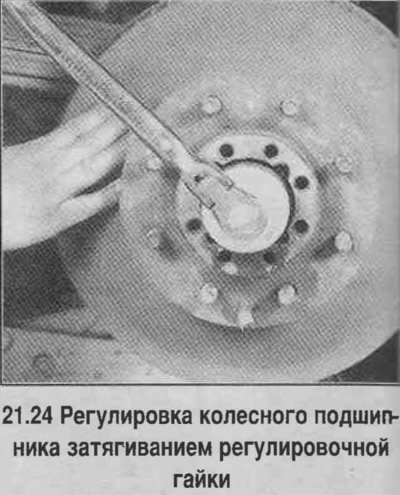
25. Loosen the nut so that the slot in the nut aligns with the groove in the axle, and insert the key. Some vehicles have a lock nut and lock washer. Bend the square tooth so that it fits into the groove in the lock nut, or bend it onto the flat of the nut.
Caution! Do not turn the nut more than one notch.
26. Replace the lock nut and tighten.
27. Further assembly is carried out in reverse order.
Original version of the article on the website: «CHEVYMAN»