


2. Disconnect the propeller shaft, move it to the side and secure it.
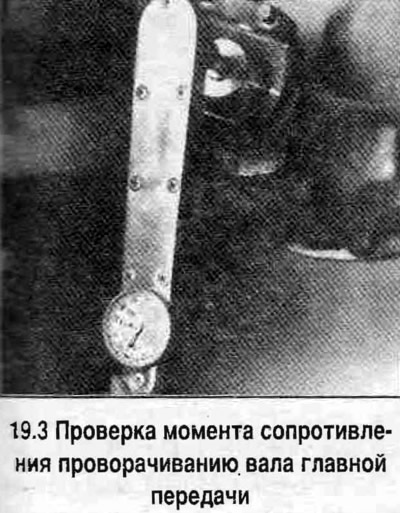
3. If the axle shaft is of the semi-unloaded type, then use a torque wrench to check the torque of resistance to turning of the main gear shaft (see photo).
4. Mark the relative orientation of the main gear pinion shaft and the cardan shaft flange nut (see photo).
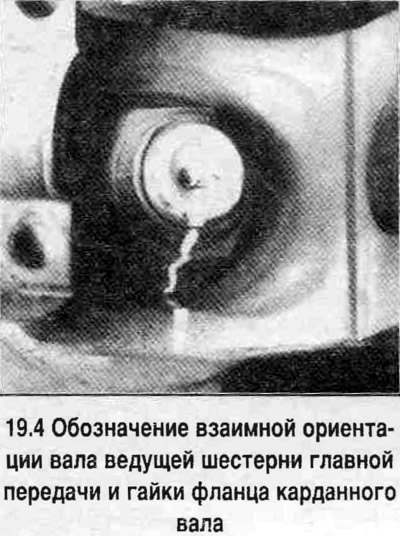
5. Determine the number of threads between the end of the nut and the end of the drive gear shaft.
6. Secure the flange from turning and loosen the nut (see photo).
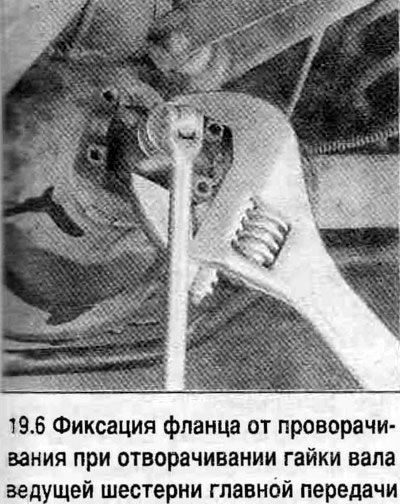
7. Unscrew the shaft nut.
8. Remove the flange. Use a puller if necessary.
9 Remove the seal.
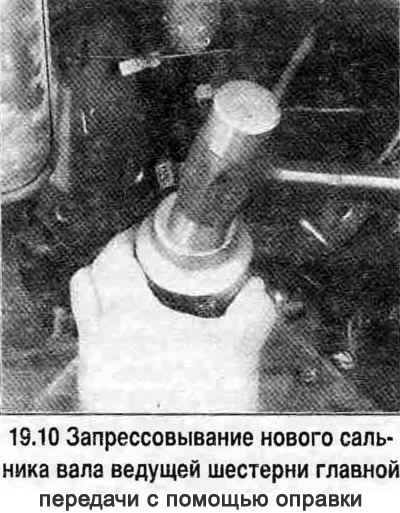
10. Press in a new seal with a mandrel, lubricating its working edge with high-melting grease. The seal should enter the socket without distortions, to its full depth (see photo).
11. Install the flange in place, aligning the marks made before disassembly. If necessary, tighten the nut so that the flange is in place.
12. Apply non-drying sealant to the ends of the splines visible in the central hole of the flange.
13. Install the washer (if provided) and screw on the nut. Tighten the nut by counting the number of threads determined before disassembly.
14. If a semi-unloaded axle shaft is being installed, gradually tighten the nut while measuring the torque of resistance to turning of the main gear. To compensate for friction from the new seal, tighten the nut with a torque slightly greater than that determined before disassembly, but not more than 0.48 N·m.
15. Install the axle shaft and lower the vehicle.
(For details, visit the website: chevyman.ru)