


Contents: Removal ↧ Installation ↧
Removal
1. Position and secure the vehicle on a two-post lift.
2. Set the wheels to the straight-ahead position.
3. Remove the wheels.
4. Disconnect the high pressure supply and return lines and plug them to prevent the working fluid from leaking out.
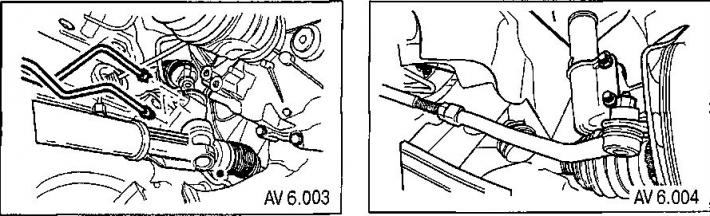
5. Unscrew the nuts securing the ball joints of the steering rods.
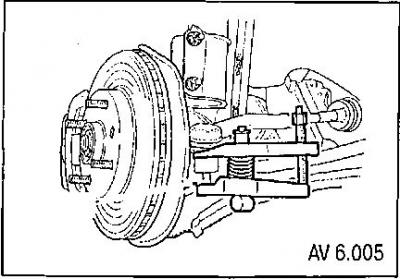
6. Remove the ball joint pins using a puller.
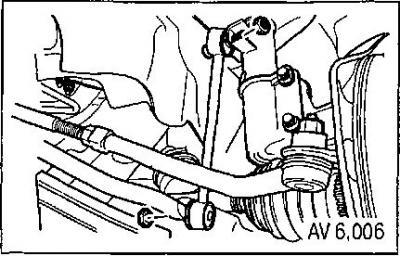
7. Disconnect the anti-roll bar.
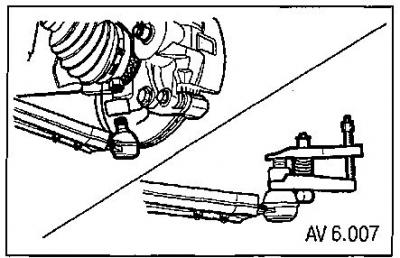
8. Disconnect the ball joint from the front arm by unscrewing the two mounting bolts.
9. Loosen the steering column shaft terminal connection clamp bolt and remove the bolt.
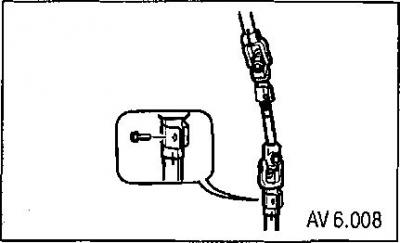
10. Loosen the screws securing the lower engine mount to the cross member.
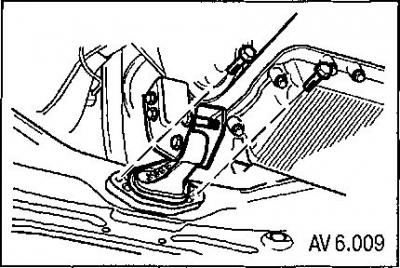
11. Place the jack under the beam.
12. Unscrew the nuts and remove the bolts securing the subframe to the body.
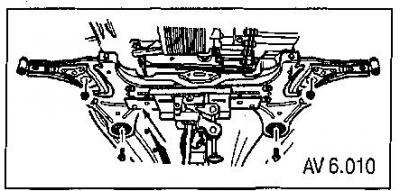
13. Lower the jack and remove the subframes.
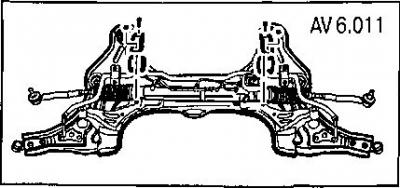
14. Unscrew the nuts of the steering gear mounting bolts.
15. Remove the steering gear assembly.
Installation
Installation is carried out in reverse order.
When installing, tighten the fastening elements to the following torques:
- steering gear housing bracket mounting nuts - 50 Nm;
- subframe to body mounting nuts - 150Nm;
- nuts for fastening the ball joint pin to the steering knuckle - 60 Nm;
- nuts for fastening the ball joint pin to the steering knuckle - 100 Nm;
- nuts securing the ball joint to the lever - 50 Nm;
- anti-roll bar mounting nuts - 45 Nm;
- supply and return pipeline fittings - 22 Nm;
- steering column shaft tightening bolt nut - 22 Nm.