


The brake caliper is removed for replacement or repair, as well as to gain access to other units.
1. Loosen the front wheel mounting nuts on the side of the caliper being replaced, place wheel chocks ("shoes") under the rear wheels, use a jack to lift the front of the car, place it on reliable supports, and remove the wheel.
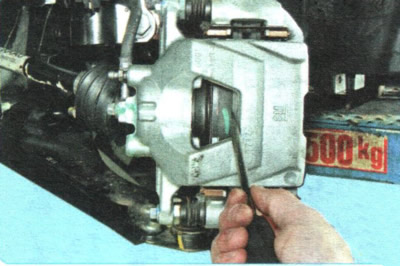
2. Using a large screwdriver inserted between the inner brake pad and the brake disc, push the piston into the slave cylinder.
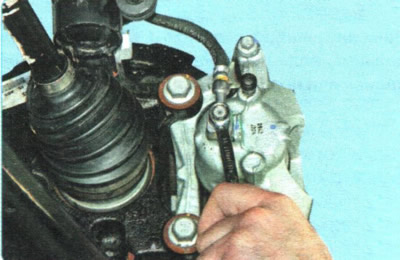
3. Loosen the tightening bolt securing the lower end of the brake hose to the caliper...
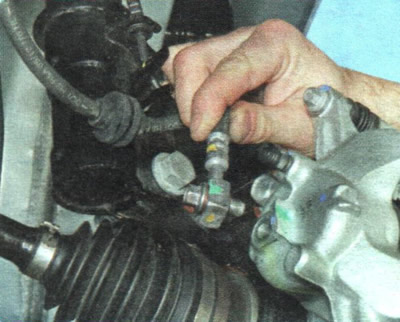
4. ...unscrew the union bolt and disconnect the hose from the caliper.
NOTE: Plug the hose end openings by any means available to prevent brake fluid from escaping.
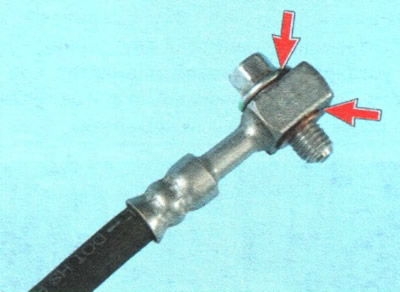
The hose tip is sealed with copper washers on both sides. Replace the washers with new ones each time you disassemble the connection.
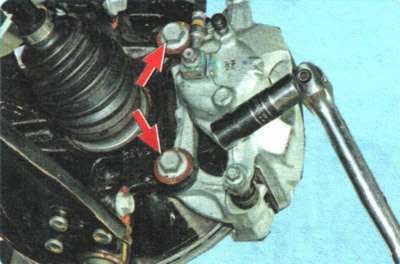
5. Loosen the two bolts of the lower and upper mountings of the caliper assembly with the pad guide to the steering knuckle...
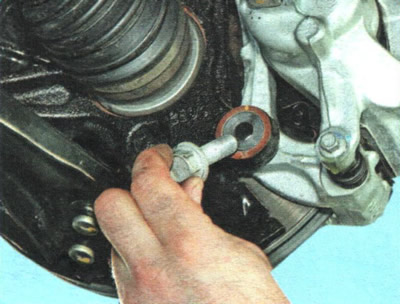
6. ...unscrew the bolts...
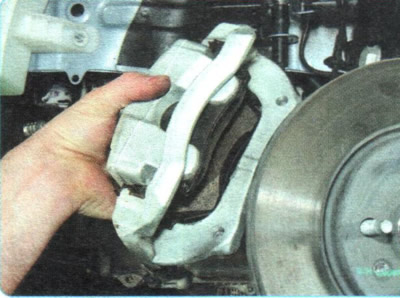
7. ...and remove the caliper from the steering knuckle.
8. The second wheel support is removed in the same way.
9. Install the caliper in the reverse order of removal. After installation, restore the brake fluid level in the master cylinder reservoir and bleed air from the brake hydraulic drive (see "Bleeding the hydraulic brake system").
The article is reprinted from the website: CHEVYMAN