


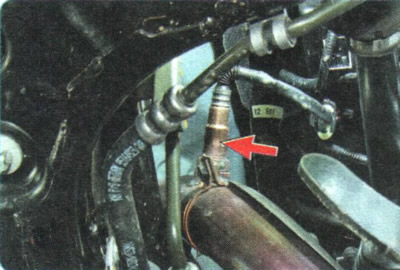
You will need: a 13 mm wrench...
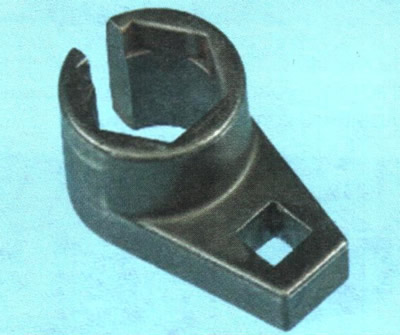
...and a 22 mm socket wrench.
WARNINGS: Since the oxygen sensor is a key component of the exhaust gas cleaning system, only high-quality spare parts must be used. To avoid damage, the sensor must be removed and installed only with the appropriate tools. If the sensor is reused, the threads must be treated with a special assembly paste. Avoid getting paste on the protective tube, as this may cause malfunctions of the sensor. New oxygen sensors from leading manufacturers are pre-treated with paste. Finally, the tightening torque specified by the manufacturer must be observed, usually 40-60 Nm. Oxygen sensors require careful handling to avoid mechanical damage (for example, due to a fall). Since the sensor draws reference air through the housing, it must not be treated with contact spray or lubricant. When routing the wiring harness, avoid contact with hot engine parts and moving parts.
1. Place the vehicle on an inspection pit or lift.
2. Disconnect the wire from the negative terminal of the battery.
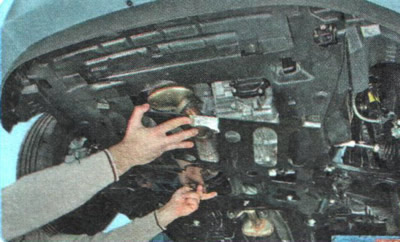
3. Remove the engine crankcase guard (see "Removal and installation mudguards and engine crankcase protection").
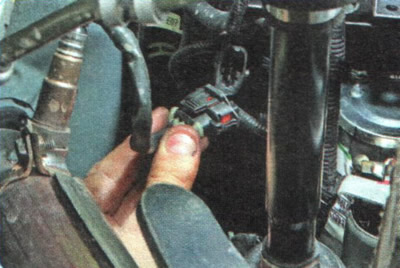
4. Squeeze the diagnostic sensor wire harness connector retainer and disconnect it from the engine wire harness connector.
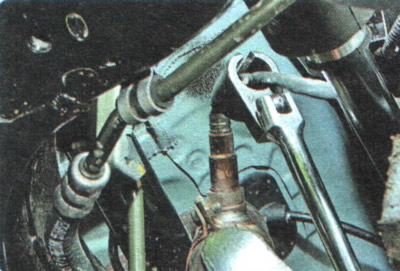
5. Loosen the sensor...
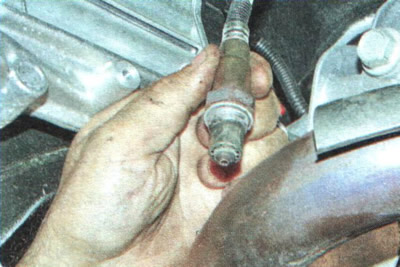
6. ...and unscrew it from the inlet pipe.
7. Install the oxygen sensor in the reverse order of removal.