
If you hear knocking in the front drive when driving on turns, check the constant velocity joints. If you feel play when rocking the drive shaft by hand or the protective covers are torn, such a joint must be replaced. There is practically no point in disassembling the outer joint of the "Birfield" type. This is a labor-intensive job, and if the cover is torn, dirt that gets into the joint will make the joint parts unusable. You cannot replace the joint parts separately, so the best solution is to replace the joint as a whole. In extreme cases, disassembling the inner joint of the "Tripod" type for replacement of grease is allowed, as it is simpler and less susceptible to water and road dirt. The appearance of traces of grease on the joint indicates that the cover is torn.
1. Remove the front wheel drive assembly (see "Removal and installation front wheel drives").
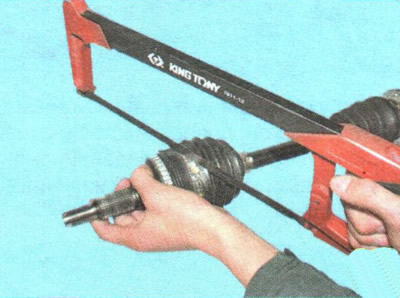
2. Clean the parts and inspect the drive:
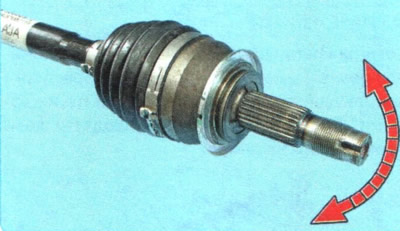
- the outer constant velocity joint should turn with light force, without jerking or jamming, radial and axial play. If any, replace the joint;
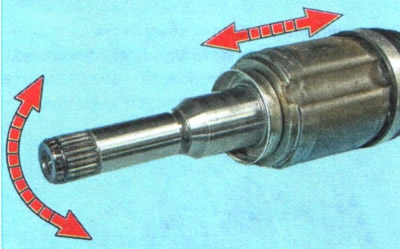
- the inner hinge should move in angular and axial directions with slight force, and there should be no jerking, jamming or radial play. Otherwise, replace the inner hinge;
- there should be no cracks or tears on the protective covers of the outer and inner hinges. Replace damaged covers;
- the wheel drive shaft must not be deformed. Replace a deformed shaft.
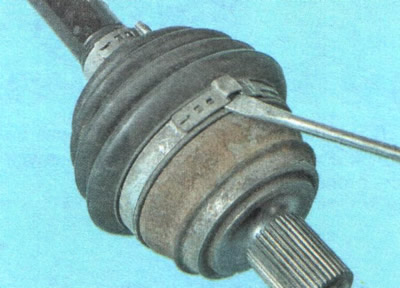
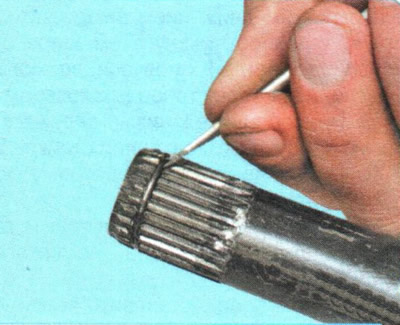
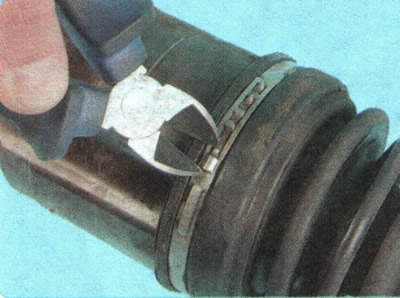
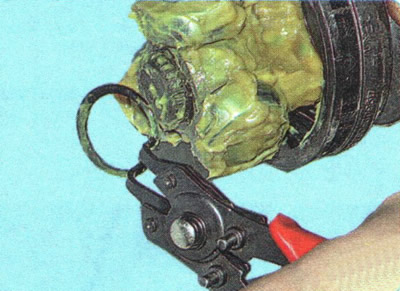
3. To replace the outer hinge and its cover, use a screwdriver or cut off the lock of the large clamp securing the outer hinge cover with side cutters...
4. ...and remove the clamp.
NOTE: The clamps for fastening the constant velocity joint protective boots are single-use, replace them with new ones during assembly. As a rule, the clamps are included with the new joint.
To make removal easier, the clamp can be cut with a hacksaw for metal. When cutting the clamp, be careful not to damage the edges of the groove for the cover on the hinge body.
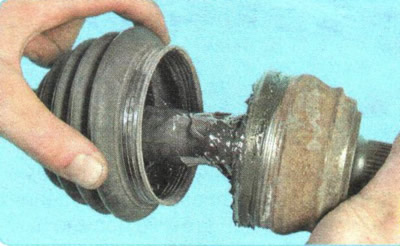
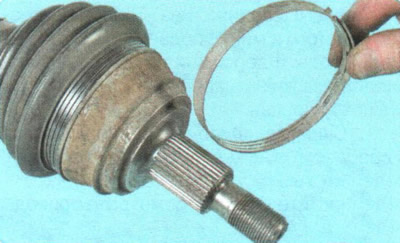
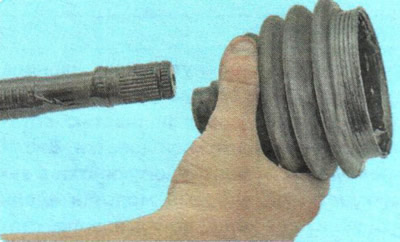
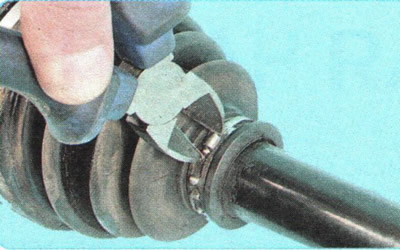
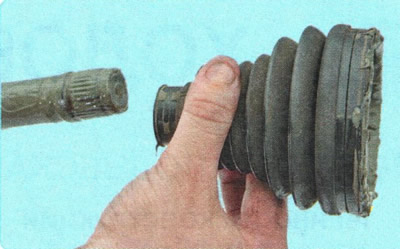
5. Slide the protective cover off the hinge housing...
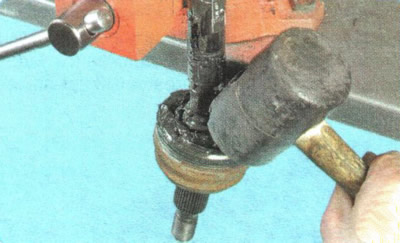
6. ...and knock the joint cage off the shaft with a hammer through the punch, overcoming the force of the retaining ring.
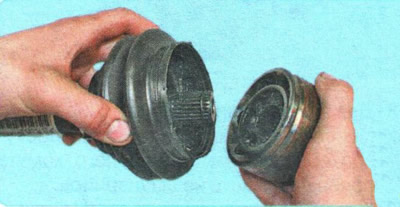
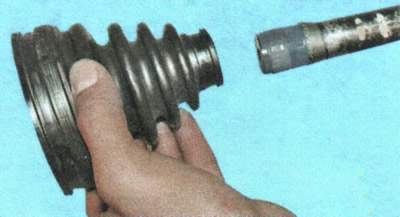
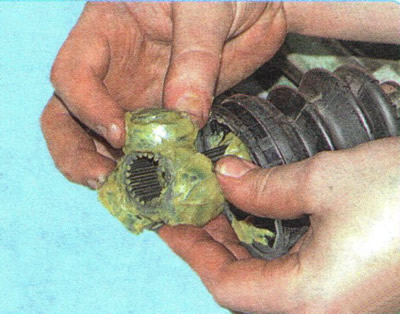
7. Remove the outer joint from the shaft splines.
WARNING: Disassembly of the outer joint is not permitted.
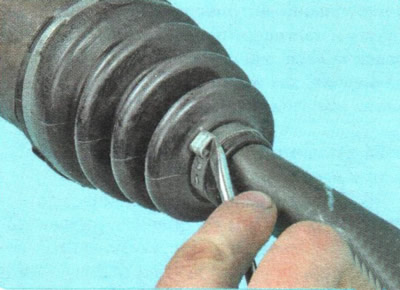
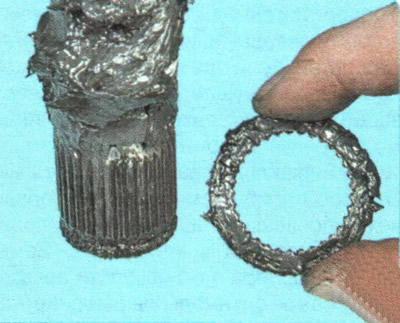
8. Remove the retaining ring from the shaft by using a screwdriver to pry it out of the shaft groove.
NOTE: Replace the retaining ring with a new one when reassembling. The ring is usually included with the new joint.
9. Use a screwdriver or side cutters to disconnect the lock of the small clamp securing the outer cover of the hinge...
10. ...and remove the clamp.
11. Remove the thrust washer.
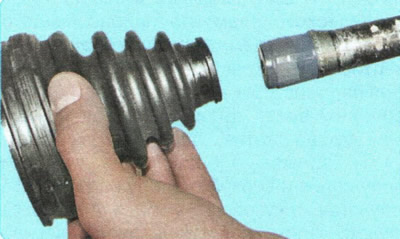
12. Remove the protective cover.
13. Wash all metal parts with kerosene until all old grease is removed.
NOTE: When installing the hinge, replace the protective cover with a new one. The cover is usually included with the new hinge.
USEFUL TIPS: To avoid damaging the joint boot during assembly, wrap the splined portion of the shaft with insulating tape.
To facilitate installation of the boot on the shaft, lubricate the shaft with a thin layer of grease designed to fill the joint.
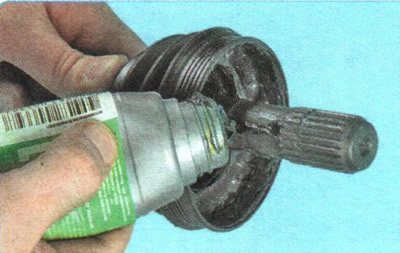
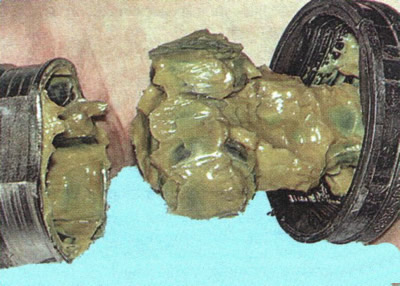
14. Before installing the new outer joint, fill its cavity with grease (if the joint was not lubricated by the manufacturer) in the amount of about 100 g. Moreover, put 40 g in the hinge, and the rest of the lubricant in the cover.
WARNING: Do not reduce or increase the recommended amount of grease in the joint.

15. Install the outer joint boot and the joint in the reverse order of removal. When installing the joint on the shaft, press the joint by hitting the joint shank with a hammer through a soft metal punch or with a rubber hammer until the joint collar is fixed with a retaining ring installed on the drive shaft.
CAUTION: Before securing the hinge boot with the large clamp, use a screwdriver to pull back the edge of the boot to equalize the air pressure inside and outside the boot.
USEFUL TIP: There are some rules when crimping clamps.
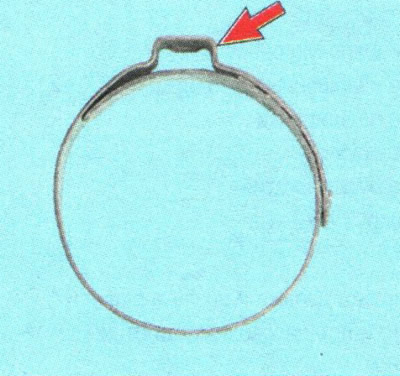
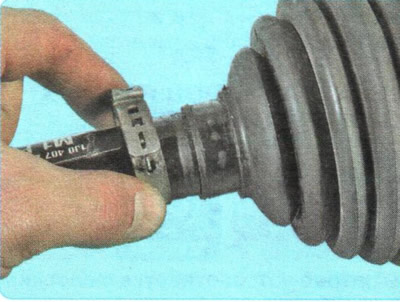
This is what a new, uncrimped clamp looks like.
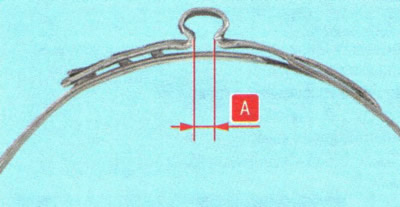
The criterion for correct clamp compression is the gap A. It should be within 1.4-1.8 mm. If the gap is larger, tighten the clamp to the norm; if less, replace the clamp.
16. To disassemble and replace the inner tripod joint, remove the clamp that secures the joint cover to its body by using a screwdriver or cutting the clamp lock with side cutters.
17. Similarly, remove the clamp securing the inner joint boot to the shaft.
18. Disconnect the inner joint housing from the drive.
19. Remove the hub retaining ring by loosening it with a retaining ring plier and removing the ring from the shaft groove.
20. Remove the hub with rollers from the shaft splines...
21. ...and a protective cover from the shaft.
22. Wash all metal parts with kerosene until all old grease is removed.
23. Install the joint cover on the shaft and secure it with a clamp.
NOTE: To avoid damaging the joint boot during assembly, wrap the splined portion of the shaft with insulating tape.
24. Install the joint hub onto the shaft splines, aligning the marks made during disassembly, and secure it with a retaining ring. Make sure that the retaining ring is fully inserted into the shaft groove.
25. Fill the cavity of the inner hinge with about 100 g of grease. Place 40 g in the hinge and the rest of the grease in the cover.
NOTE: If the lubricant recommended by the manufacturer is not available, you can use domestic molybdenum grease SHRUS-4.
26. Install the hinge housing, aligning the marks made during disassembly.
27. Place the cover on the hinge body and secure it with a clamp.
CAUTION: Before securing the hinge boot with the large clamp, use a screwdriver to pull back the edge of the boot to equalize the air pressure inside and outside the boot.
[The article is based on data from the website «chevyman.ru»]