
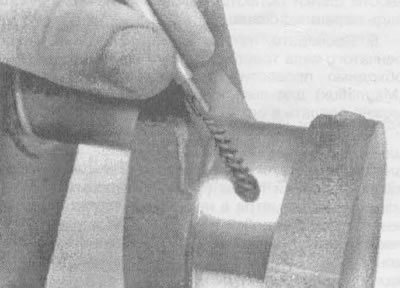
19.1. The edges of the oil holes must be rounded off to avoid scratching the new bearings
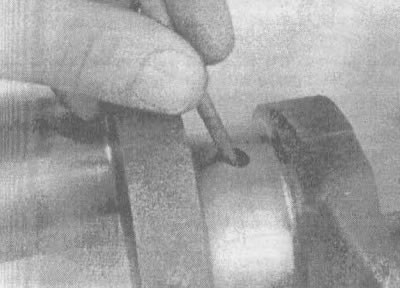
2. Clean the crankshaft using solvent and dry it with compressed air (if it exists). Be sure to clean the oil holes with a stiff brush (see illustration) and rinse them with solvent.
19.2 Use a wire brush or a brush with stiff synthetic bristles to clean the oil grooves in the crankshaft
Caution: Wear safety glasses when using compressed air.
3. Check the main bearing journals and connecting rod bearings for signs of uneven wear, scratches, corrosion pits and cracks.
4. Rub each neck several times with a copper coin (see illustration). If traces of copper remain on the surface of the neck, it must be re-ground.
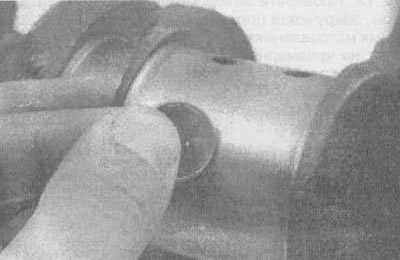
19.4. By rubbing a copper coin against each shaft journal, the condition of the journal surface can be determined (if traces of copper remain on the crankshaft, the journals need to be re-ground)
5. Check the remaining parts of the crankshaft for cracks or other damage. It is necessary to carry out special probing (Magnaflux) to detect hidden cracks. This can be done at an auto repair shop.
6. Using a micrometer, measure the diameters of the main bearing journals and connecting rods and compare the results with the specifications in this chapter (see illustration). By measuring the diameter at several points around the circumference of each neck, you can determine the degree of ovality of the neck. To determine the degree of taper, measurements must be taken at each end of the journal near the cranks.
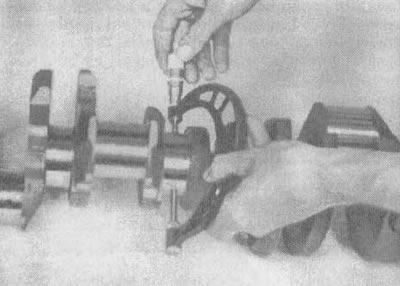
19.6 Measure the diameter of each crankshaft journal at several points to determine taper and ovality
7. If the crankshaft journals are damaged or their taper, out-of-roundness or wear exceeds the permissible limits given in Section "Technical data", take the crankshaft to an auto repair shop for regrinding. Please note that after rebuilding the crankshaft, bearing shells of a different size will be required.
8. Check for signs of wear or damage on the journals on which the seals operate. If the seals have worn through the grooves on the journals or there are scratches or signs of wear (see illustration), then after engine assembly, new seals may leak. In some cases, auto repair shops restore the necks by pressing thin sleeves onto them. If repair is not possible, a new or reconditioned crankshaft must be installed.
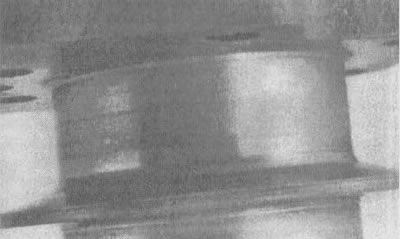
19.8 If the seals have worn through the grooves on the crankshaft journals or there are scratches or abrasion marks on the surfaces under the seals, the new seals will leak
9. Check the main bearing shells and connecting rod bearings (see section 20).
[For details, visit the website: «chevyman.ru»]