


Removal
Carry out the operation of reducing the pressure in the fuel system. To do this, let the engine run for 10 seconds with the fuel pump disconnected. To disconnect the fuel pump, remove the fuse (AV 2.003).
1. Remove the fuel pump power fuse.
2. Start the engine.
3. After the engine stops, start it again and let it run for about 10 seconds to use up the fuel contained in the fuel rail to reduce the residual fuel pressure in the system.
4. Disconnect the Engine Control Module (ECM) ground terminal from the intake manifold.
5. Drain the coolant from the engine.
6. Disconnect the supply air temperature (IAT) sensor connector.
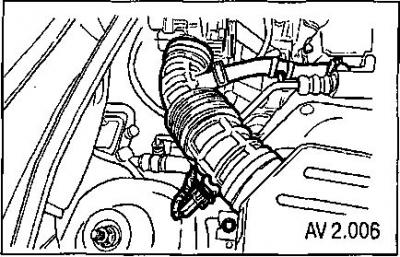
7. Disconnect the crankcase ventilation hose from the valve cover.
8. Disconnect the air duct from the throttle body.
9. Disconnect the ignition coil connector.
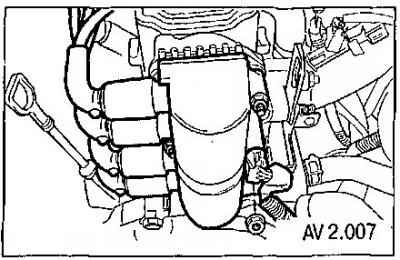
10. Disconnect the coolant temperature sensor (CTS) connector.
11. Disconnect the idle air control (IAC) connector.
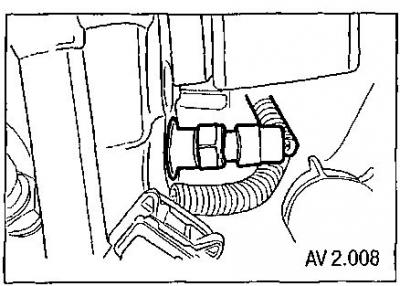
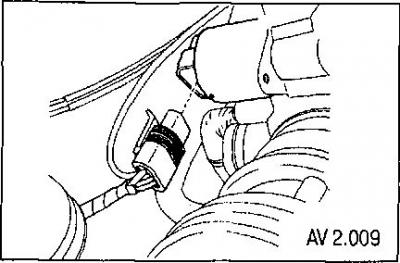
12. Disconnect the throttle position (TP) sensor connector.
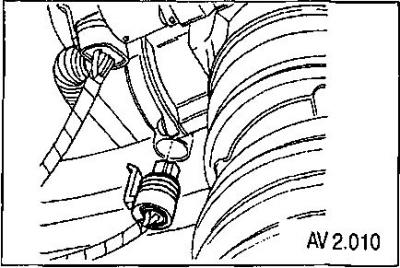
13. Remove the camshaft position (CMP) sensor.
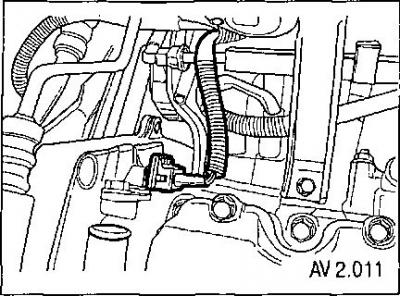
14. Loosen the air filter housing screws.
15. Remove the air filter housing.
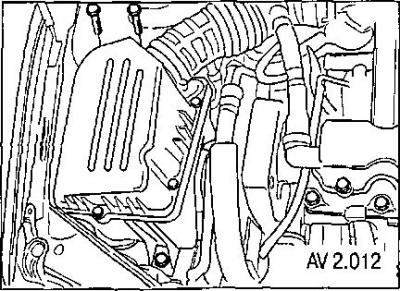
16. Remove the timing belt cover upper part screws.
17. Remove the upper part of the timing belt cover.
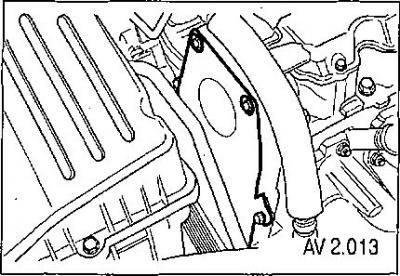
18. Align the ignition timing mark on the camshaft toothed pulley with the mark on the rear timing belt cover.
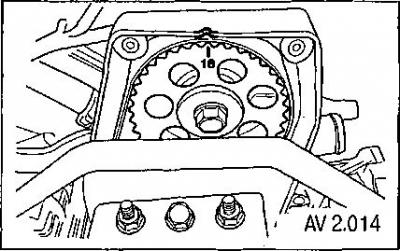
19. Remove the right front wheel.
20. Remove the right front wheel mudguard.
21. Remove the accessory drive belt.
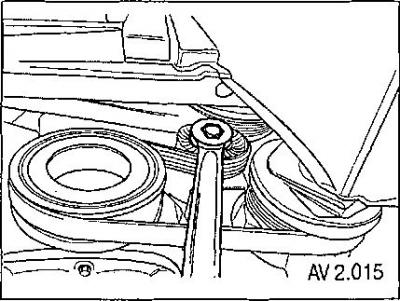
22. Disconnect the fuel supply line from the fuel rail.
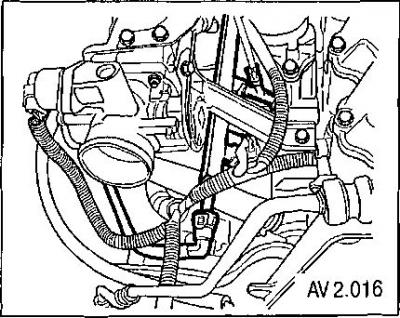
23. Remove the power steering tube bracket mounting nut.
24. Unscrew the generator nut.
25. Remove the generator bracket mounting nut.
26. Remove the generator bracket.
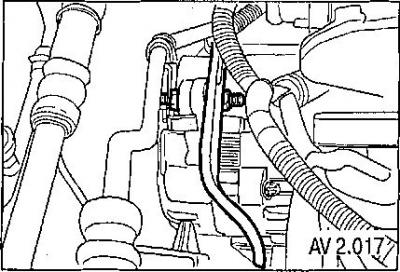
27. Disconnect the brake booster hose at the intake manifold.
28. Disconnect any vacuum hoses that need to be disconnected and the electrical connector.
29. Disconnect the manifold absolute pressure (MAP) sensor connector.
30. Remove the crankshaft pulley mounting screw.
31. Remove the crankshaft pulley.
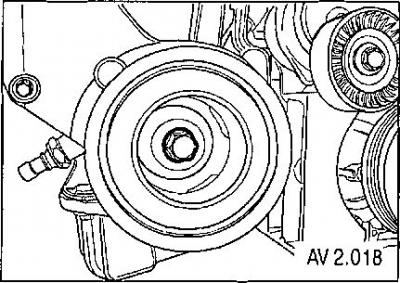
32. Unscrew the screws of the lower part of the timing belt drive housing.
33. Remove the lower part of the timing belt cover.
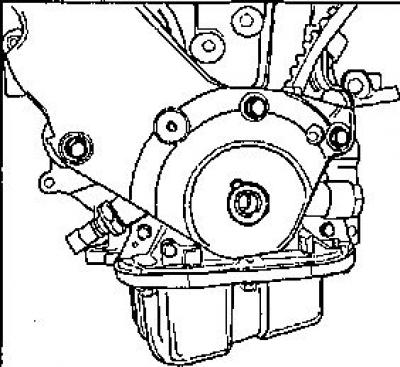
34. Slightly loosen the coolant pump mounting screws.
35. Loosen the timing belt tension by turning the coolant pump.
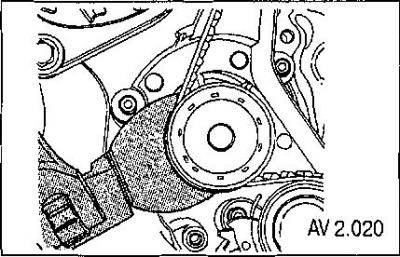
36. Remove the timing belt.
37. Disconnect the crankcase ventilation tube from the camshaft housing.
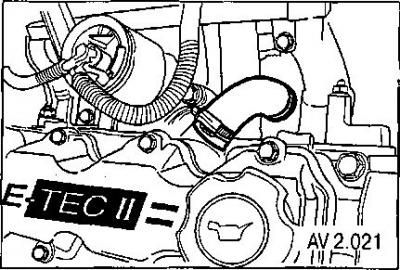
38. Remove the valve cover with gasket.
Note: Do not scratch, nick or otherwise damage the camshaft.
39. Remove the camshaft timing pulley.
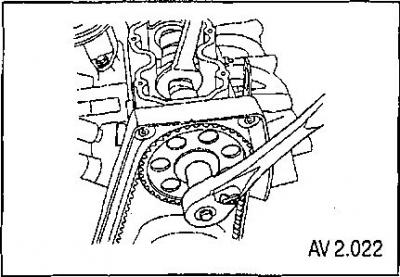
40. Remove the rear upper timing belt cover screws.
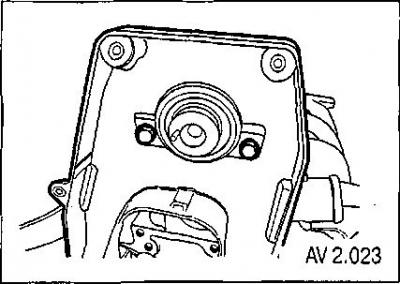
41. Disconnect the spark plug wires from the spark plugs.
42. Disconnect the catalytic converter flange from the exhaust manifold flange.
43. Disconnect the oxygen sensor electrical connector.
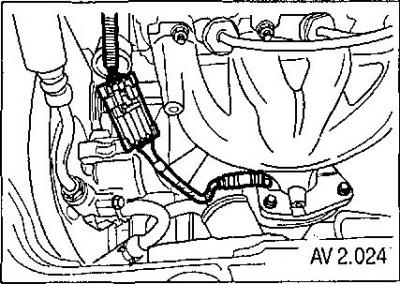
44. Disconnect the heater supply hose from the coolant distributor.
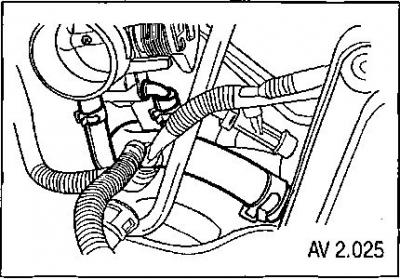
45. Disconnect the coolant hose connecting the expansion tank and the throttle body.
46. Remove the front engine mount mounting bolts.
47. Disconnect the accelerator cable from the throttle body and intake manifold.
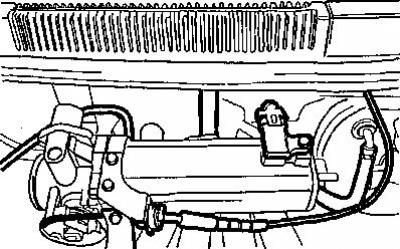
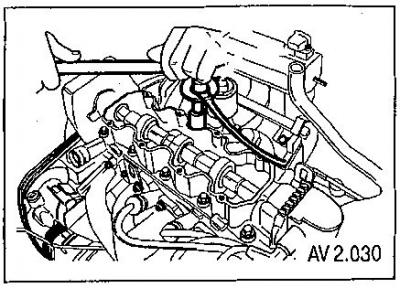
48. Gradually loosen all cylinder head mounting bolts in the sequence shown in the figure.
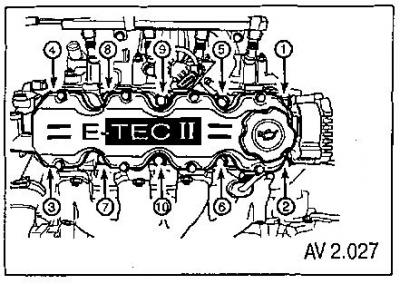
49. Remove the cylinder head mounting screws.
50. Carefully remove the camshaft housing.
Note: When removing the cylinder head, do not allow engine oil or coolant to enter the cylinders. Otherwise, engine damage may occur.
51. Remove the cylinder head with the intake and exhaust manifolds installed on it.
52. Remove the cylinder head gasket.
Cleaning
Clean the cylinder head and block surfaces that contact the gasket.
Make sure there are no deep scratches or nicks on the cylinder head gasket surface and engine block.
Clean the cylinder head bolts.
Inspect the cylinder head for deformation.
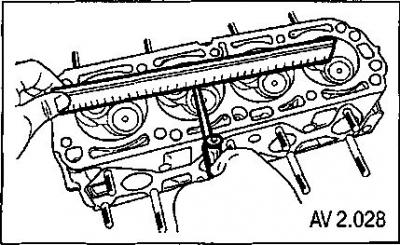
Installation
1. Apply a continuous bead of sealant 3 mm wide to the sealing surface of the camshaft housing.
2. Install the cylinder head gasket.
3. Install the cylinder head together with the intake and exhaust manifolds.
4. Install the camshaft housing assembly.
5. Install the head cover screws in the sequence shown in the figure.
Tightening the cylinder head mounting screws
6. Tighten the cylinder head bolts in the sequence shown in the figure to a torque of 25 Nm.
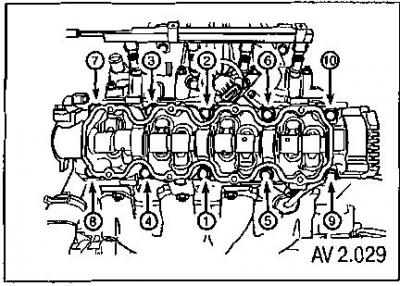
7. Tighten the cylinder head bolts to an angle of 70°.
8. Tighten the cylinder head bolts to an angle of 30°.
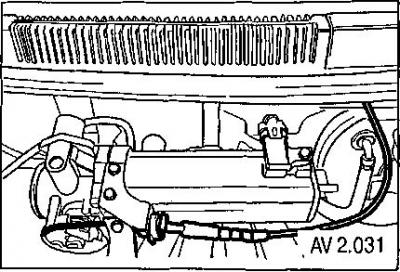
Connect the accelerator cable to the throttle body and intake manifold (AV 2.031).
10. Install and tighten the intake manifold support bracket mounting screws to 25 Nm.
11. Connect the coolant hose from the expansion tank to the throttle body.
12. Connect the heater delivery hose to the coolant distributor.
13. Install the catalytic converter retaining nuts on the exhaust manifold flange.
Tightening. Tighten the additional nuts securing the catalytic converter to the exhaust manifold to a torque of 40 Nm.
14. Connect the front oxygen sensor electrical connector.
15. Install the timing belt cover rear part screws and tighten them to 10 Nm.
Note. Be as careful as possible to avoid scratches, nicks, or other damage to the camshaft. Such damage can degrade the vehicle's performance.
16. Install the camshaft timing pulley.
17. Tighten the camshaft timing pulley screw to 45 Nm.
18. Connect the crankcase ventilation tube to the camshaft housing.
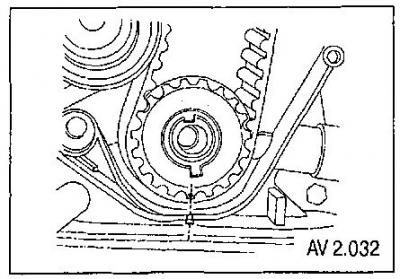
19. Align the mark on the camshaft sprocket with the mark on the top of the rear of the timing case.
20. Align the mark on the crankshaft timing pulley with the mark on the bottom of the timing belt cover.
21. Install the timing belt.
22. Check the timing belt tension.
23. Tighten the timing belt cover lower part screws to 10 Nm.
24. Install the crankshaft pulley.
25. Tighten the crankshaft pulley bolts to 95 Nm.
26. Tighten the pulley mounting screws another 30°+ 15°.
27. Connect the vacuum hoses and electrical connectors.
28. Connect the brake booster hose to the intake manifold.
29. Connect the upper radiator hose to the thermostat housing.
30. Install the generator bracket.
31. Tighten the generator bracket mounting nut to 25 Nm.
32. Install the generator nut without tightening.
33. Connect the fuel supply line to the fuel rail.
34. Install the additional accessory drive belt.
35. Tighten the timing belt cover upper part screws to 10 Nm.
36. If necessary, install the air conditioning compressor belt.
37. Install the right front wheel mudguard.
38. Install the right front wheel.
39. Install the air filter housing.
40. Install the air filter housing by tightening the air filter housing screws to a torque of 8 Nm.
41. Connect the air duct to the throttle body.
42. Connect the ventilation tube to the timing cover.
43. Connect the supply air temperature sensor connector.
44. Install the CMP sensor.
45. Connect the coolant temperature sensor.
46. Connect the supply air temperature sensor connector valve.
47. Connect the sensor connector.
48. Connect the ignition coil connector of the ignition system.
49. Connect the connectors of the wiring harness of the distributed fuel injection system (DFIS).
50. Connect the oxygen sensor connector.
51. Connect the ECM ground terminal to the intake manifold.
52. Connect the negative battery cable.
53. Install the fuel pump fuse.
54. Fill the engine cooling system.