
You will need: 18 mm wrenches, TORX T40, jack, wheel nut wrench.
1. Brake the vehicle with the parking brake and install the anti-rollback stops ("shoes") under the rear wheels.
2. Loosen the tightening of the nuts of the corresponding wheel.
WARNING: Loosen and tighten the wheel nuts only with the vehicle on the ground.
3. Raise and place the front of the car on stops and, having completely unscrewed the nuts, remove the wheel.
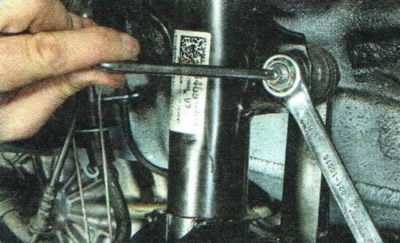
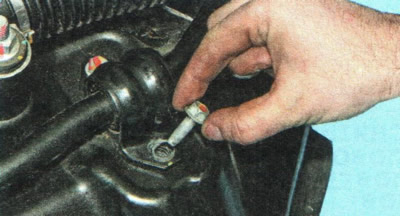
4. Loosen the nut securing the upper hinge pin of the stabilizer strut to the shock absorber strut bracket, holding the pin with a second key to prevent it from turning.
5. Remove the upper hinge pin from the suspension strut bracket.
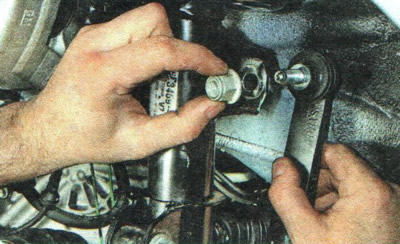
6. Similarly, unscrew the nut securing the lower hinge pin to the stabilizer bar.
7. Remove the hinge pin from the rod...
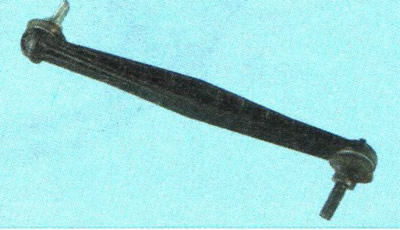
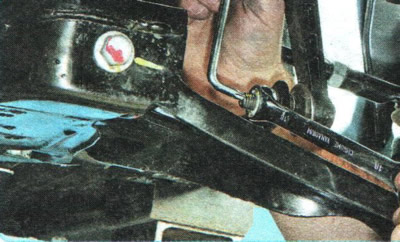
8. ...and remove the stabilizer bar.
9. Install the anti-roll bar in the reverse order of removal.
For replacement stabilizer bars or their pads perform the following tasks.
You will need: keys "10", "11", "13", "18", "21", TORX T40, TORX E10, pliers.
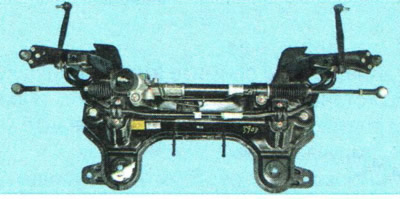
1. Remove the front suspension crossmember (see "Removal and installation the front suspension crossmember").
2. Unscrew the two bolts on the left and right brackets securing the stabilizer bar to the front suspension crossmember.
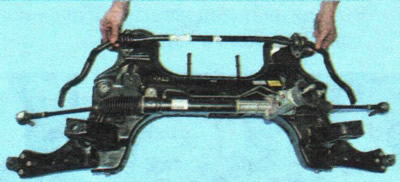
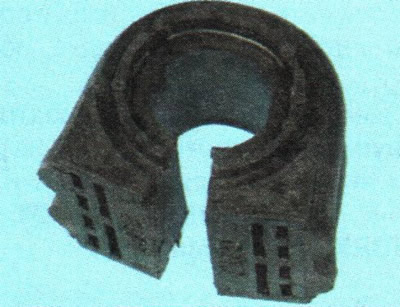
3. Remove the bar assembly with brackets and rubber pads.
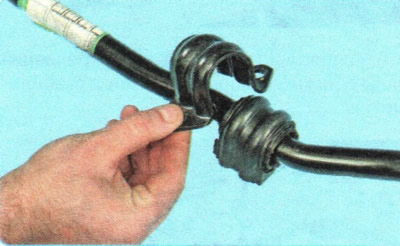
4. Remove the stabilizer bar mounting bracket.
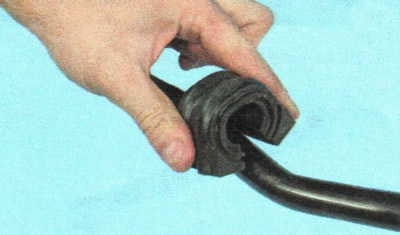
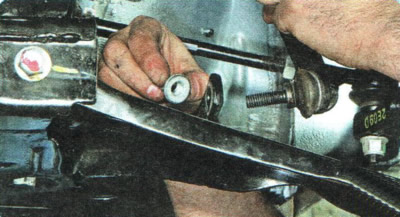
5. Release the barbell pad...
6. ...and take it off.
7. Remove the second pillow in the same way.
8. Install the parts in the reverse order of removal. Tighten the bolts and nuts to the torque specified in Appendix 1.
9. Bleed the power steering system (see "Bleeding the power steering system").
10. Check and, if necessary, adjust the wheel alignment angles (see "Checking and adjusting wheel alignment angles"). Use the services of workshops that have special equipment.
(The article was reprinted from the website: ChevyMan)