


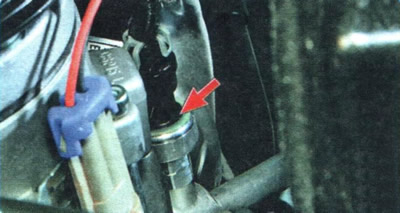
The sensor is screwed onto the threaded fitting of the pipeline flange through a shut-off valve, so when removing the sensor for inspection or replacement, there is no need to bleed the refrigerant from the system.
1. Disconnect the wire from the negative terminal of the battery.
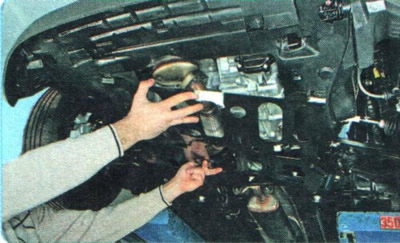
2. Remove the crankcase guard...
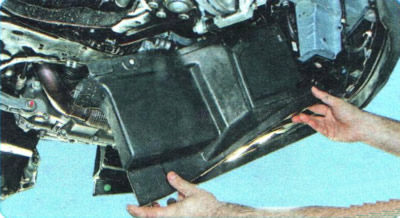
3. ...and the right engine mudguard (see "Removal and installation mudguards and engine crankcase protection").
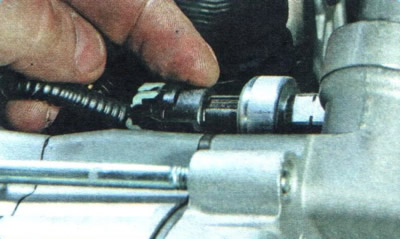
4. Press the latch.
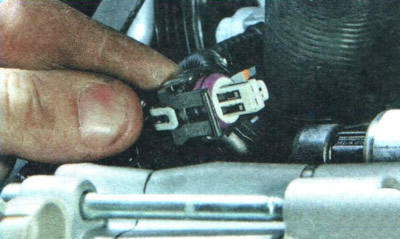
5. ...and disconnect the wiring harness connector from the sender.
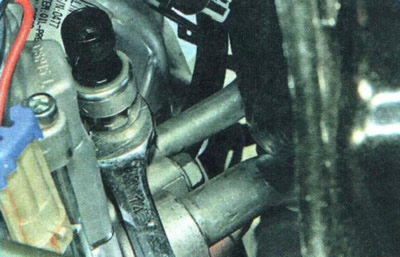
6. Unscrew the sensor from the threaded fitting on the pipeline flange.
7. Install the new sensor in the reverse order of removal and tighten to 7 N·m.
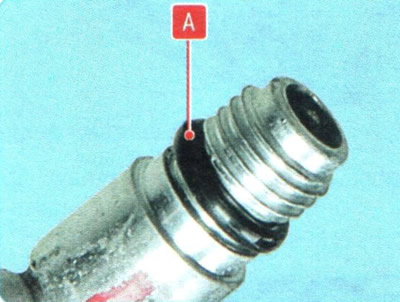
WARNING: When replacing the sensor, the O-ring A on the threaded fitting of the pipe flange must be replaced with a new one and lubricated with air conditioning oil before screwing on the sensor.
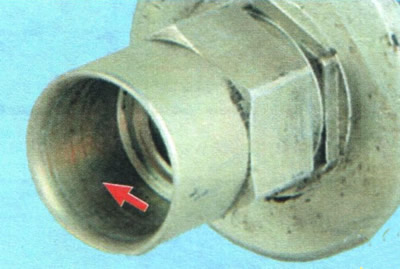
Check the condition of the sealing surface on the sensor body. The surface should be clean and smooth. If there are any signs of corrosion, the sensor will have to be replaced.
8. If necessary, check the level of refrigerant in the air conditioning system at a specialized center for servicing automotive air conditioners.