
1. Disconnect the wire from the negative terminal of the battery.
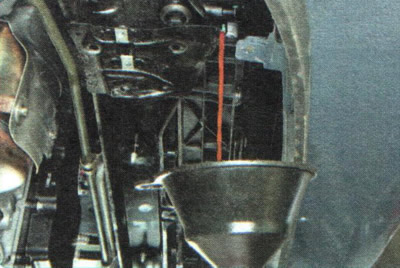
2. Drain the cooling system (see "Replacing the coolant").
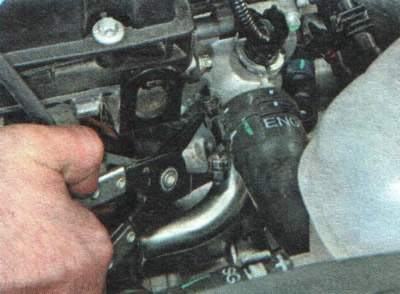
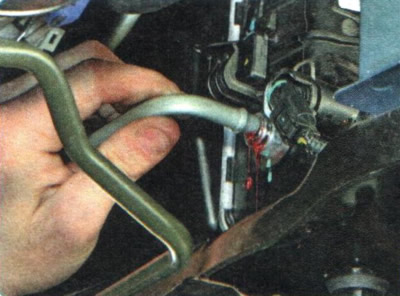
3. Squeeze the bent tabs of the radiator inlet hose clamp...
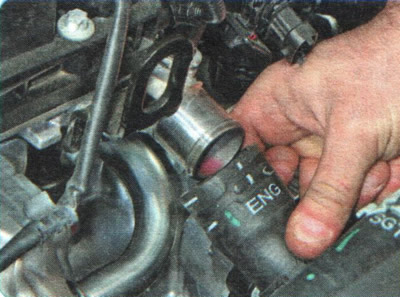
4. ...slide the clamp along the hose and remove the hose from the thermostat pipe.
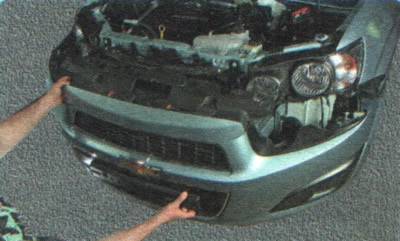
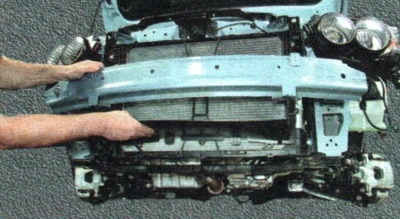
5. Remove the front bumper (see "Removal and installation the front bumper").
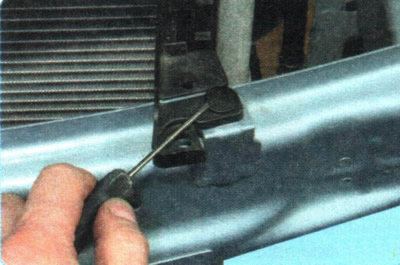
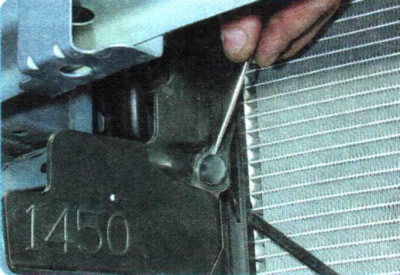
6. Pull out the cores of the four pistons securing the upper part of the radiator air guide shroud...
7. ...and remove the pistons.
NOTE: This is the location of the retaining pins for the upper part of the radiator air guide shroud.
8. Remove the upper part of the radiator air guide shroud.
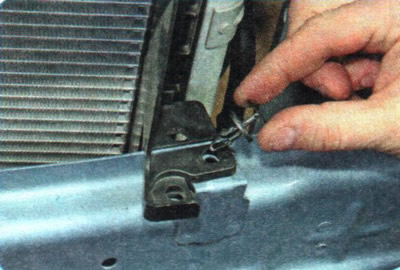
9. Pull out the cores of the three pistons securing the lower part of the radiator air guide shroud...
10. ...and remove the pistons.
NOTE: This is the location of the lower radiator air guide shroud retaining pins.
11. Slide the lower part of the radiator air guide shroud upwards and remove the two tabs from the brackets on the shroud frame...
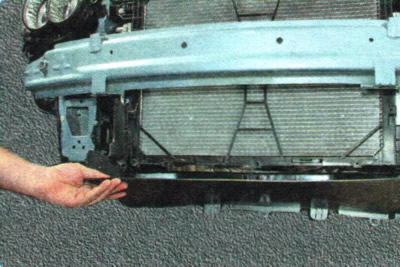
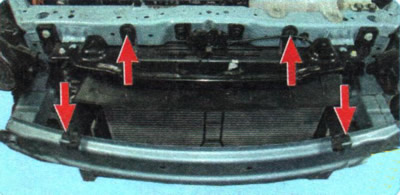
12. ...and remove the lower part of the radiator shroud.
13. Remove the four bolts securing the air guide frame...
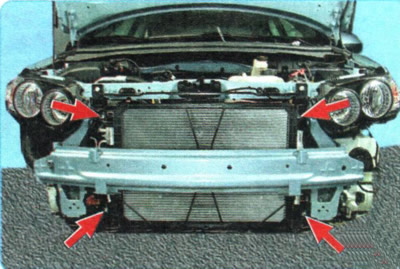
NOTE: This is the location of the radiator air guide frame mounting bolts.
14. ...and remove the frame.
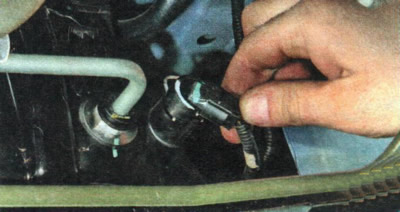
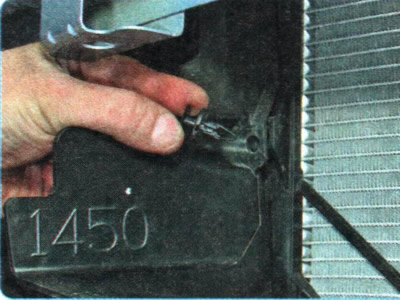
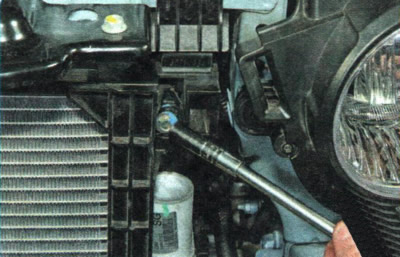
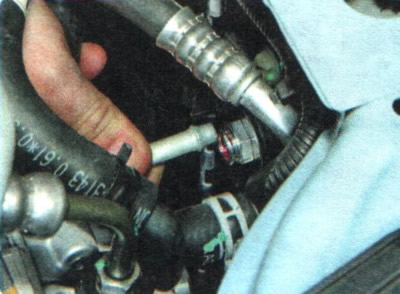
15. Squeeze the lock...
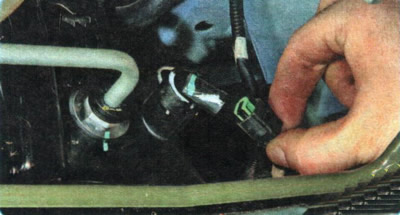
16. ...and disconnect the wiring harness connector from the coolant temperature sensor.
NOTE: The following items 17-21 apply only to vehicles with automatic transmission.

17. Slide the mud guard from the tip of the lower tube of the automatic transmission heat exchanger.
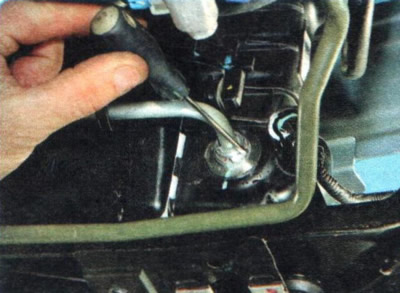
18. Use a screwdriver to pry...
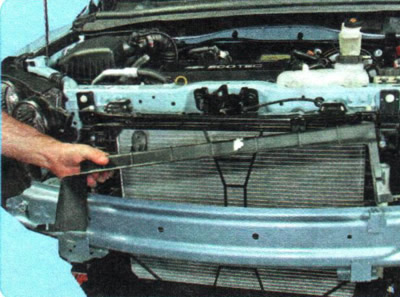
19. ...and remove the tube tip locking clip...
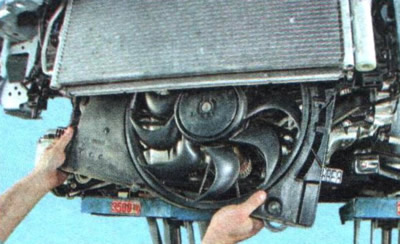
20. ...then disconnect the tube from the heat exchanger fitting built into the radiator.
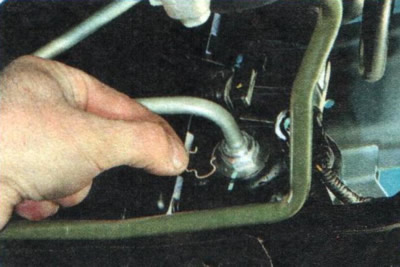
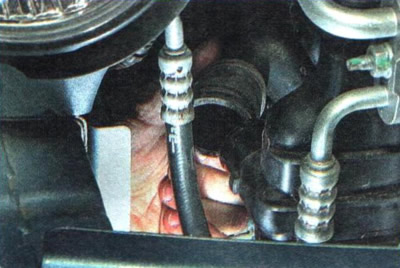
21. Similarly, disconnect the upper tube from the heat exchanger.
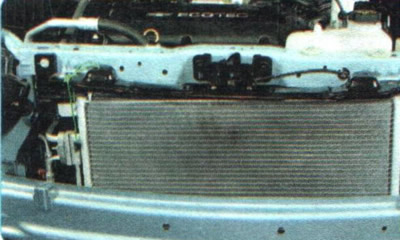
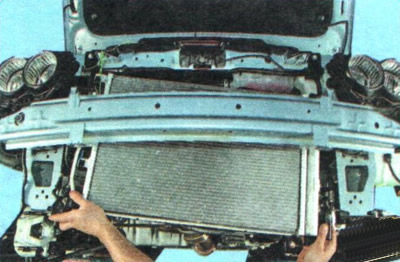
22. Tie the cooling system radiator to the upper cross member of the radiator frame.
23. Remove the electric fan assembly with the casing (see "Removal and installation of the electric fan of the radiator of the engine cooling system in assembly with the casing").
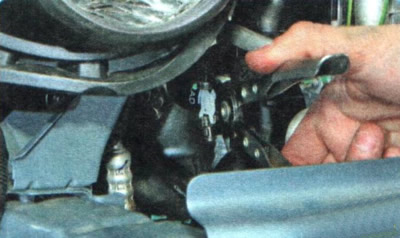
24. Squeeze the bent ears of the hose clamp connecting the radiator to the expansion tank...
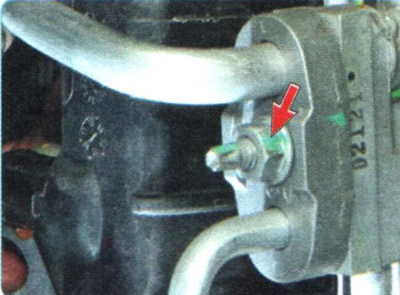
25. ...and remove the hose from the radiator pipe.
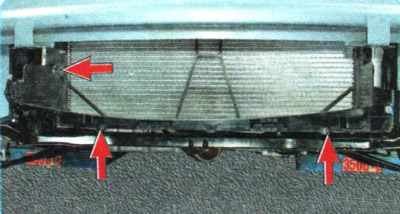
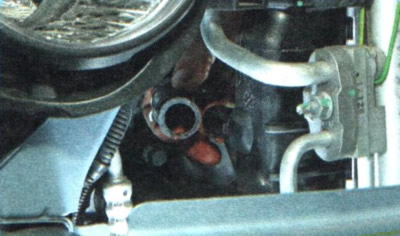
26. Similarly, disconnect the radiator outlet hose from the branch pipe.
27. Remove the refrigerant from the air conditioning system (see "Removal refrigerant from the air conditioning system").
28. Loosen the nut and disconnect the air conditioning system piping flange from the condenser.
WARNING: Immediately after disconnecting, plug the openings of the pipes and condenser to prevent dirt and moisture from entering the system. Be sure to replace the sealing rings of the air conditioning pipes with new ones.
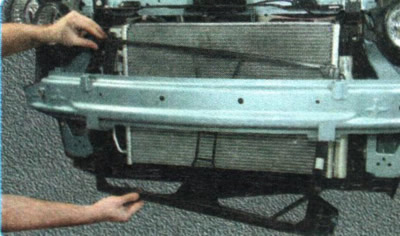
29. Remove the engine cooling system radiator assembly with the condenser.
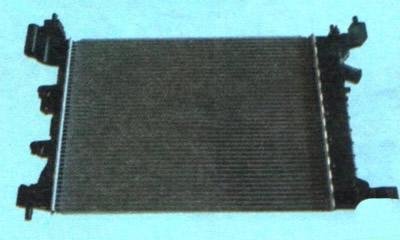
30. Disconnect the engine cooling system radiator from the condenser.
31. Rinse the radiator from the outside with a stream of water and dry it. If cracks appear on the plastic radiator tanks, replace the radiator.
32. Check the radiator for leaks by plugging the radiator pipes, supplying air to it under a pressure of 0.1 MPa (1 kgf/cm²) and lowering it into a container with water for at least 30 s. Leaks in the radiator are determined by the air bubbles that come out. If the radiator does not fit into the container entirely, check it sequentially from all sides.
33. Install the radiator and all removed parts in the reverse order of removal.
USEFUL TIP: To prevent future coolant leaks, lubricate the radiator pipes with a thin layer of silicone sealant before installing the hoses.
34. Fill the coolant and remove air locks from the cooling system (see "Replacing the coolant").
35. Fill the air conditioning system with refrigerant at a specialized service center.