Contents: Removal ↧ Installation ↧
Removal
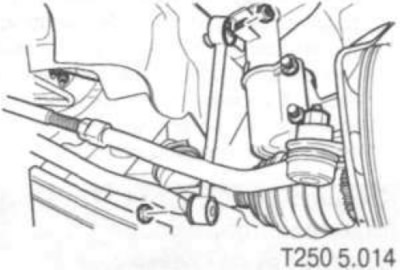
1. Raise the vehicle and remove the front wheels.
2. Disconnect the ball joint from the lever.
3. Remove the lower stabilizer bar mounting nut.
4. Remove the tie rod end.
5. Remove the engine thrust mounting bolts.
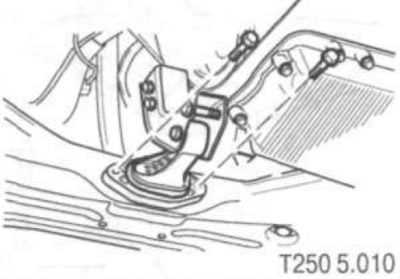
6. Drain the fluid from the power steering hydraulic drive.
7. Disconnect the power steering hoses.
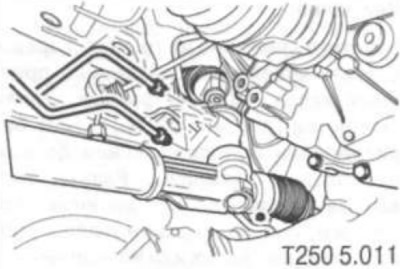
8. Remove the steering shaft joint from the steering gear pinion shaft.
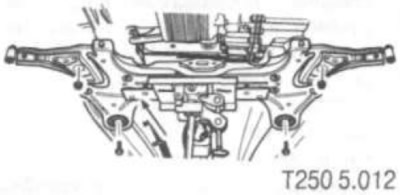
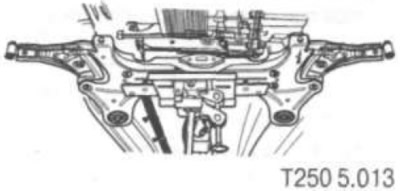
9. Remove the subframe assembly.
Caution: To prevent injury and damage to the vehicle, before removing the crossmember, install supports under it to support the weight of the subframe.
Installation
1. Install the stabilizer, power steering gear and control arm onto the crossmember.
2. Install the subframe assembly, securing its front part to the body with nuts, tightening them to a torque of 150 Nm, and the rear part with bolts, tightening them to a torque of 150 Nm.
3. Connect the steering shaft joint to the steering gear pinion shaft tailpiece.
4. Connect the power steering hoses to the steering gear and tighten them to a torque of 22 Nm.
5. Install and tighten the power unit reaction rod mounting bolts to a torque of 60 Nm.
6. Connect the steering rod end to the steering knuckle, tighten the nut to a torque of 100 Nm.
7. Connect the ball joint to the lever.
8. Connect the stabilizer bar to the lever.