


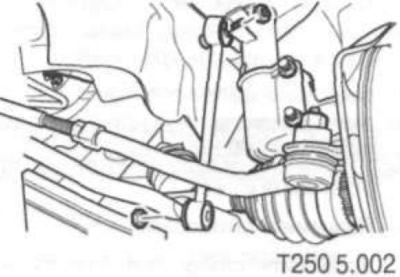
2. Raise and secure the vehicle so that the body rests on supports.
3. Remove the wheels.
4. Remove the brake caliper and hang it in the wheel arch space so that the caliper does not pull on the brake hose.
5. Disconnect the wheel speed sensor connector.
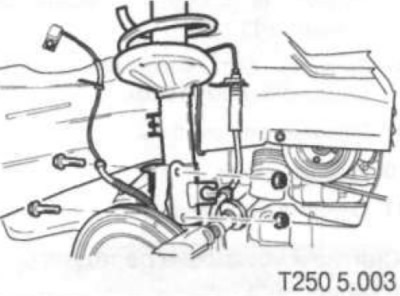
6. Remove the nut securing the ball joint to the steering knuckle.
7. Using a suitable puller, separate the ball joint cone pin from the steering knuckle.
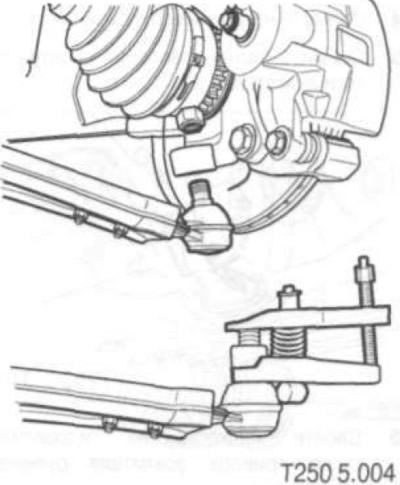
8. Disconnect the tie rod end from the steering knuckle.
Caution: Pay attention to prevent excessive tension on the drive shafts. Constant velocity joint (hereinafter referred to as CV joint) may be disconnected when high longitudinal forces are applied. Disconnection will cause damage to the joint. In addition, when performing any work on or near the drive shafts, use protective equipment for the CV joint boots.
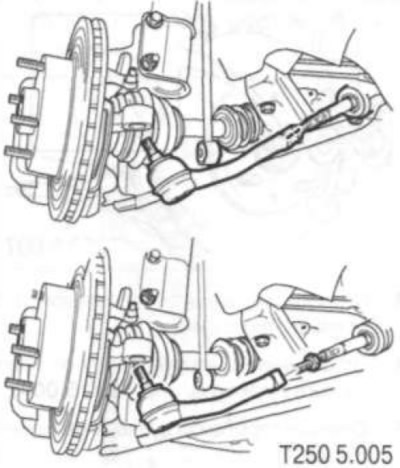
9. Remove the splined portion of the CV joint from the front wheel hub and secure it with a hanger to prevent the boots from being pulled or the inner CV joint from separating from the gearbox.
10. Remove the nuts securing the strut to the body.
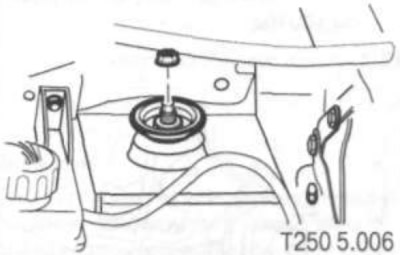
11. Remove the stand.
Installation
1. Install and secure the rack assembly to the vehicle. Tighten the upper mounting nut to 60 Nm.
2. Connect the CV joint of the drive shaft to the front wheel hub.
3. Connect the tie rod end to the steering knuckle and tighten the mounting nut to a torque of 60 Nm.
4. Attach the ball joint to the steering knuckle and tighten the mounting nut to a torque of 100 Nm.
5. Connect the front wheel speed sensor connector.
6. Install the brake caliper in place and tighten the mounting screws.
7. Install the wheel.
8. Install a new CV joint-to-hub nut and tighten it to a torque of 300 Nm.
[Information taken from the official website «CHEVYMAN»]