


According to the manufacturer's recommendation, engine oil should be replaced after 1 year of operation or 15 thousand km of mileage (whichever comes first).
NOTE: The manufacturer recommends using API SL viscosity grade SAE 0W-30 or API SL viscosity grade SAE 0W-40 oil (depending on climatic conditions). At outside air temperatures down to -25°C, the use of oils with viscosity 5W-30, 5W-40 is permissible.
USEFUL TIPS: Under severe operating conditions in a large city or very dusty areas, replace the oil and the oil filter element every 10,000 km. Drain the oil after driving while the engine is still warm. If the engine is cold, start it and warm it up to operating temperature.
Fill with the same brand of oil as the oil that was in the engine. If you still decide to change the brand of oil, flush the lubrication system with oil of the brand that will be used. To do this, after draining the old oil, fill with new oil up to the lower mark of the oil dipstick. Start the engine and let it idle for 10 minutes. Drain the oil and only then replace the filter element of the oil filter. Now you can fill with new oil up to the required level (to the upper mark on the dipstick).
WARNING: Do not dump used oil on the ground.
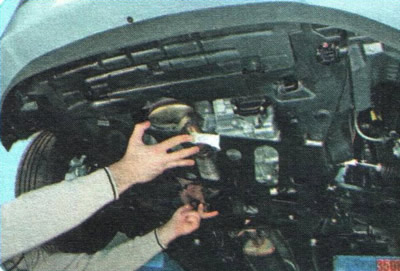
1. Remove the engine crankcase guard (see "Removal and installation mudguards and engine crankcase protection").
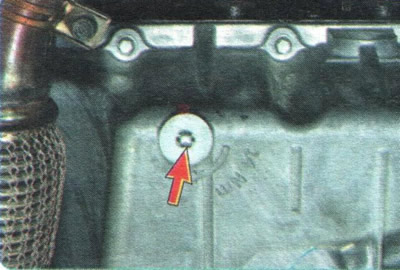
2. Clean the engine oil pan drain plug with a wire brush and then with a rag.
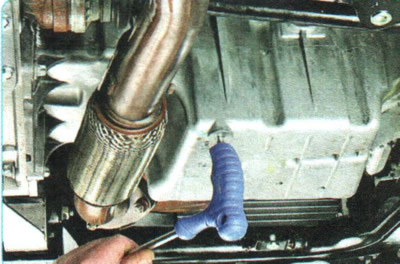
3. Unscrew the drain plug, having first placed a container underneath to catch the drained oil...
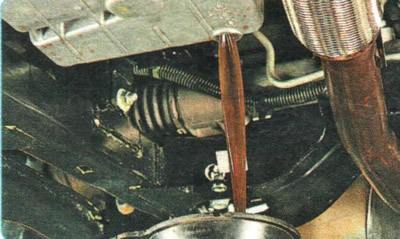
4. ...and drain the oil.
WARNING: Be careful, the oil is hot!
5. Screw the cap back on.
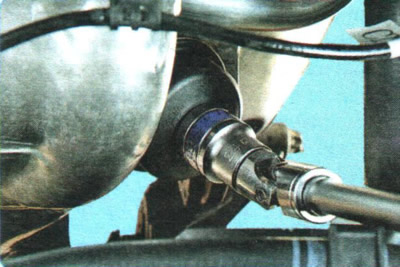
6. Unscrew the oil filter cover...
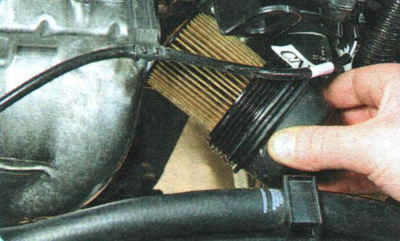
7. ...and remove it together with the filter element.
NOTE: The oil filter is located on the front of the engine block near cylinder 4.
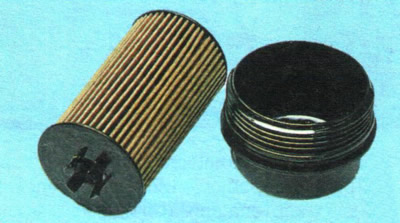
8. Remove the filter element from the cover, wash the cover with gasoline to remove deposits and dry it.
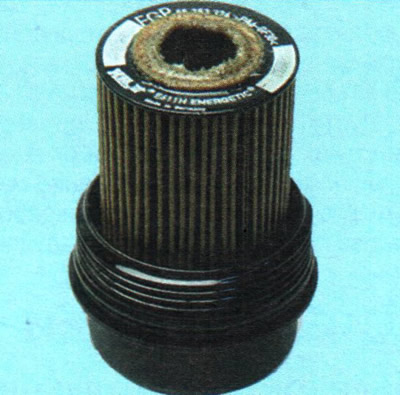
CAUTION: Remember the orientation in which the filter element was installed in the cover so that you can install the new element in the same way.
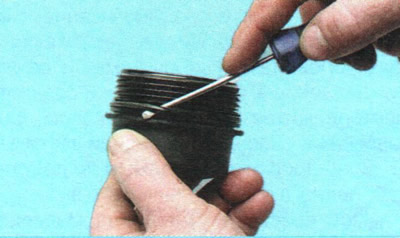
9. Using a screwdriver, pry...
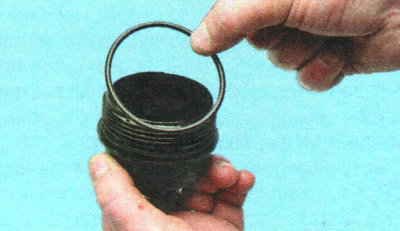
10. ...remove the rubber sealing ring from the lid.
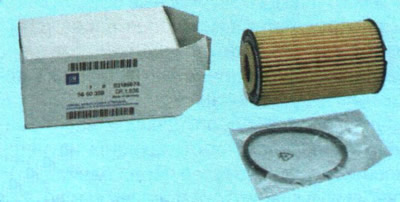
NOTE: Be sure to replace the sealing ring with a new one, it is included in the filter element kit. Pay attention to the marking of the filter element. Purchase a new element with the same marking.
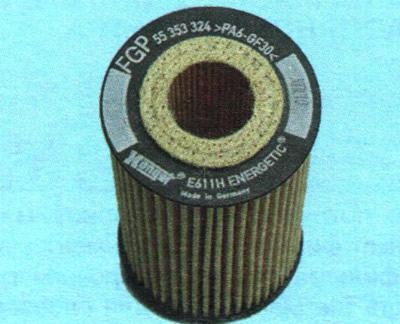
11. Install the oil filter element in the reverse order of removal.
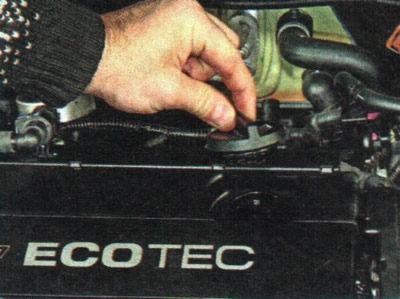
12. Unscrew the oil filler cap.
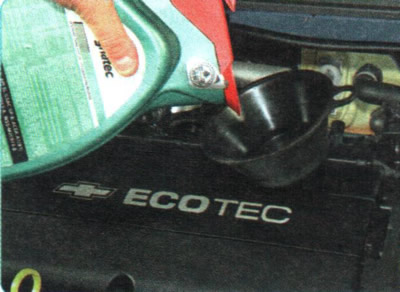
13. Fill with clean engine oil (see "Checking the level and adding oil to the lubrication system").
14. Wait 3-5 minutes to allow the oil to drain into the crankcase, remove the oil level indicator (dipstick)...
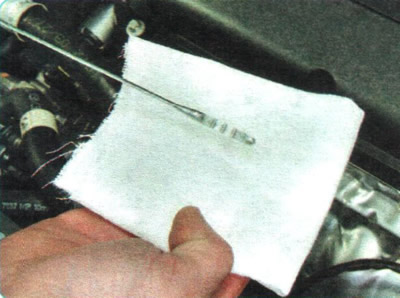
15. ...wipe it with a clean cloth and put it back in place.
16. Remove the pointer (dipstick) again. The oil film level should be between the two marks at the end of the dipstick. If the oil level does not reach the lower mark, top up the oil.
17. Add oil to the engine, monitoring its level with the help of the indicator. Before removing the indicator, wait 2-3 minutes to allow the oil to drain into the crankcase.
18. Once the oil level reaches the required level, tighten the filler cap.
19. Start the engine and let it idle for a few minutes (the low oil pressure warning light should go out within two to three seconds after the engine is started). While the engine is running, check for oil leaks from the drain plug and oil filter cover. Stop the engine, check the oil level, add oil if necessary, tighten the plug and filter cover.
20. Install the engine crankcase guard (see "Removal and installation mudguards and engine crankcase protection").